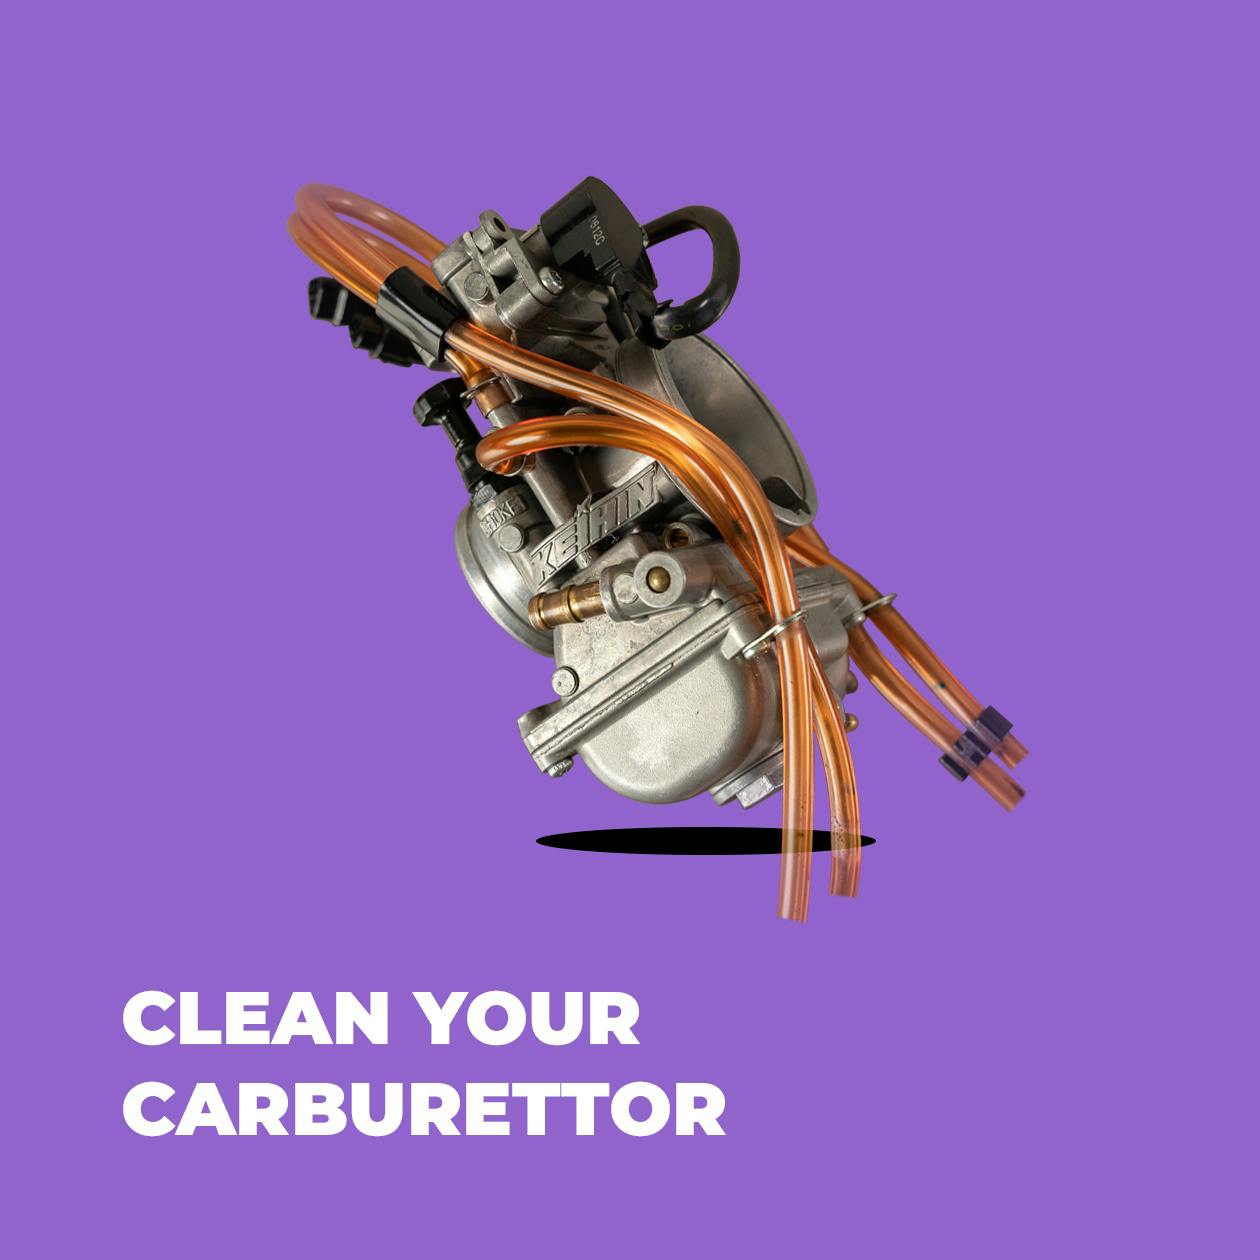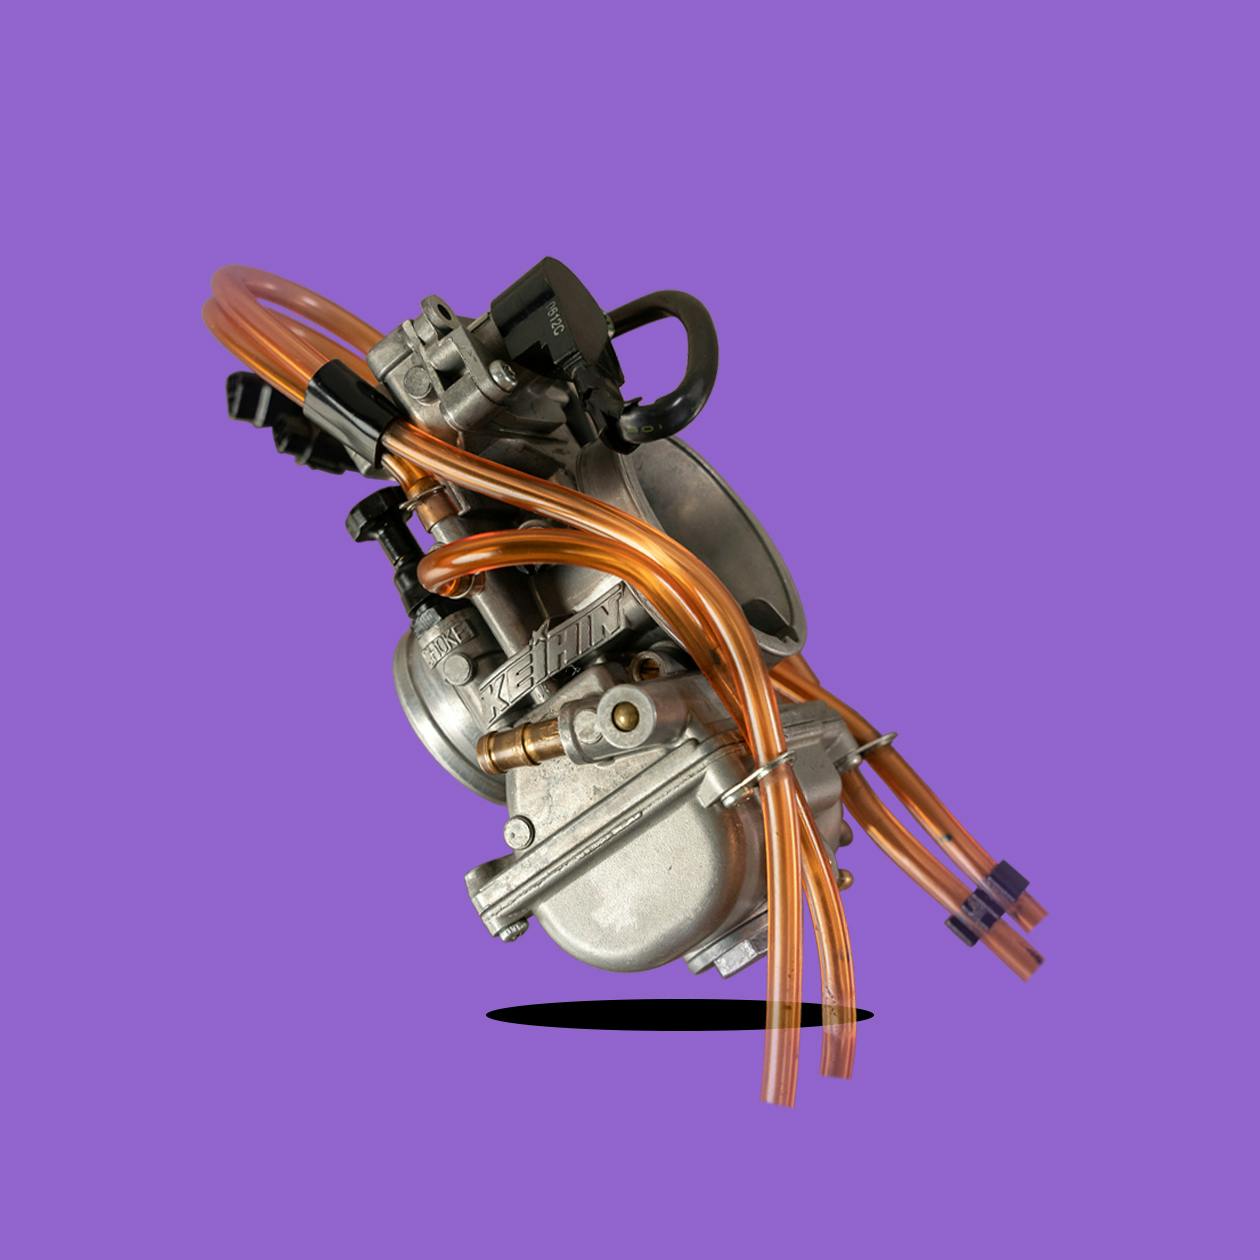
How to clean your carburettor
Cleaning your carburettor is to giving it a new lease of life 😉
Level of difficulty : ⭐⭐⭐⭐
Average time needed : 1 hour and a half by carburettor ⏳
4 GOOD REASONS TO CLEAN YOUR CARBURETTOR
To avoid breakdowns
To reduce your fuel consumption
For better start-ups
To give it a new and shiny look
When ?
You can clean your carburettor on several occasions:
- For a restart of vintage or collection motorcycles, after wintering or a long storage to unclog the carburettor(s) and to facilitate adjustments
- After a big wash, a big enduro, trail or motocross outing, or in case of extreme humidity and the presence of dust and/or mud
- In case of fault checking
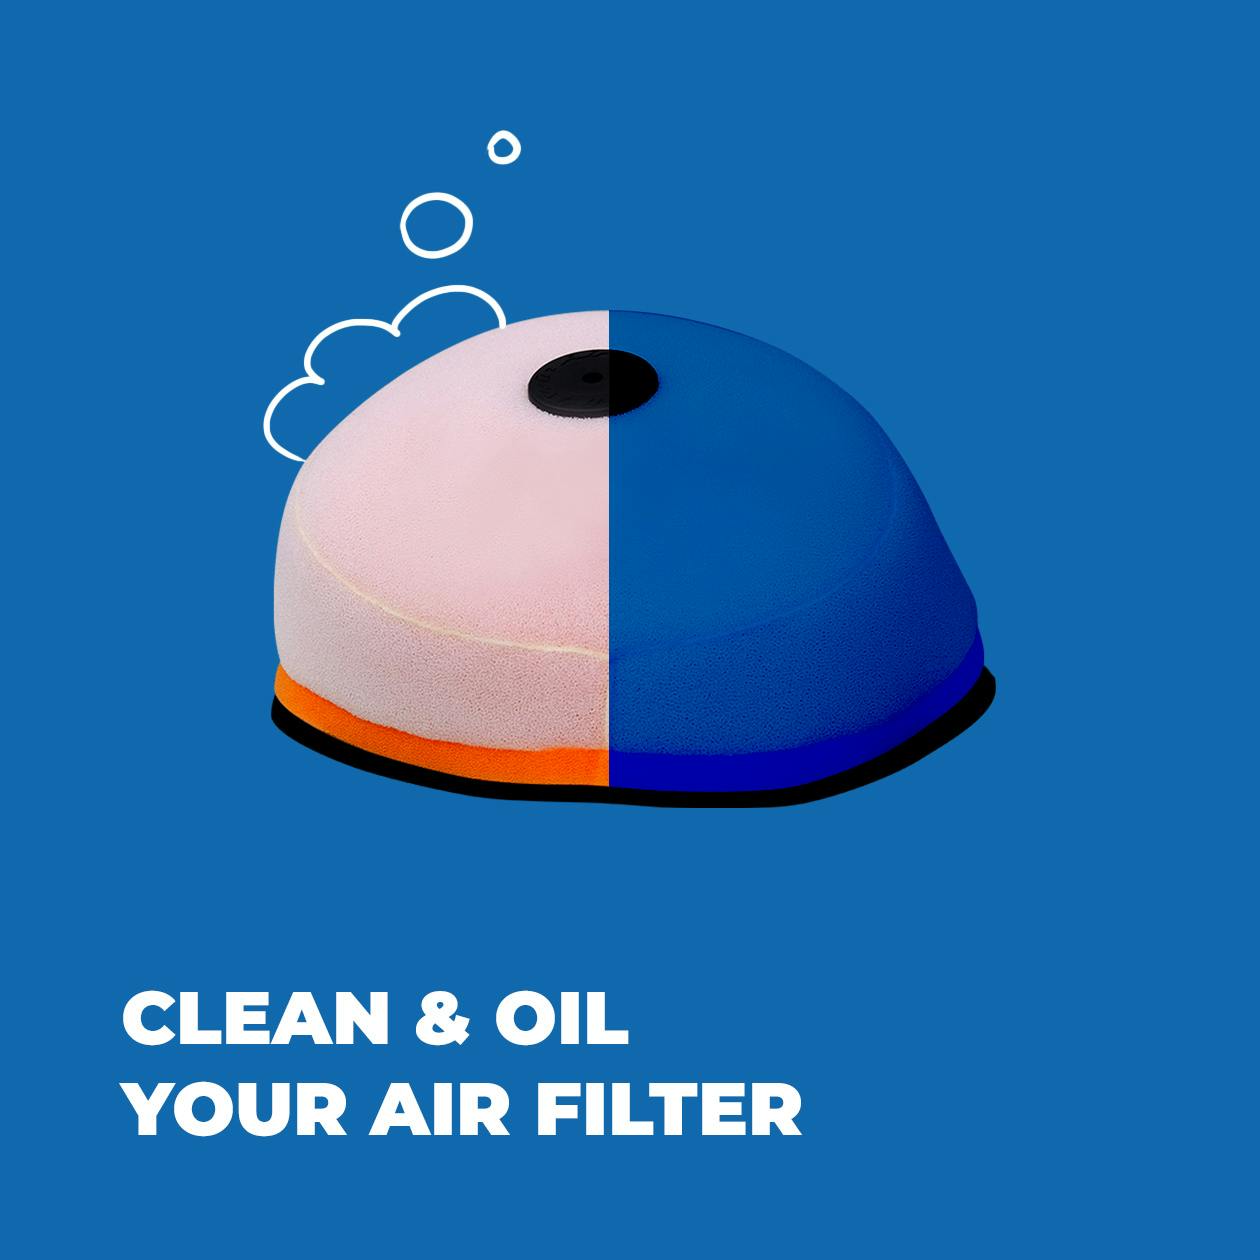
If your bike breaks down, start by cleaning your carburettor. Don’t forget to check and clean the air filter and check the proper functioning of your spark plugs 😉
- Every 10,000 km for motorcycles in regular use
Necessary equipment
Here's what you need :
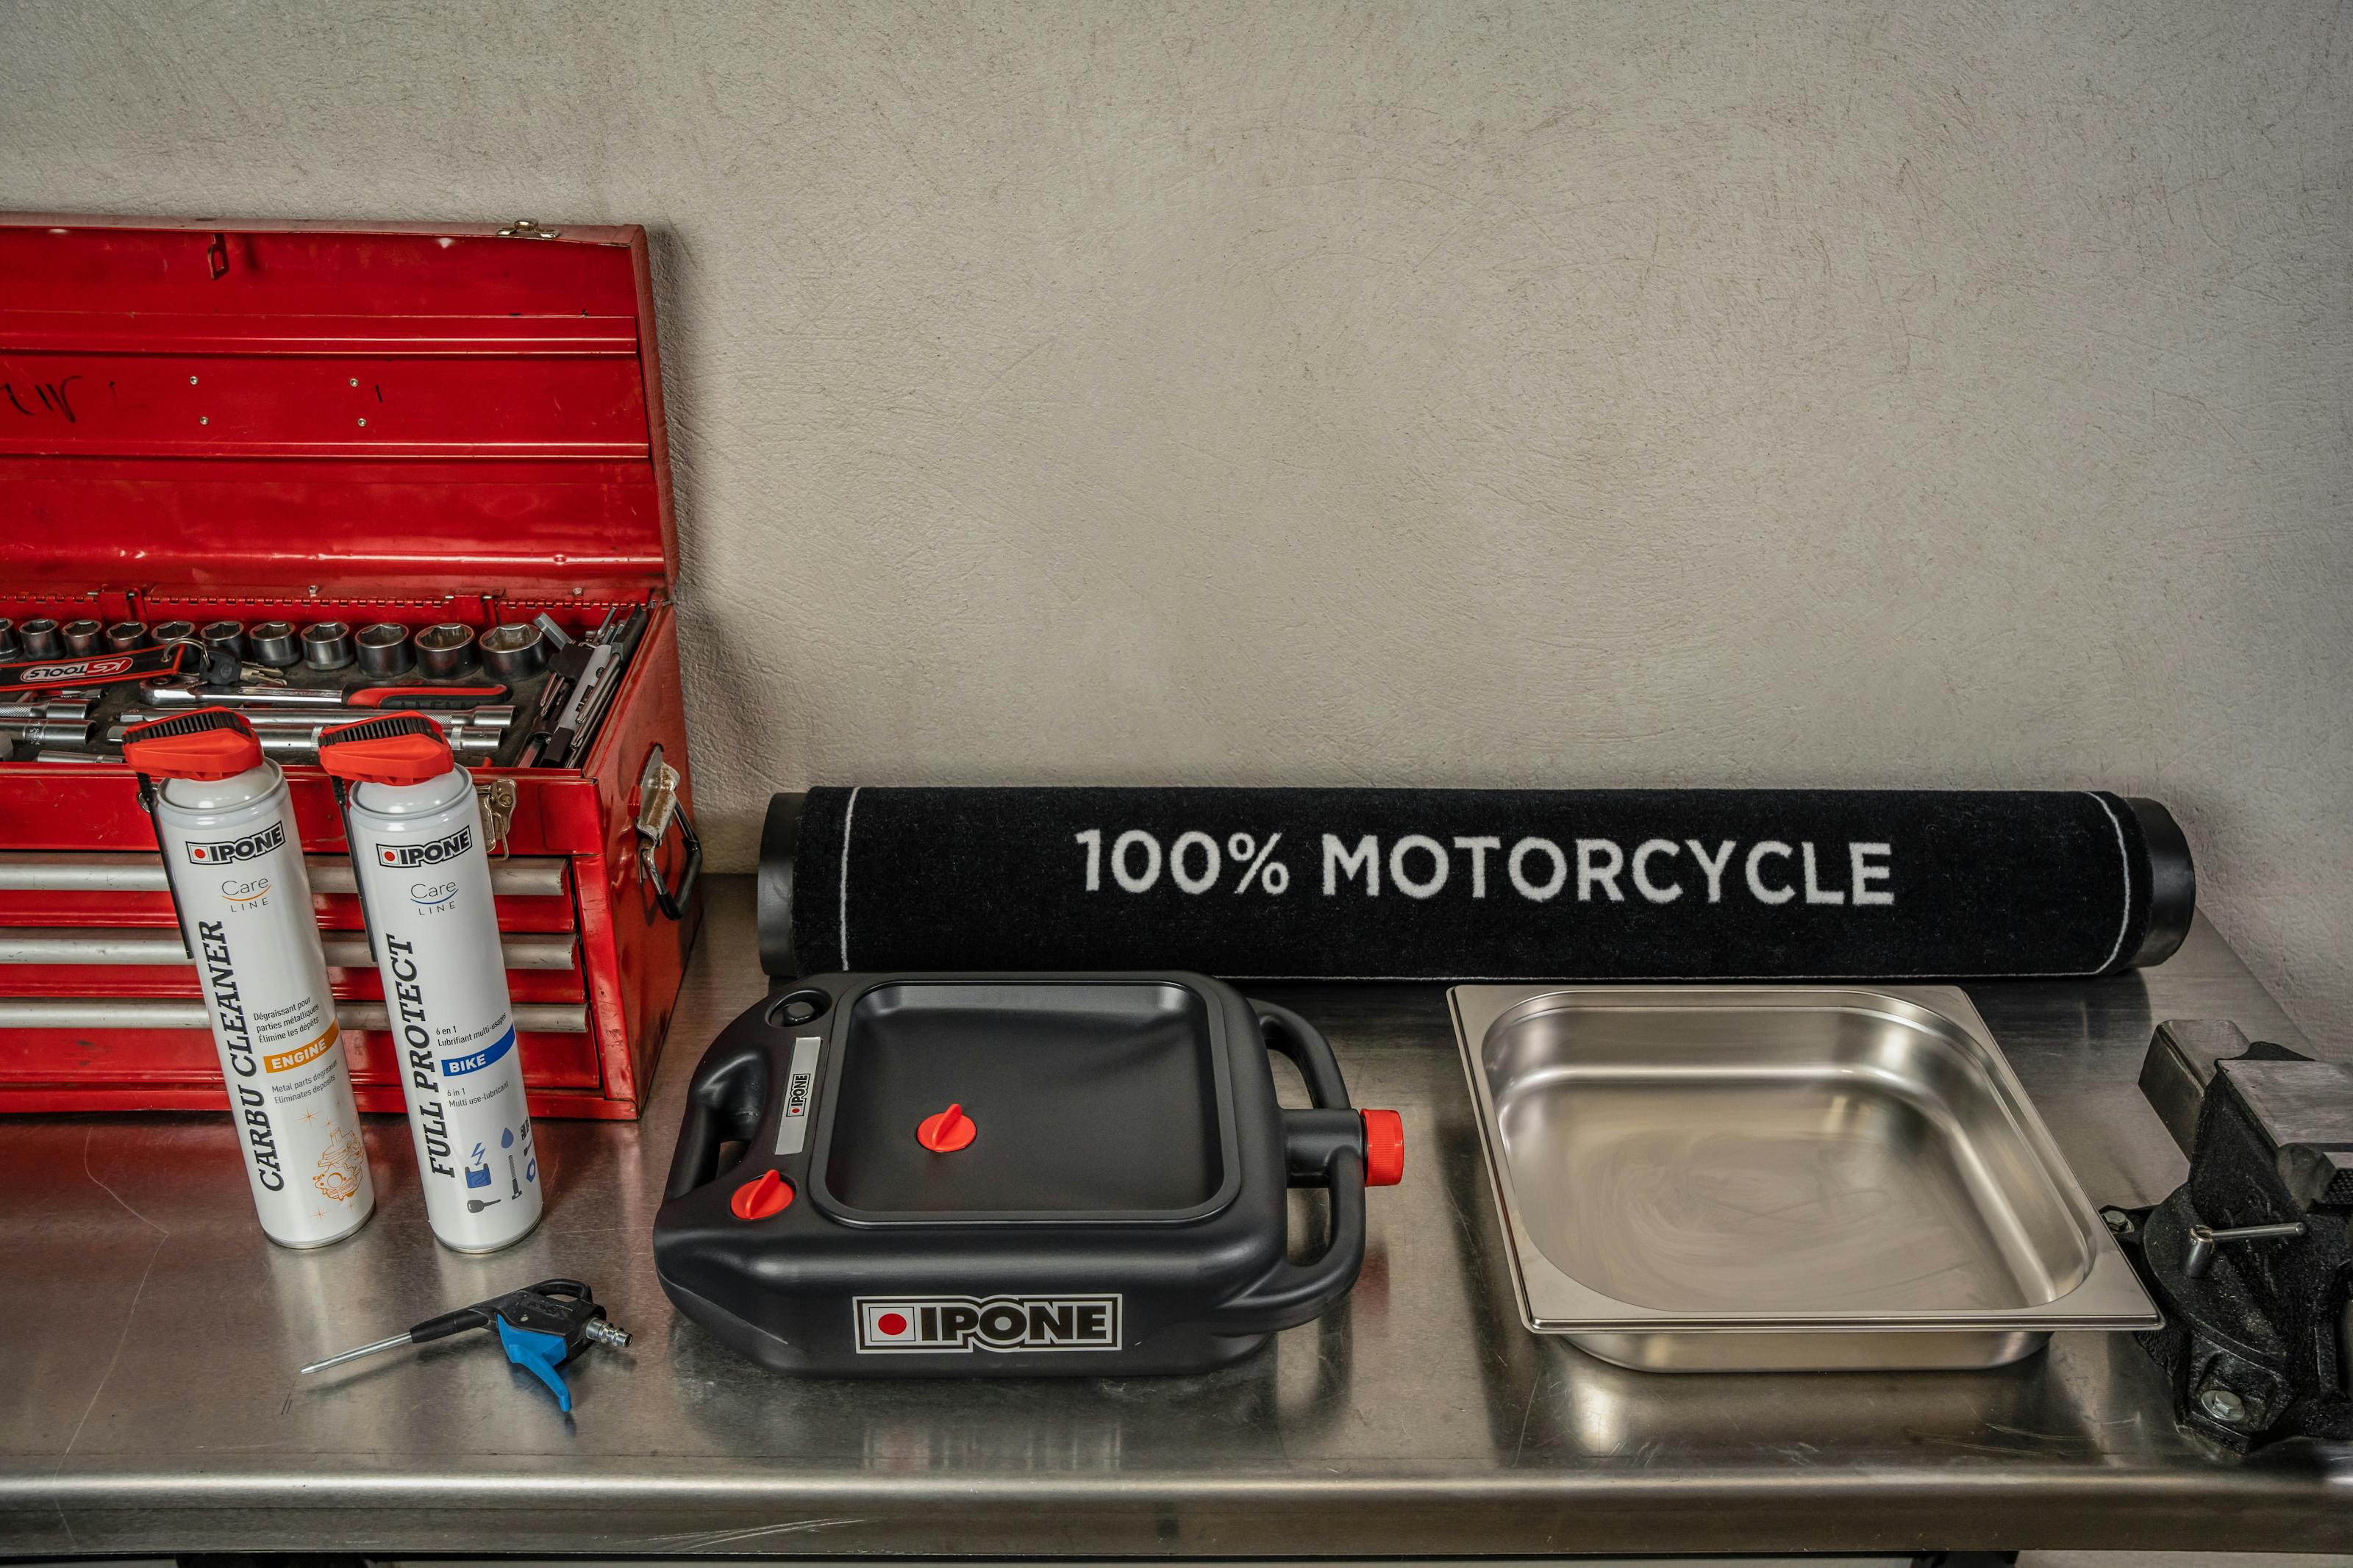
List of IPONE's products :
- Carbu Cleaner
The powerful carburettor degreaser. - The environmental mat
To perfectly protect all floors from liquid stains. - The drain pan
Perfect to cleanly and easily recover fuel without soiling the floor. - Full Protect
To lubricate your carburettor and moving parts.
Other accessories needed :
- Your compressor’s air blow gun
- A tool box
- A stainless steel container
- The manufacturer’s manual for general carburettor adjustments (jets, needles, throttle slide, diaphragm, idle mixture adjustment screw, idle speed screw, etc.)
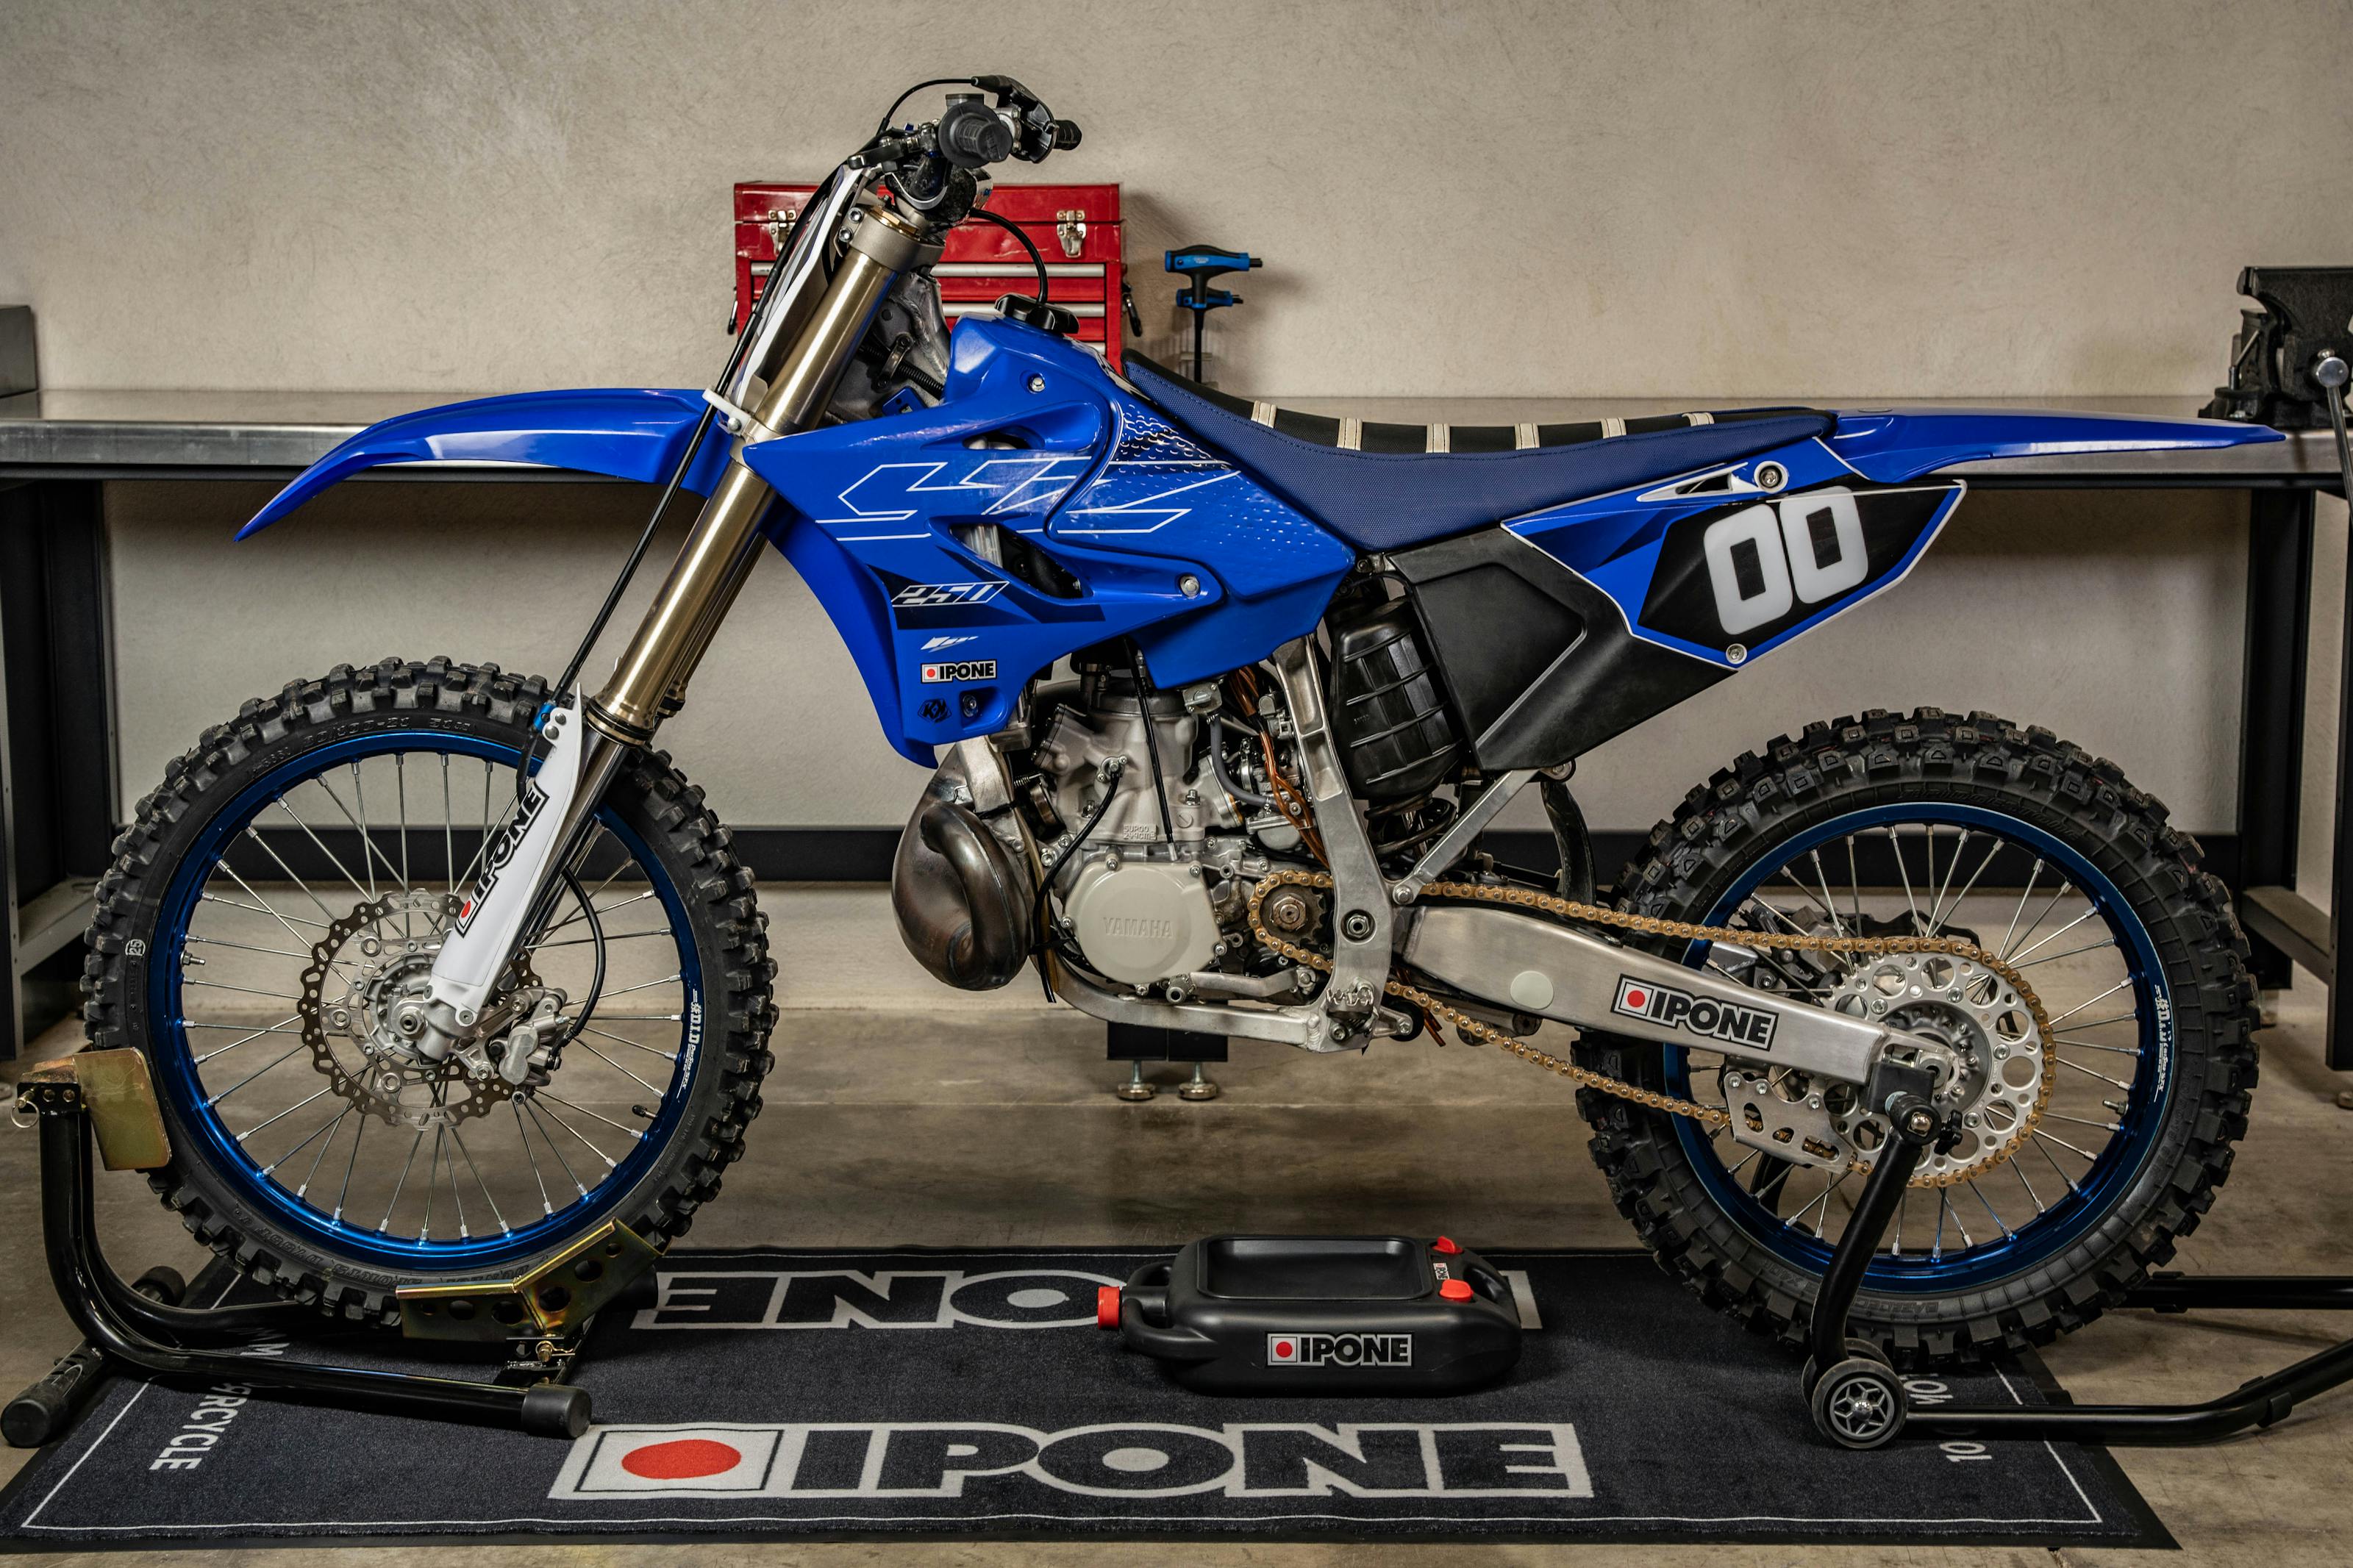
1. Let's get settled
1a. Start by cleaning your bike, always work on clean parts!
1b. Check all settings before disassembly to reassemble everything correctly! You can take pictures if needed 😉
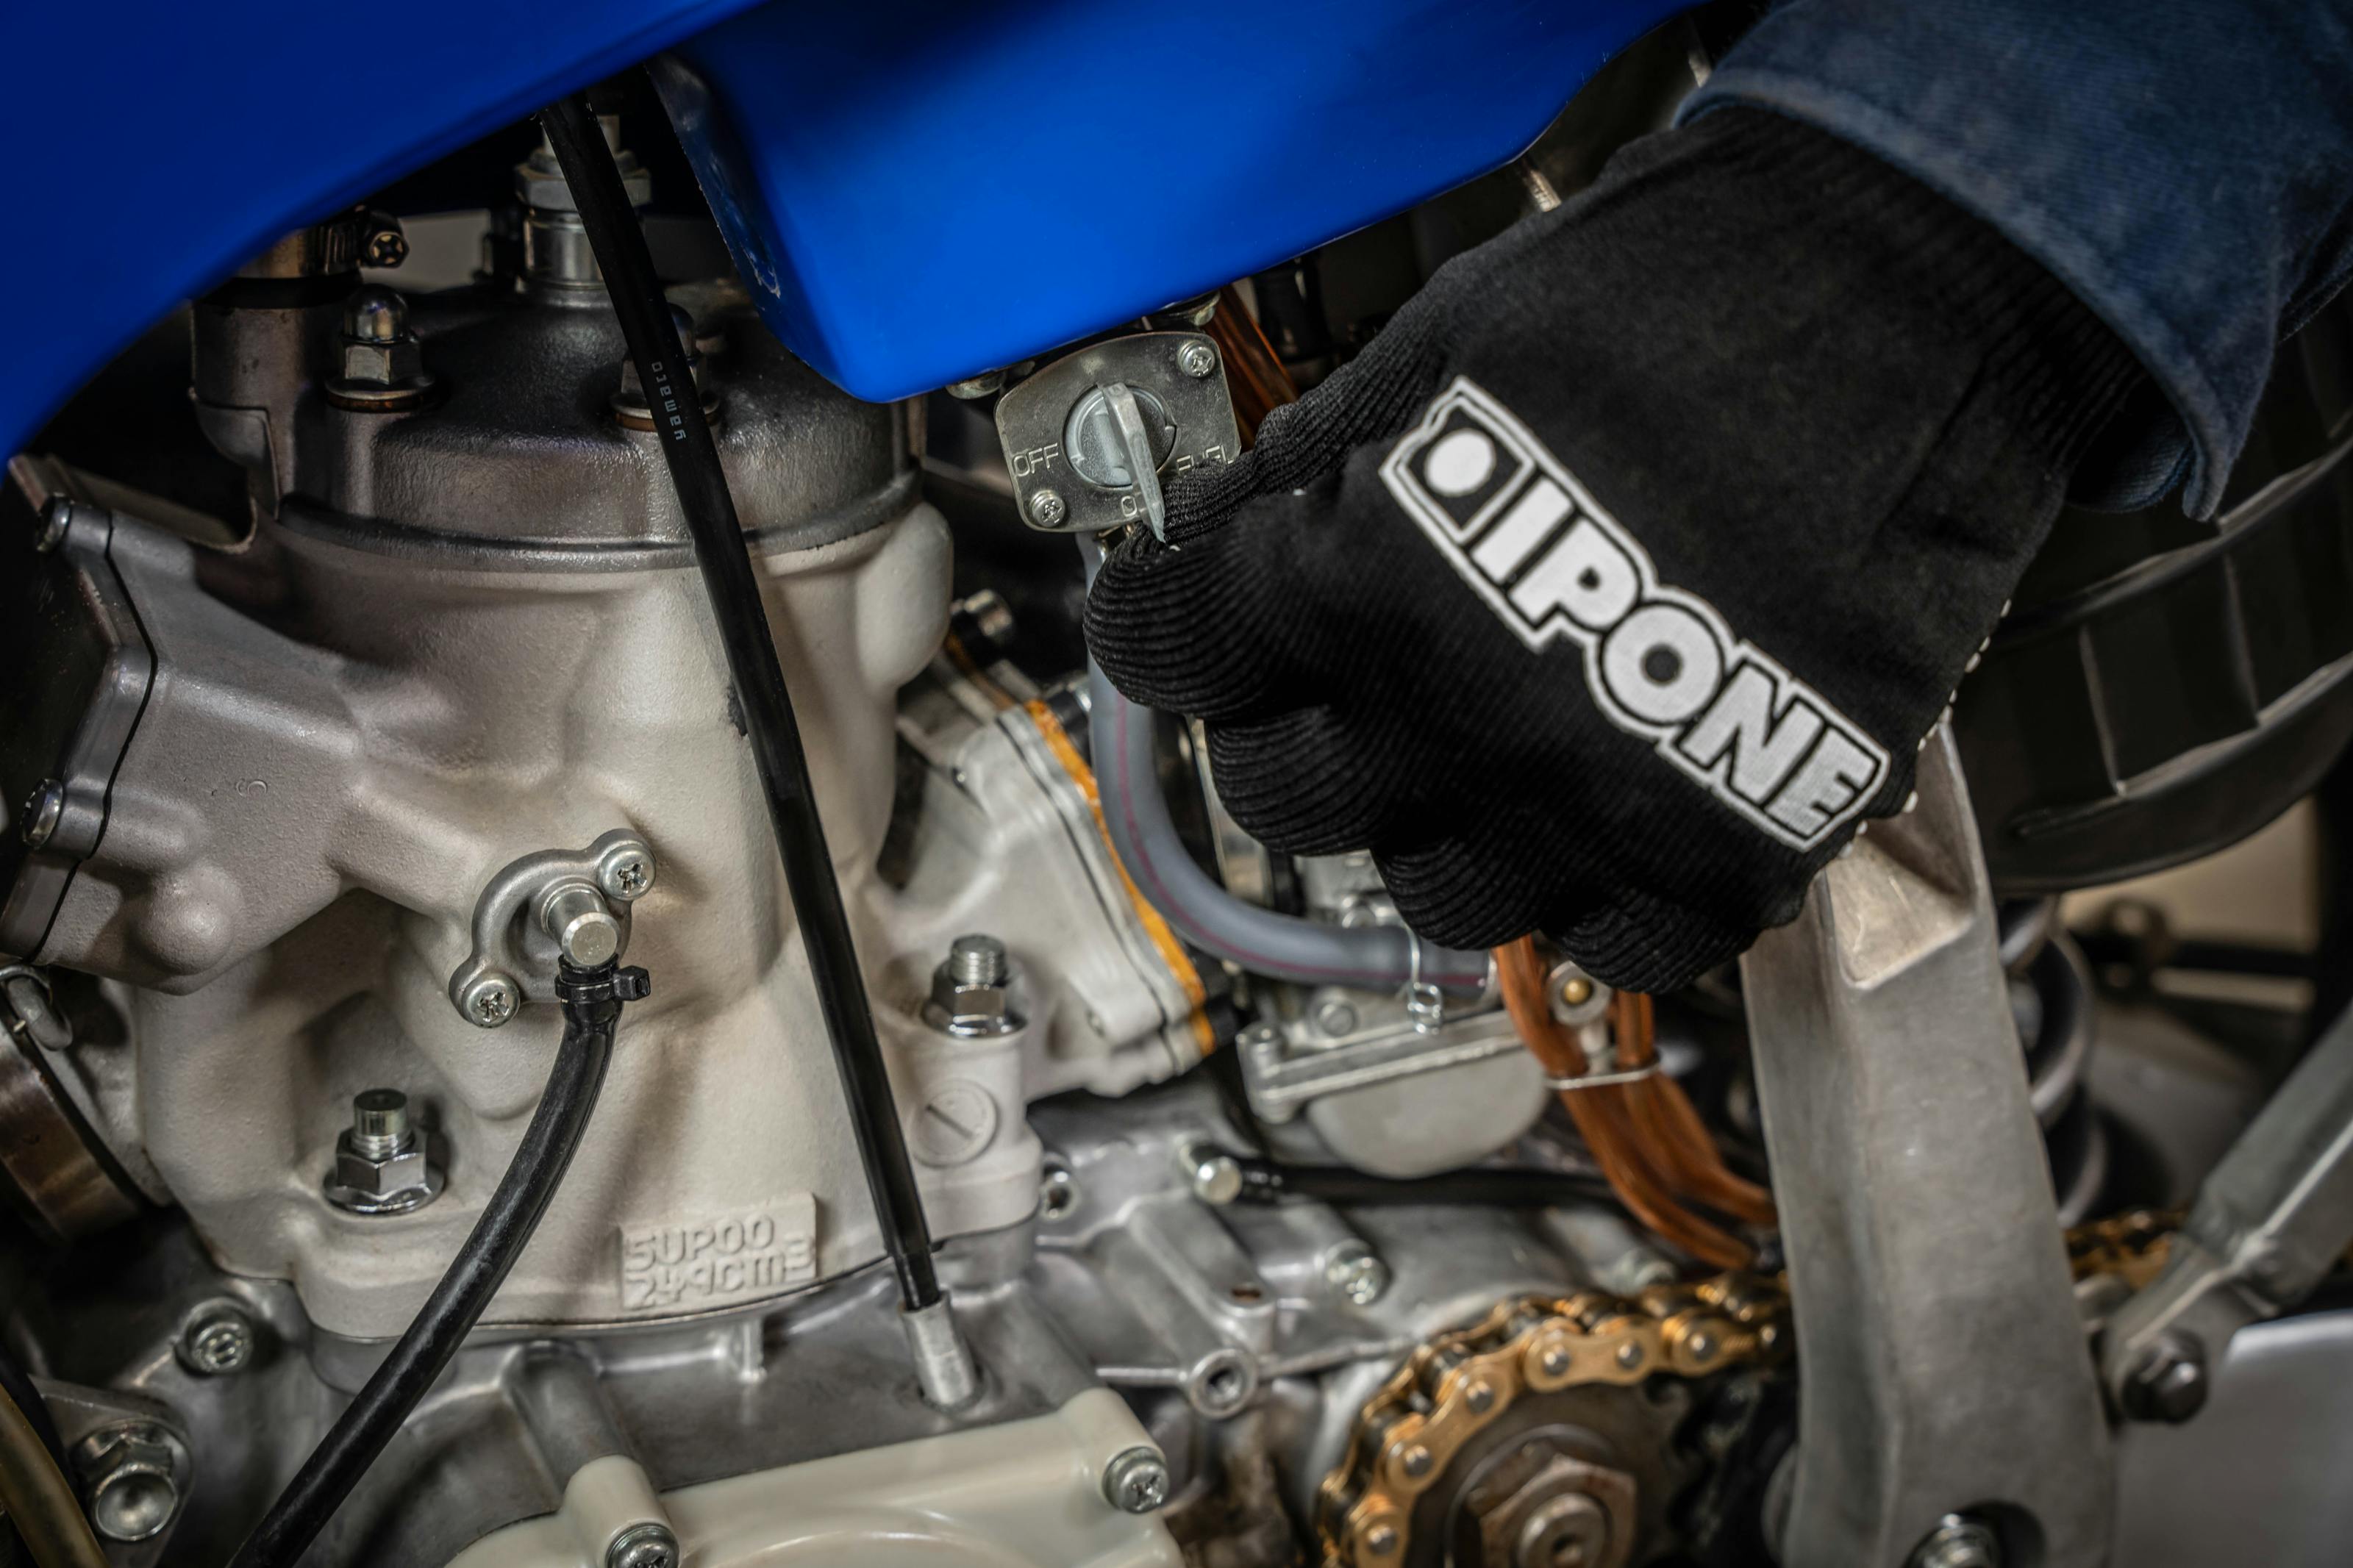
2. Disassembly
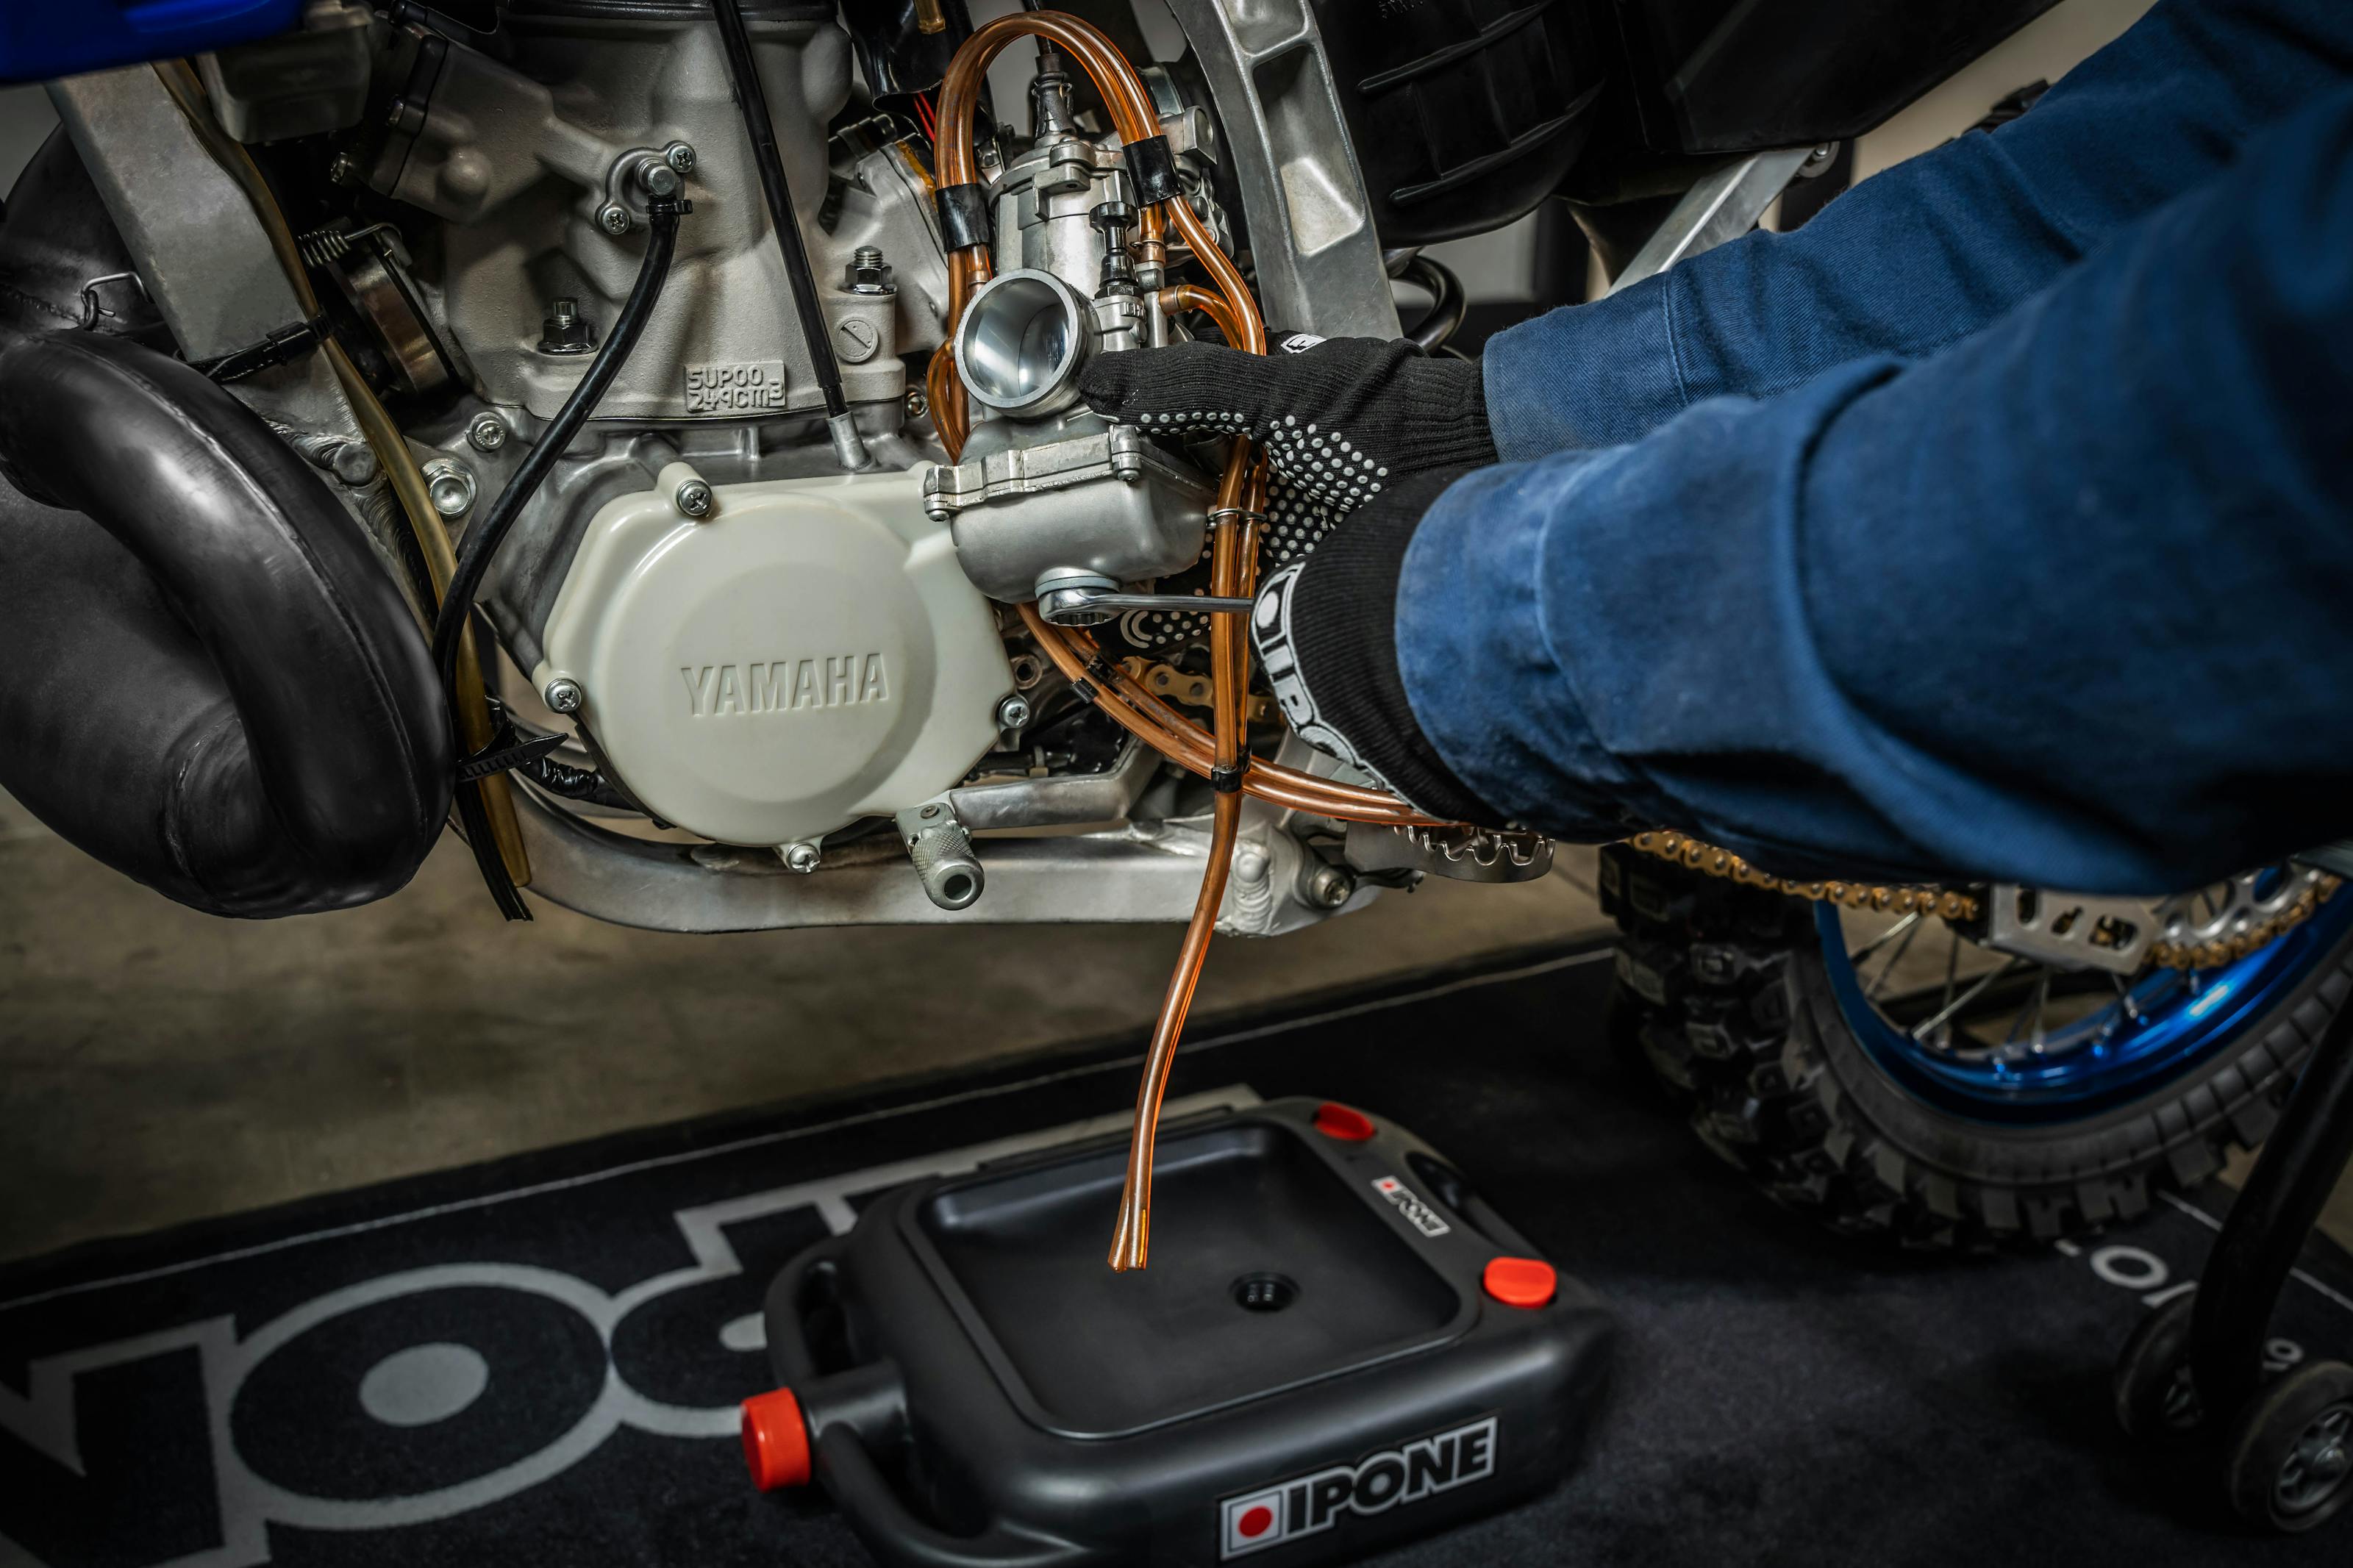
2a. Place a drain pan and environmental mat under the bike to protect the floor from fuel leaks.
2b. Turn off the fuel supply.
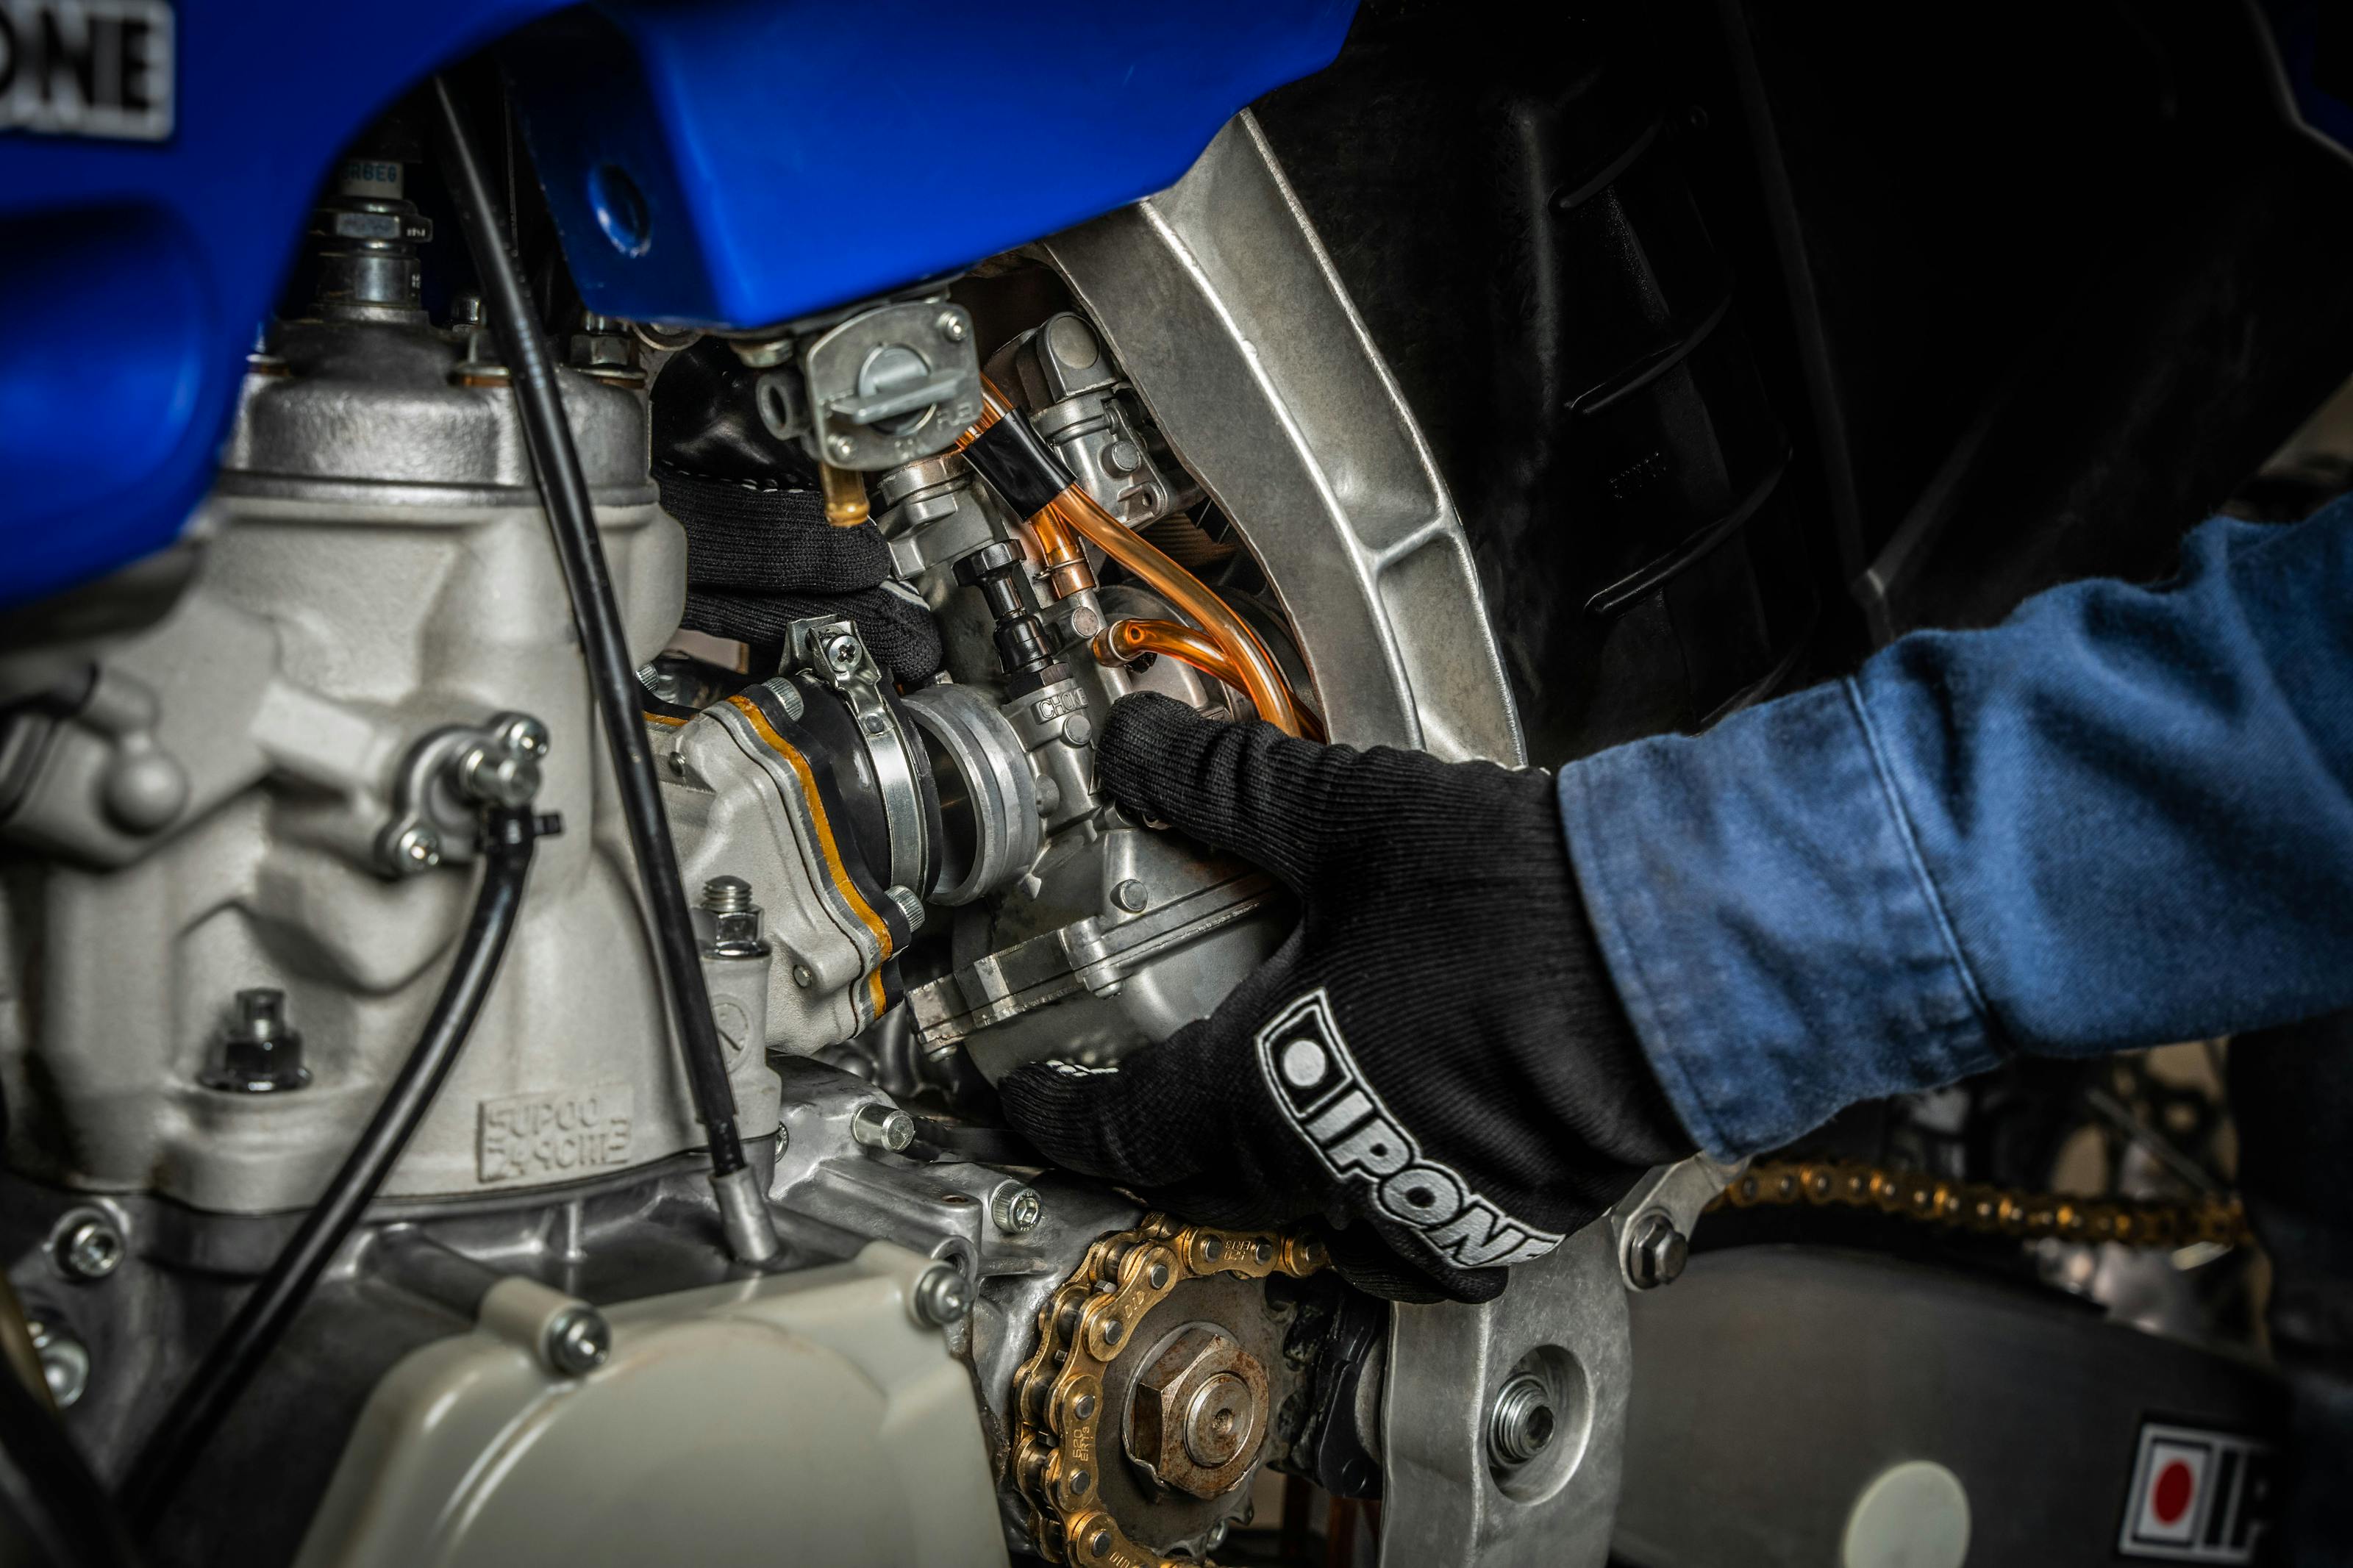
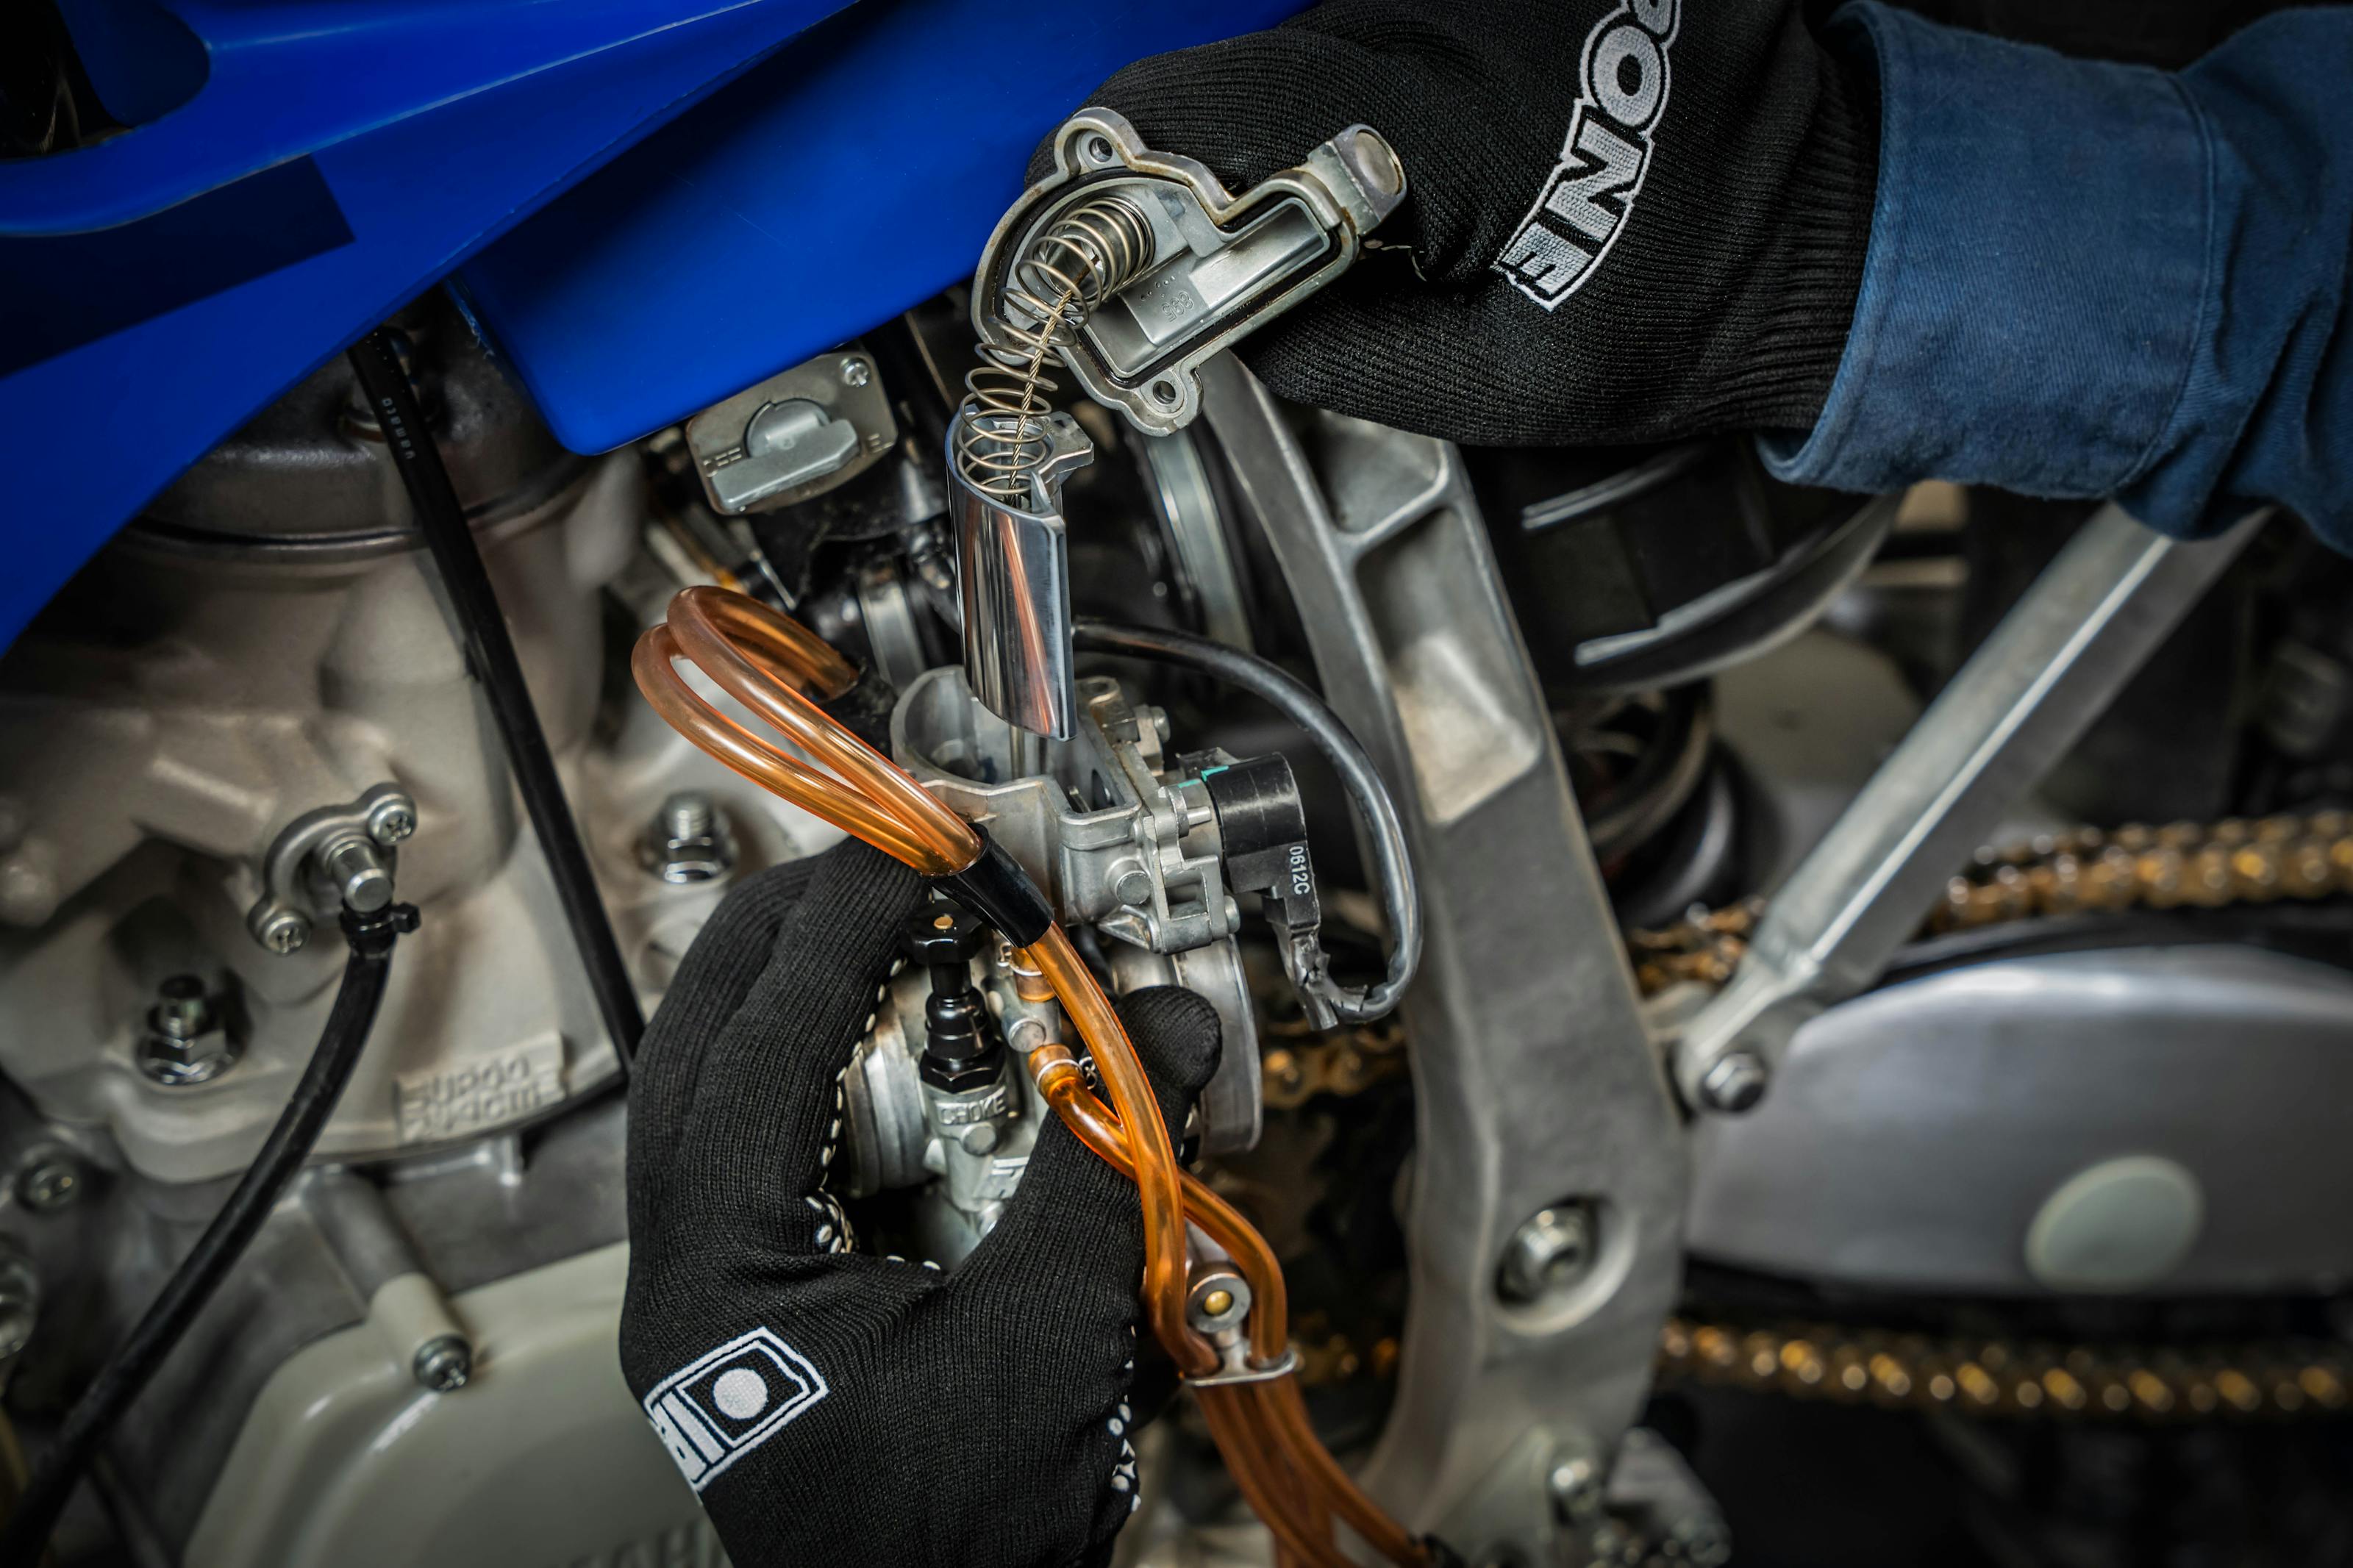
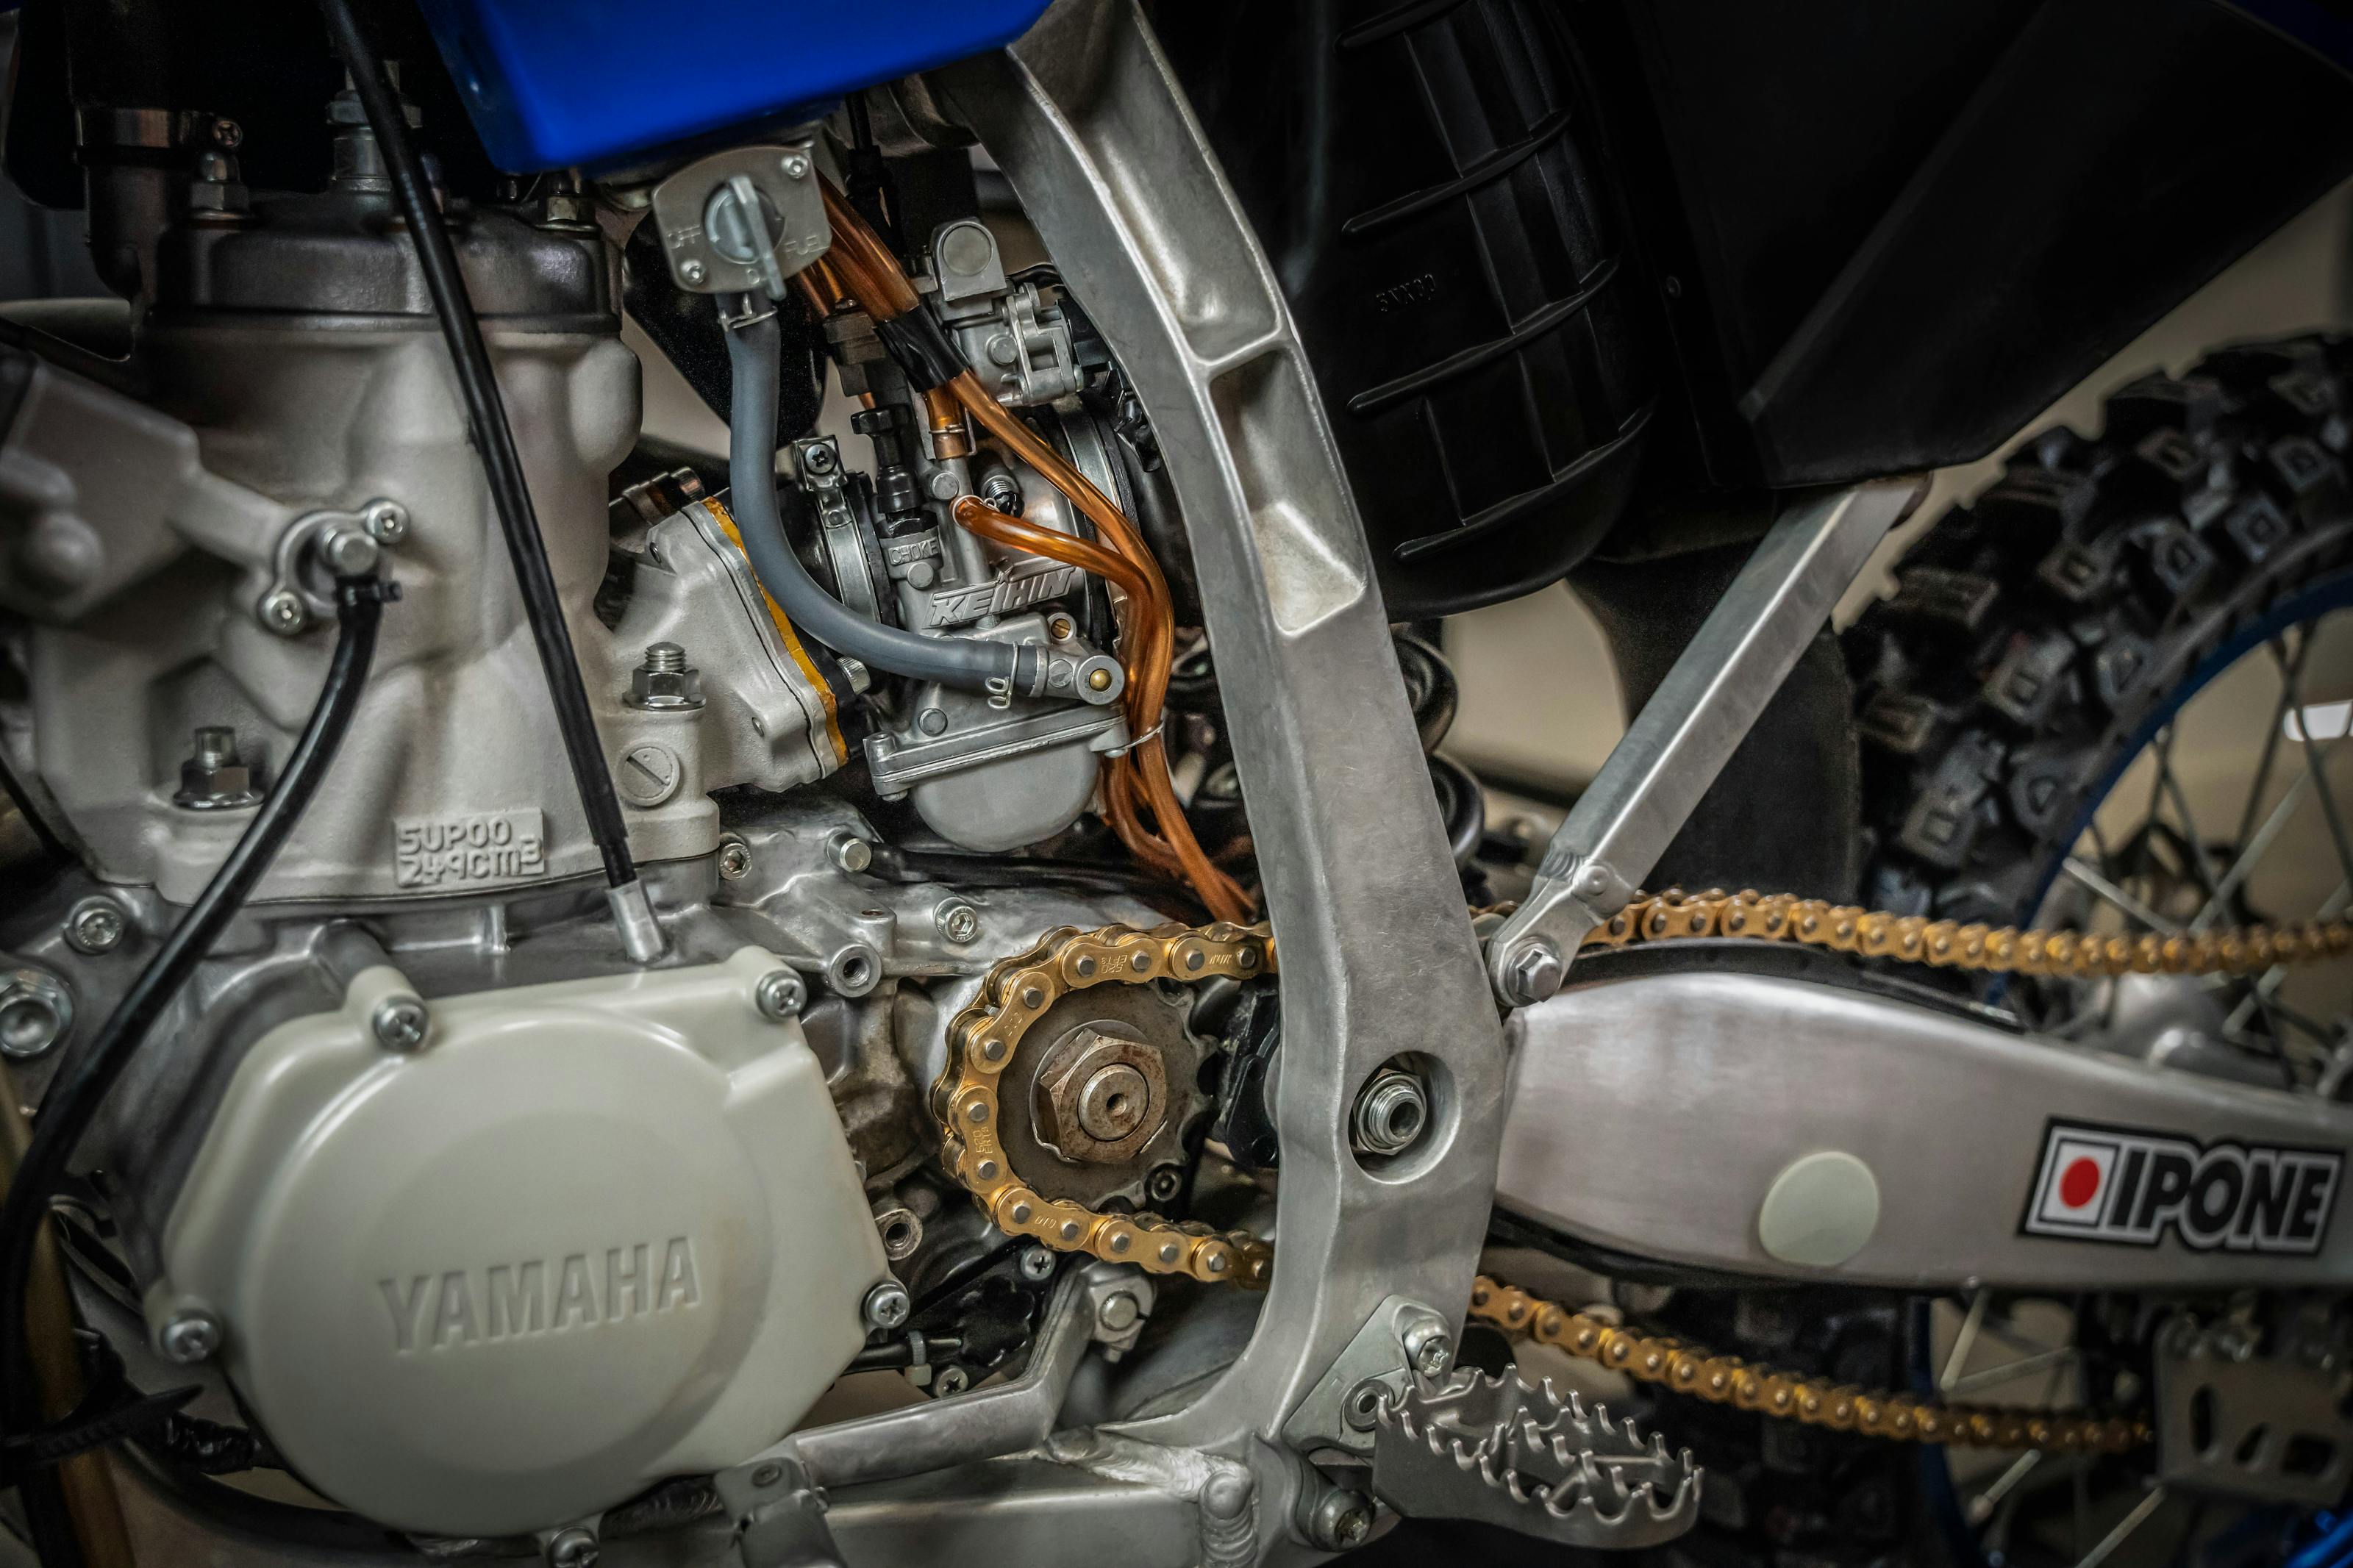
2c. Remove the carburettor from its place by undoing the clamps, removing the accelerator cable and disconnecting the electronic sensors.
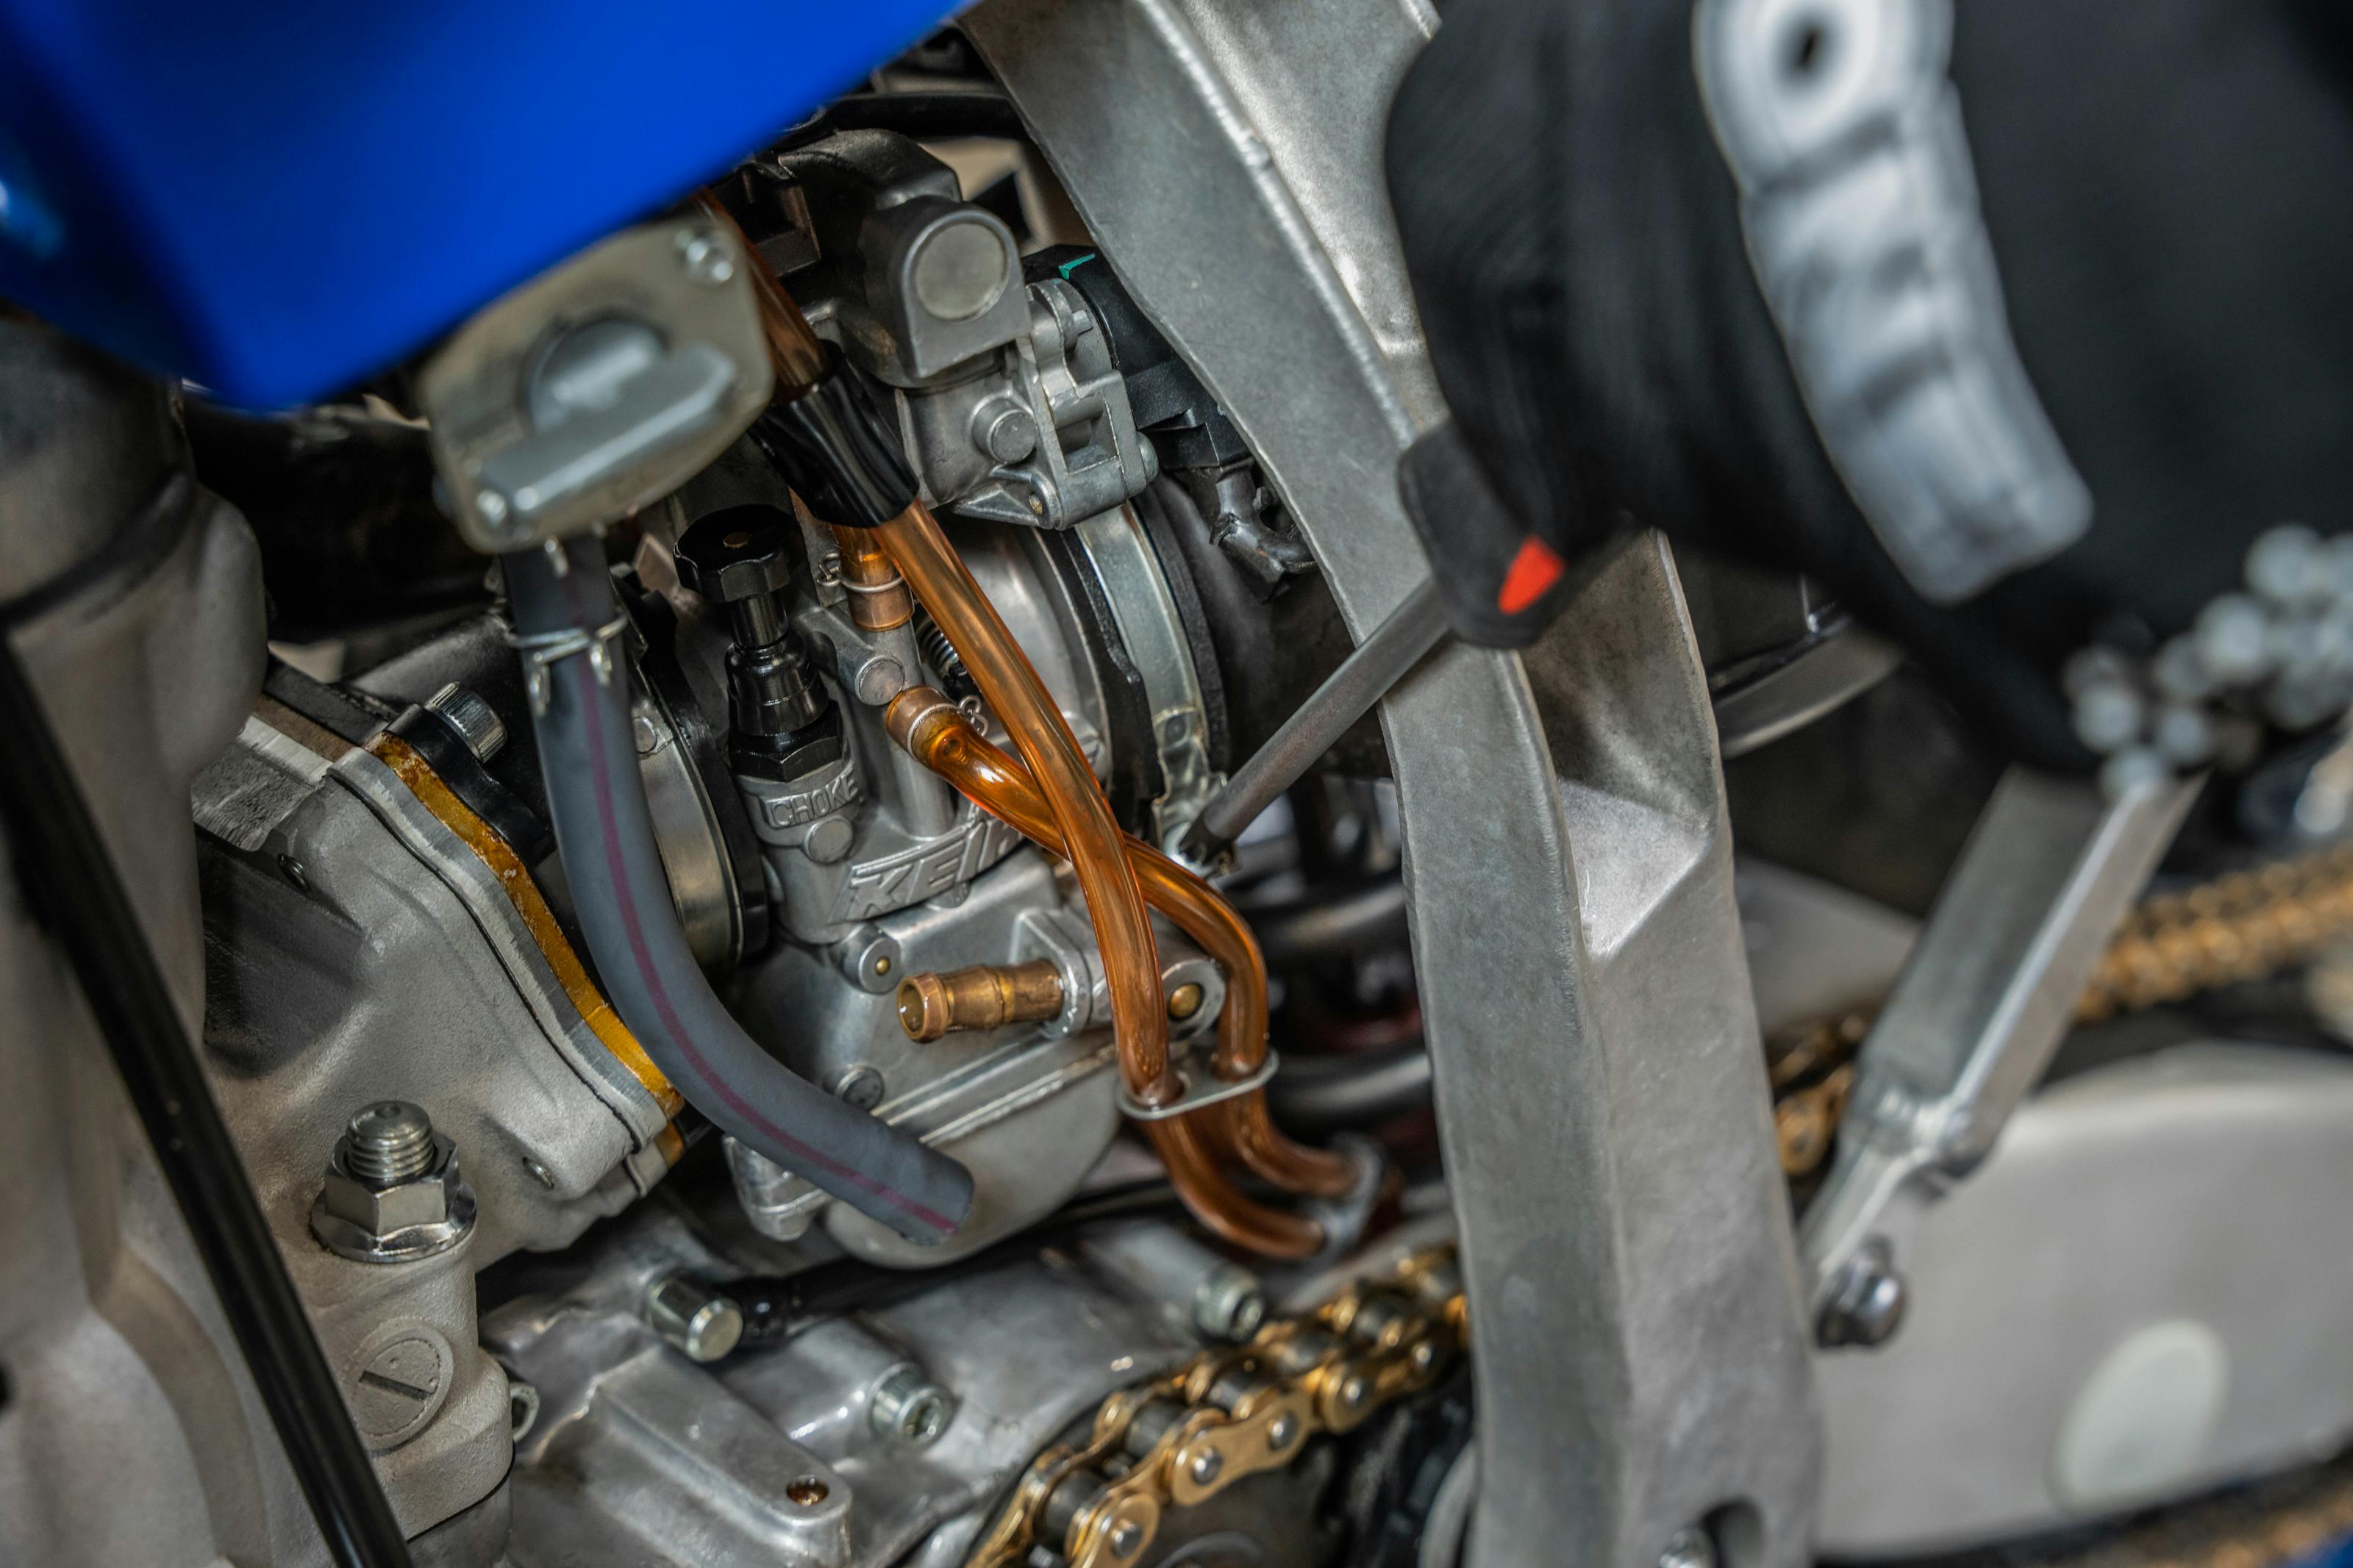
2d. If the carburettor drain screw is accessible, you can drain the float chamber before the next step to prevent fuel leaks.
3. Cleaning
3a. Clean the exterior of the carburettor with Carbu Cleaner.
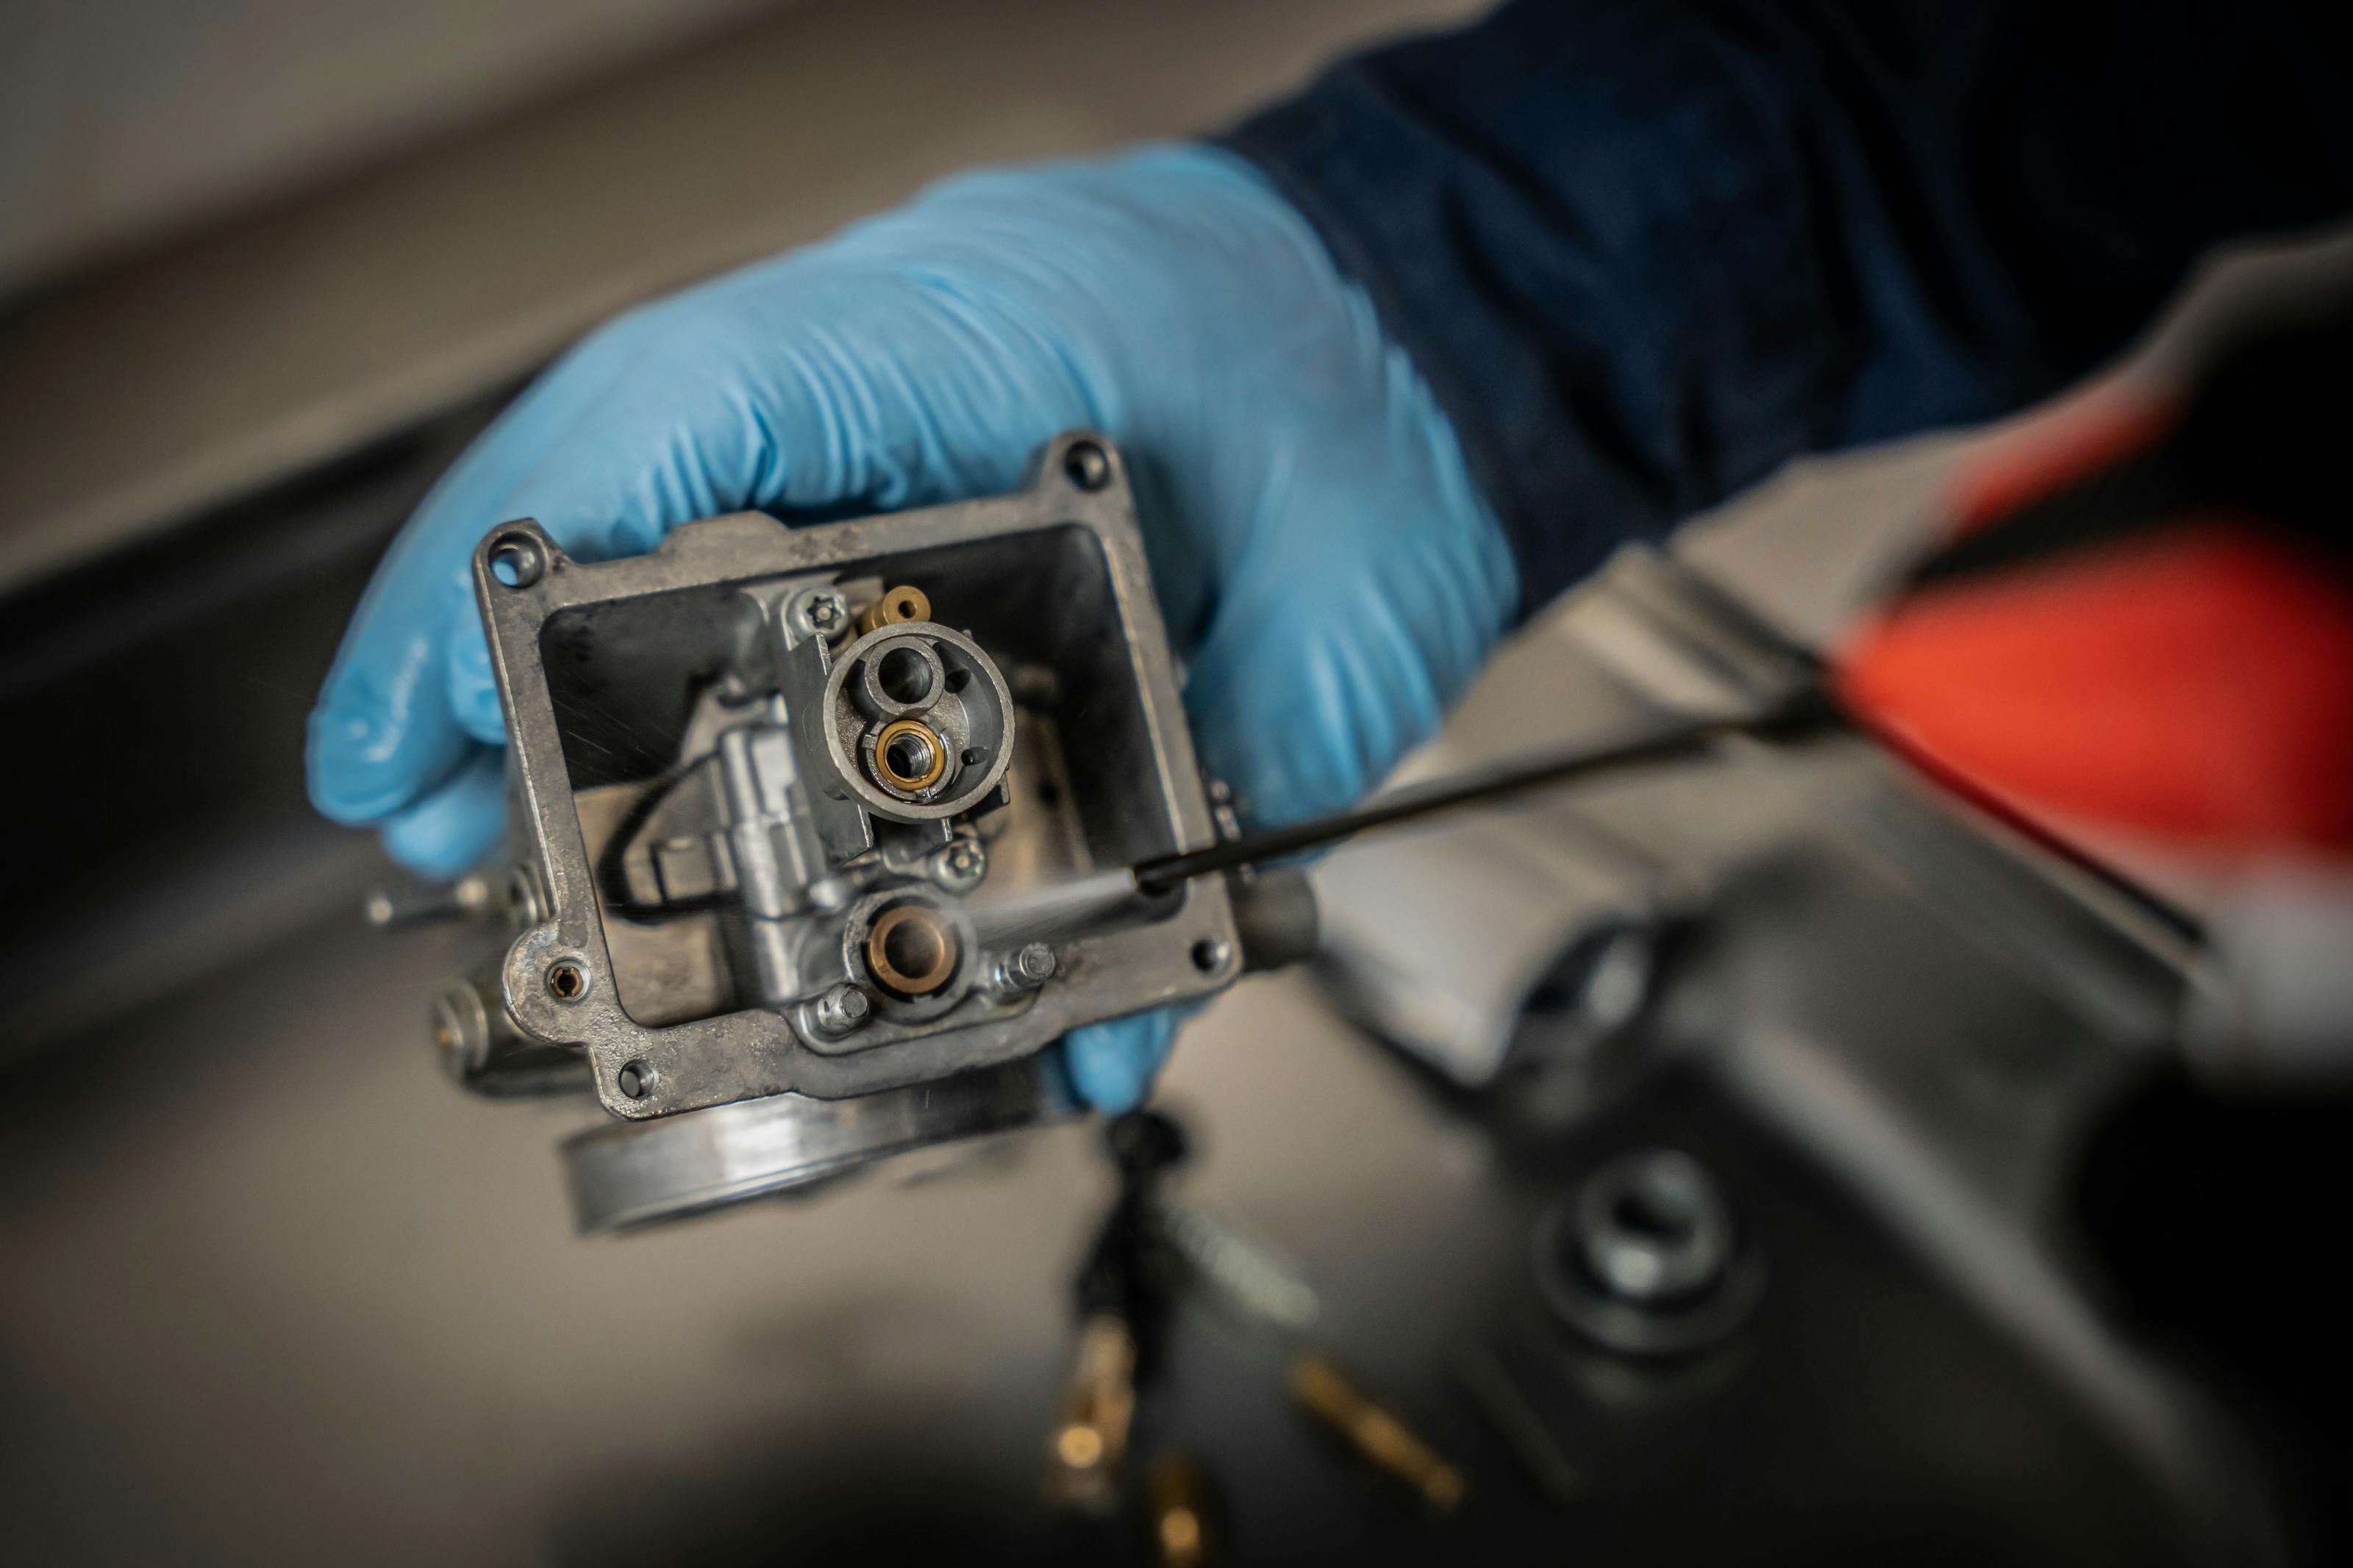
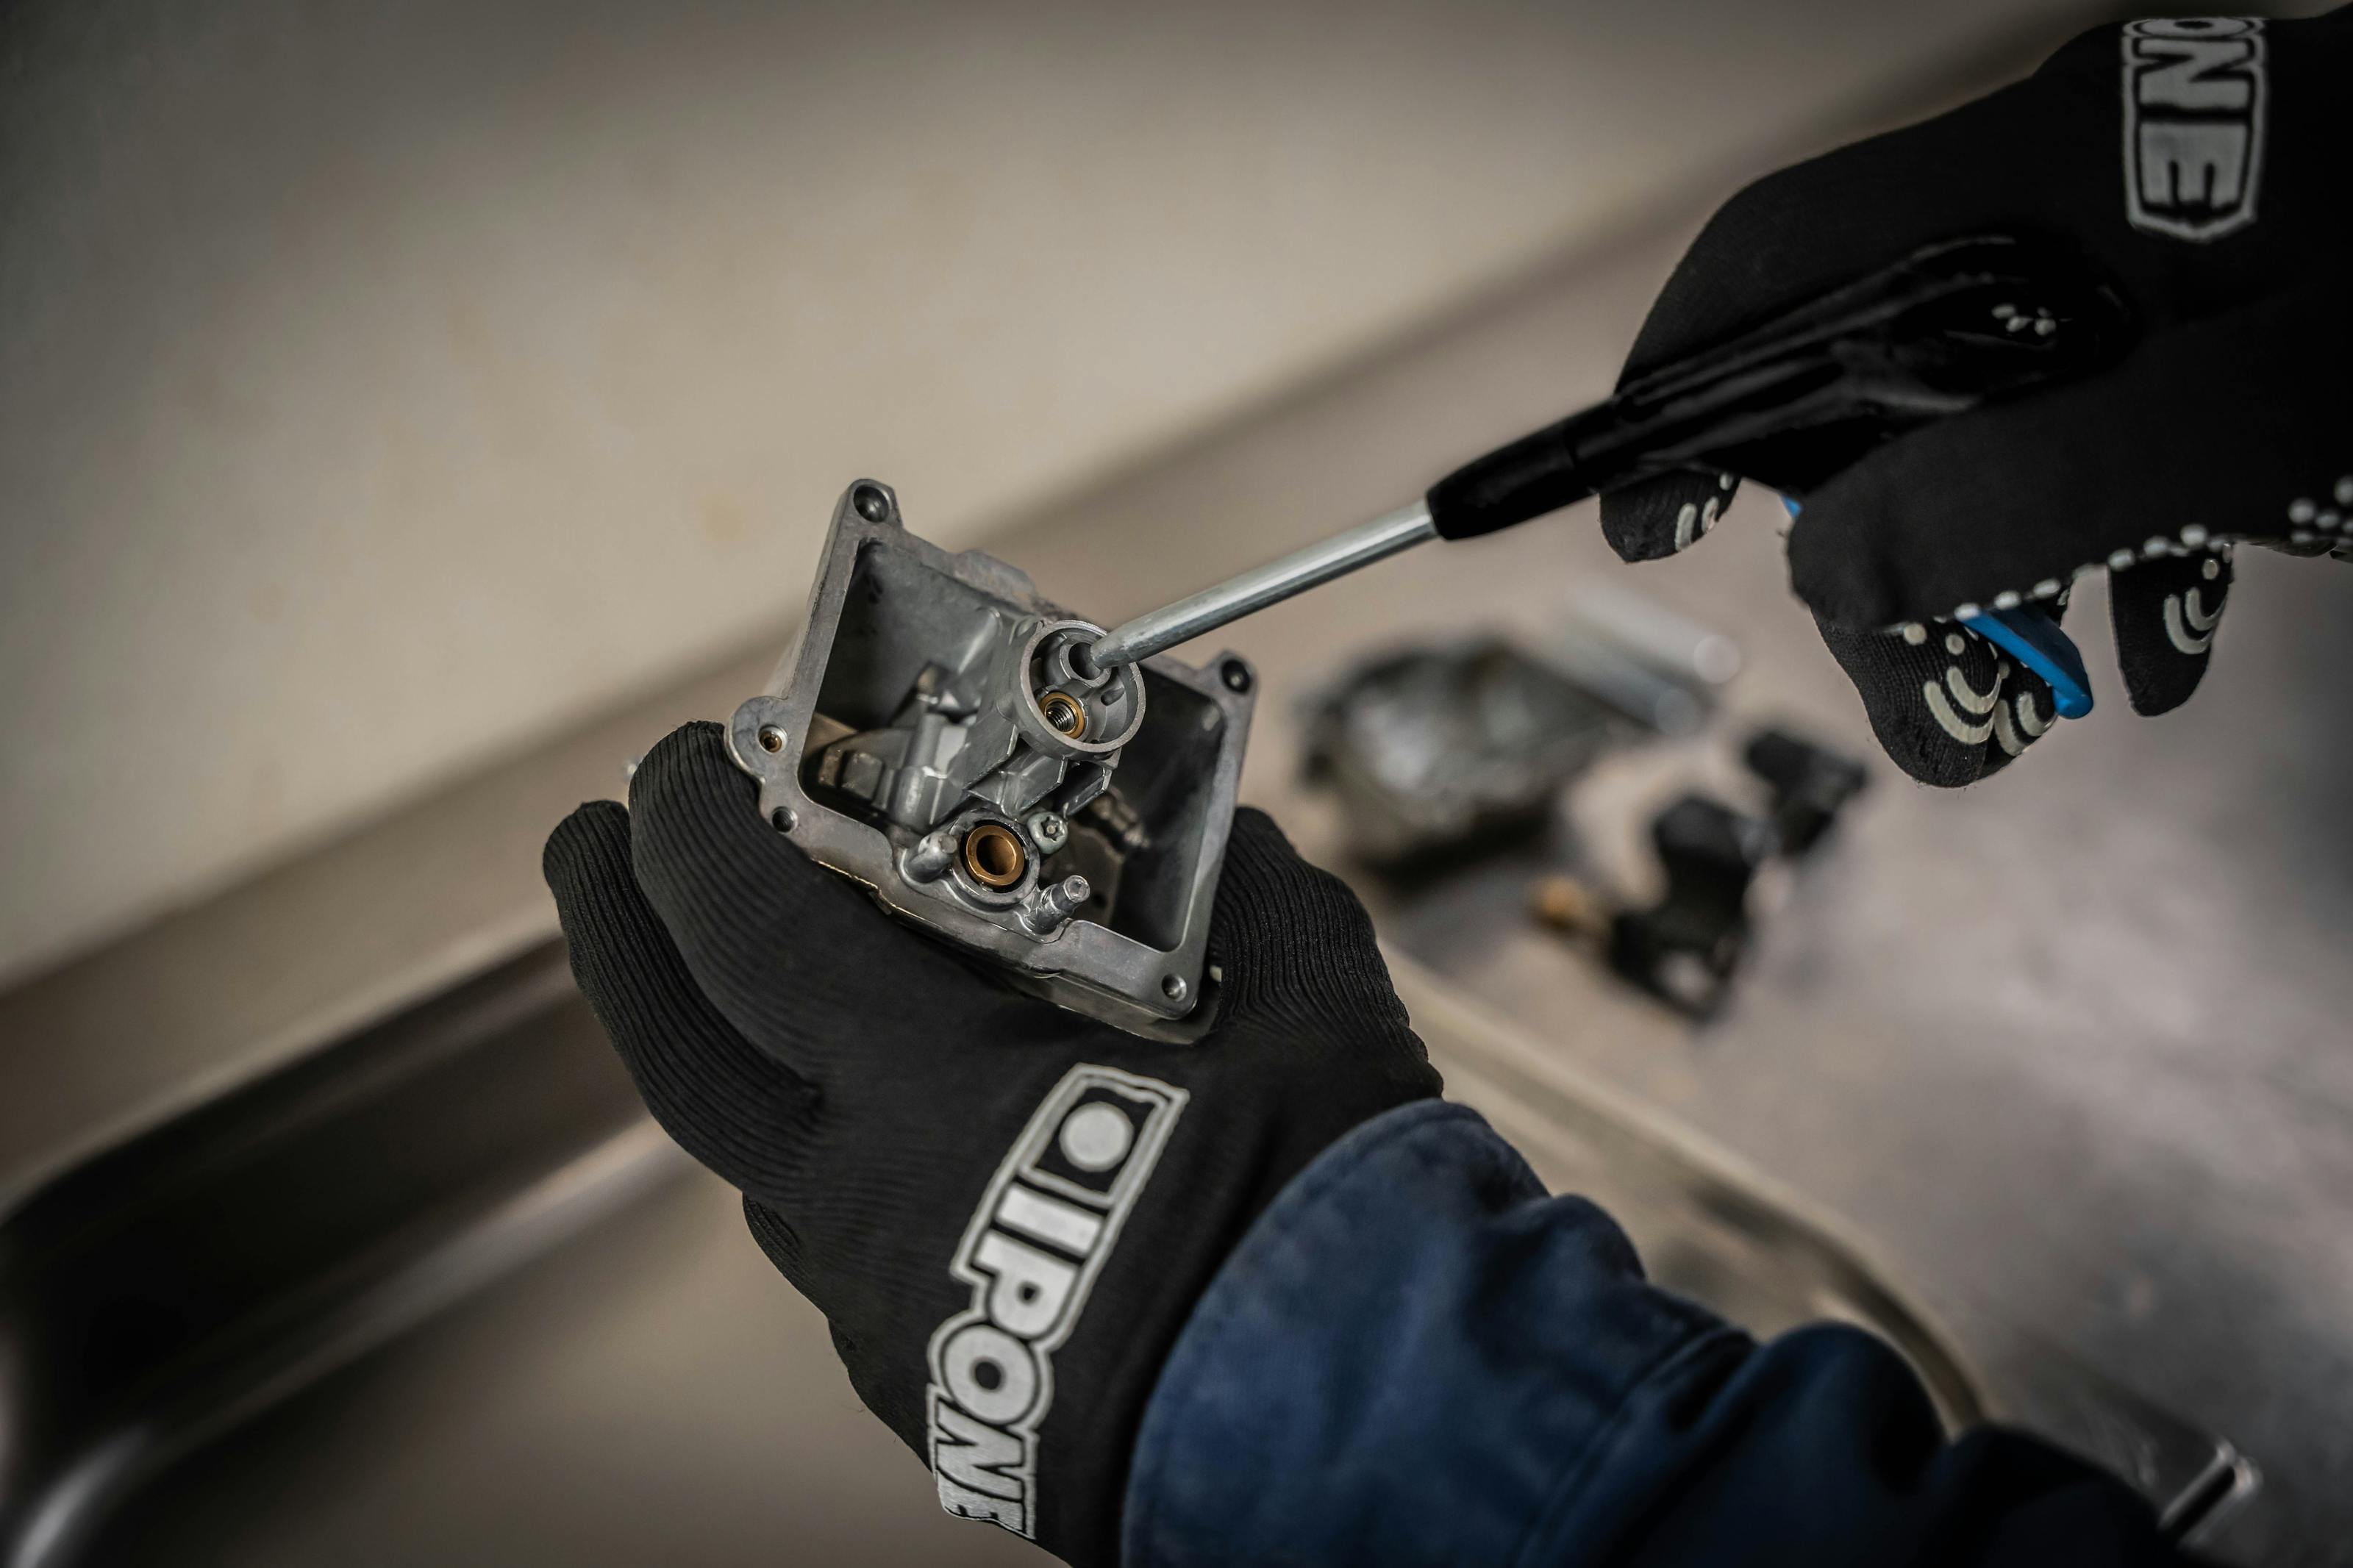
3b. Then it is completely disassembled into spare parts and placed in a stainless steel container.

Spray Carbu Cleaner into all power circuits (jets, float needle, diffuser, float chamber, throttle slide, etc.)
3c. Blow with the compressor's air blow gun in all places in which Carbu Cleaner has been applied.
3d. For a perfect operation we recommend spraying all parts and the exterior of the carburettor with Full Protect which ensures optimal slippage of the cables and moving parts.
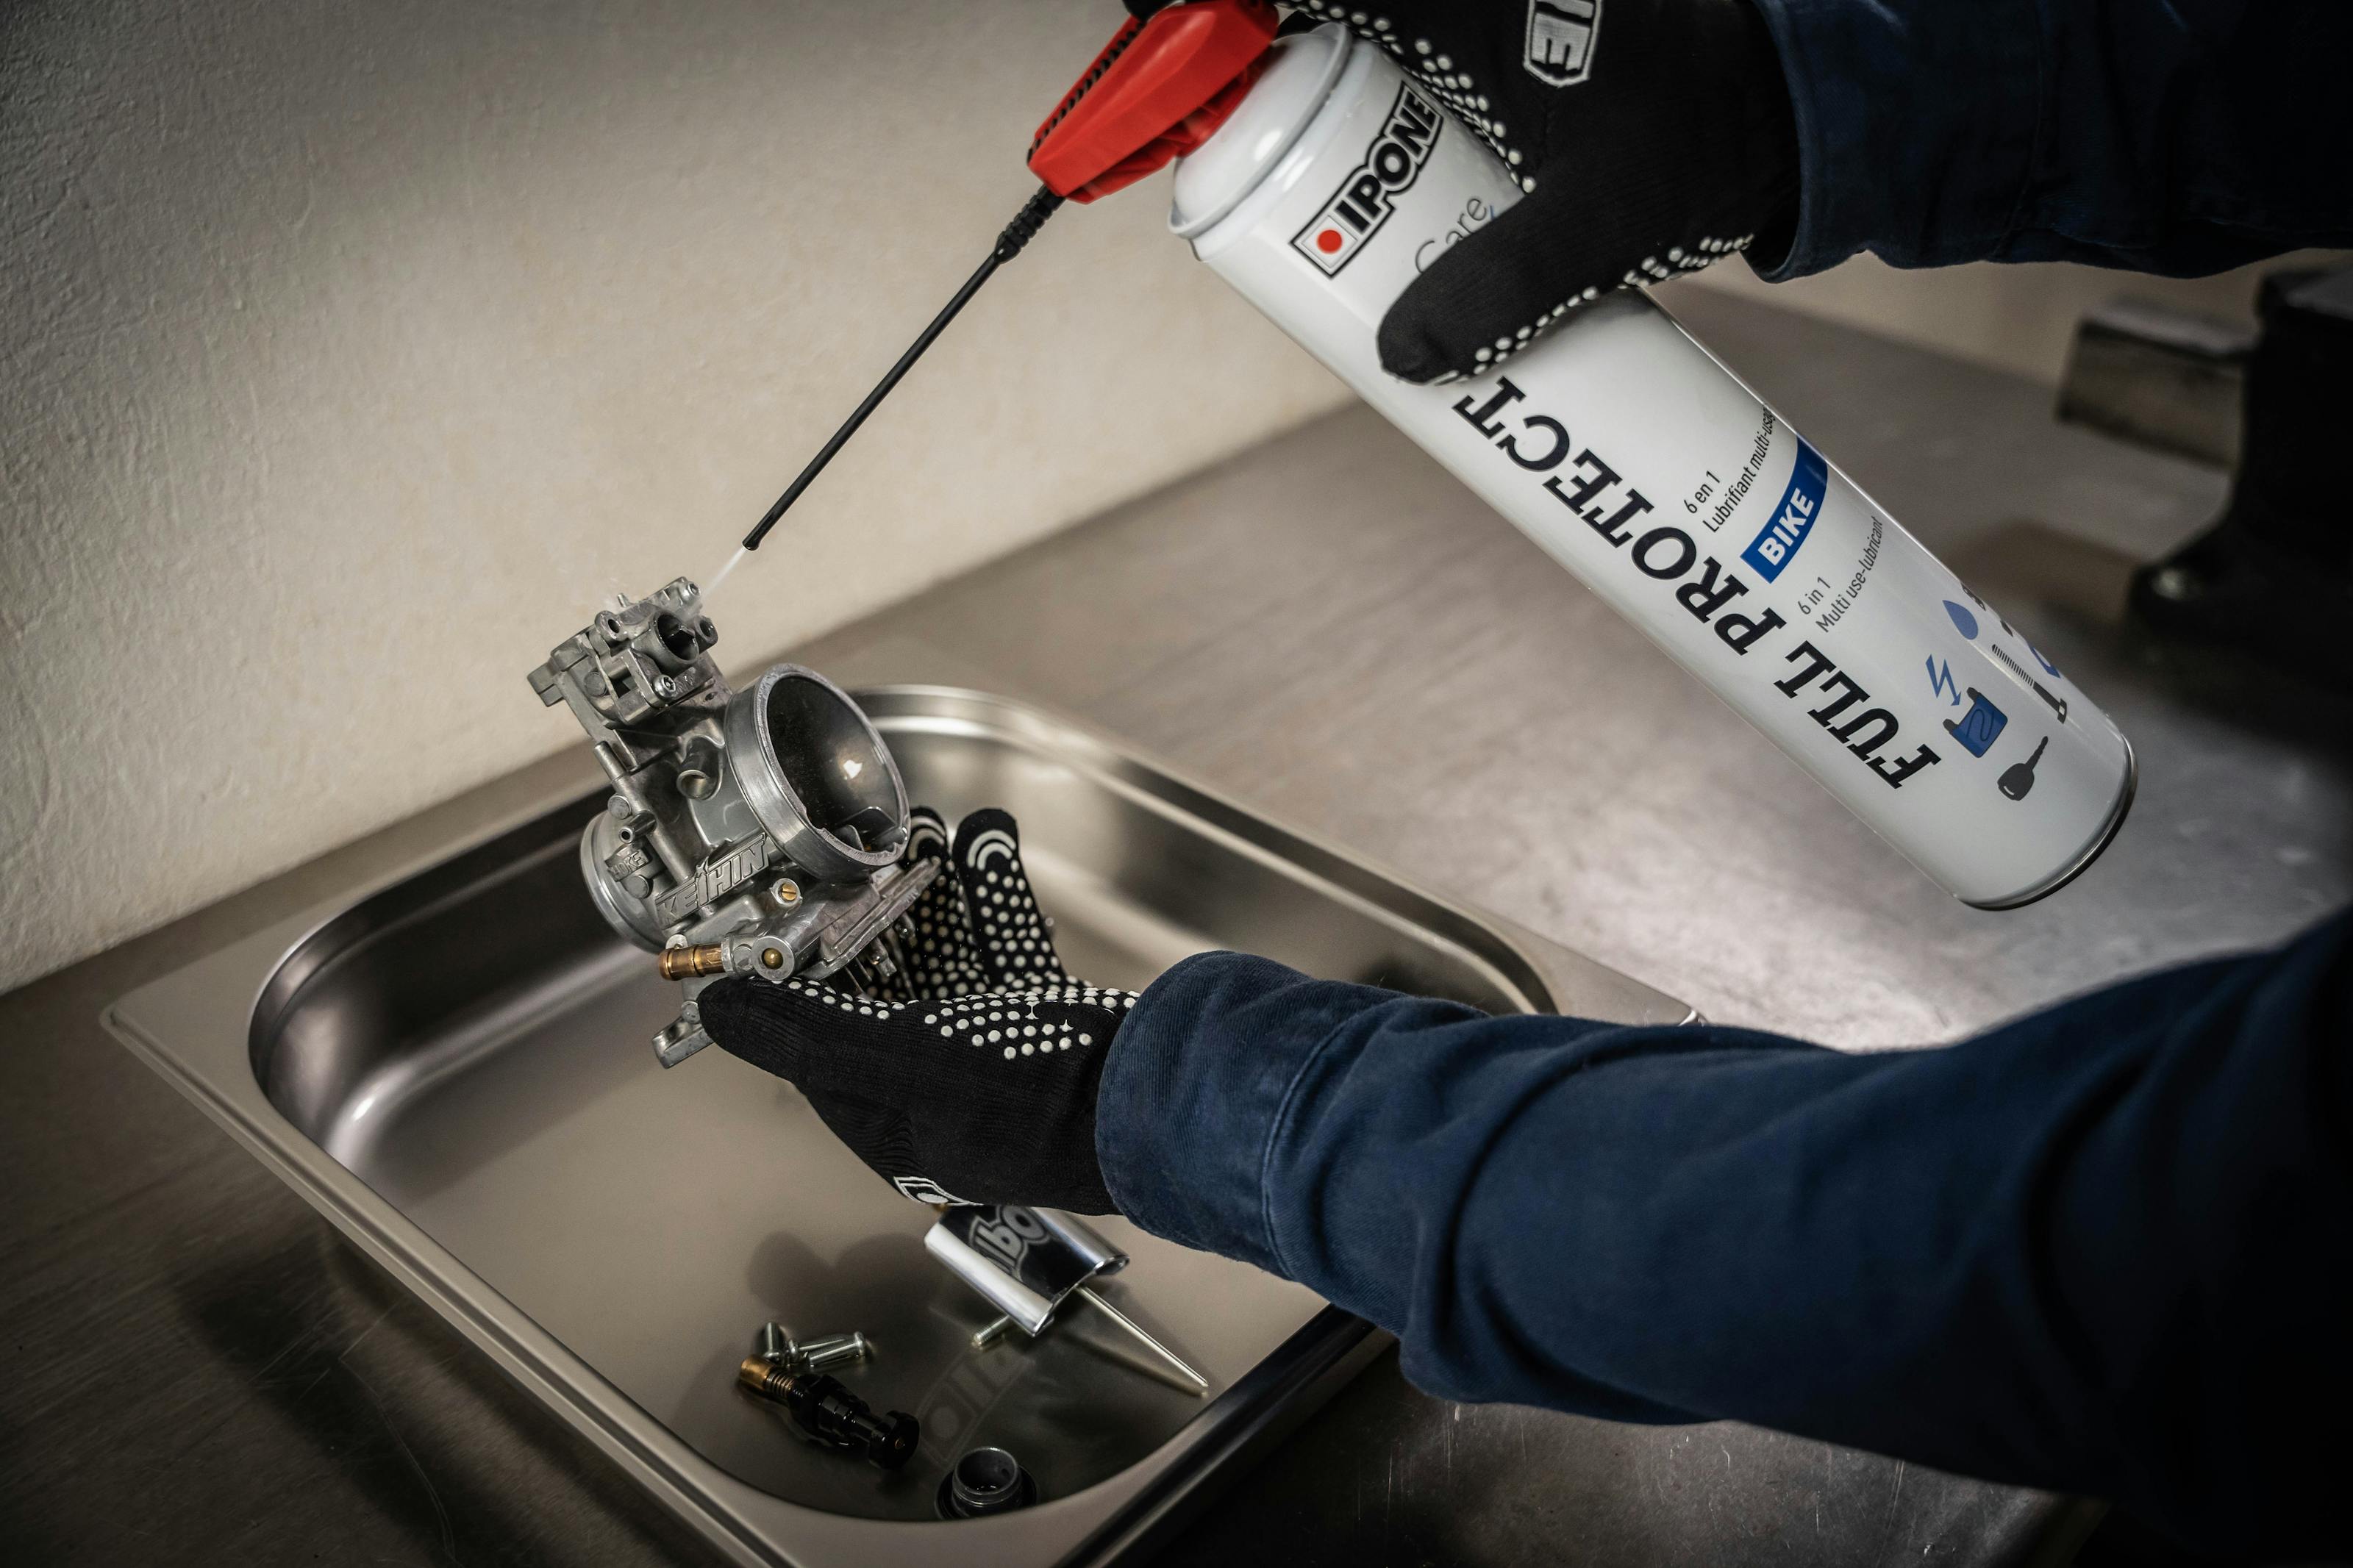
Finally, reassemble everything, turn back on the fuel supply and we're done!
The essentials in video
To continue, we suggest watching our video tutorial on the same subject.
THE PRODUCTS YOU NEED


After any intervention on your bike, we recommend going for a small ride at cruising speed, this will allow you to control that everything is in place and that the operation has been carried out properly.
Enjoy your ride !
#iponefamily
.png?ixlib=gatsbyFP&auto=compress%2Cformat&fit=max&h=&w=3200)
.png?ixlib=gatsbyFP&auto=compress%2Cformat&fit=max&h=&w=3200)
.png?ixlib=gatsbyFP&auto=compress%2Cformat&fit=max&h=&w=3200)