How to check and change
your motorcycle's coolant
Know everything so that your machine never experience overheating.
4 COOLANT BENEFITS
Avoid overheating
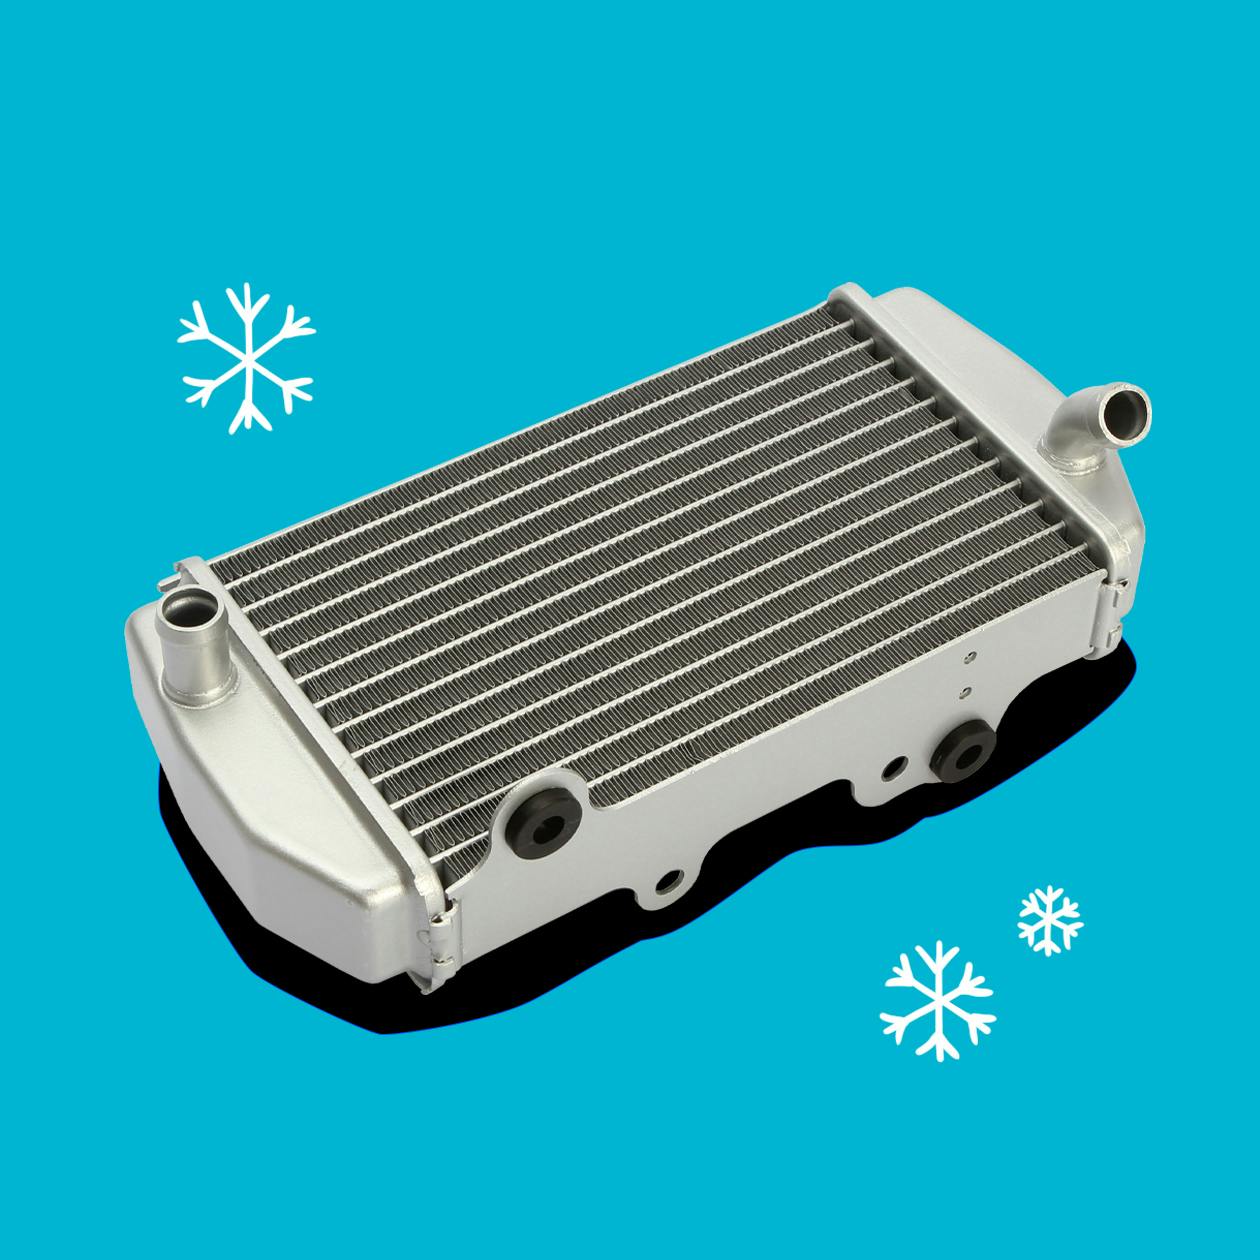
Frost protection
Eliminates deposits
Prevents corrosion
TOP UP YOUR COOLANT
Level of difficulty : ⭐⭐⭐
Average time needed : 20 min ⏳
When ?
- Of course, when the light comes on, it's time to do it.
- But to avoid getting to that point, you have to monitor it on a regular basis and top it up it if necessary.
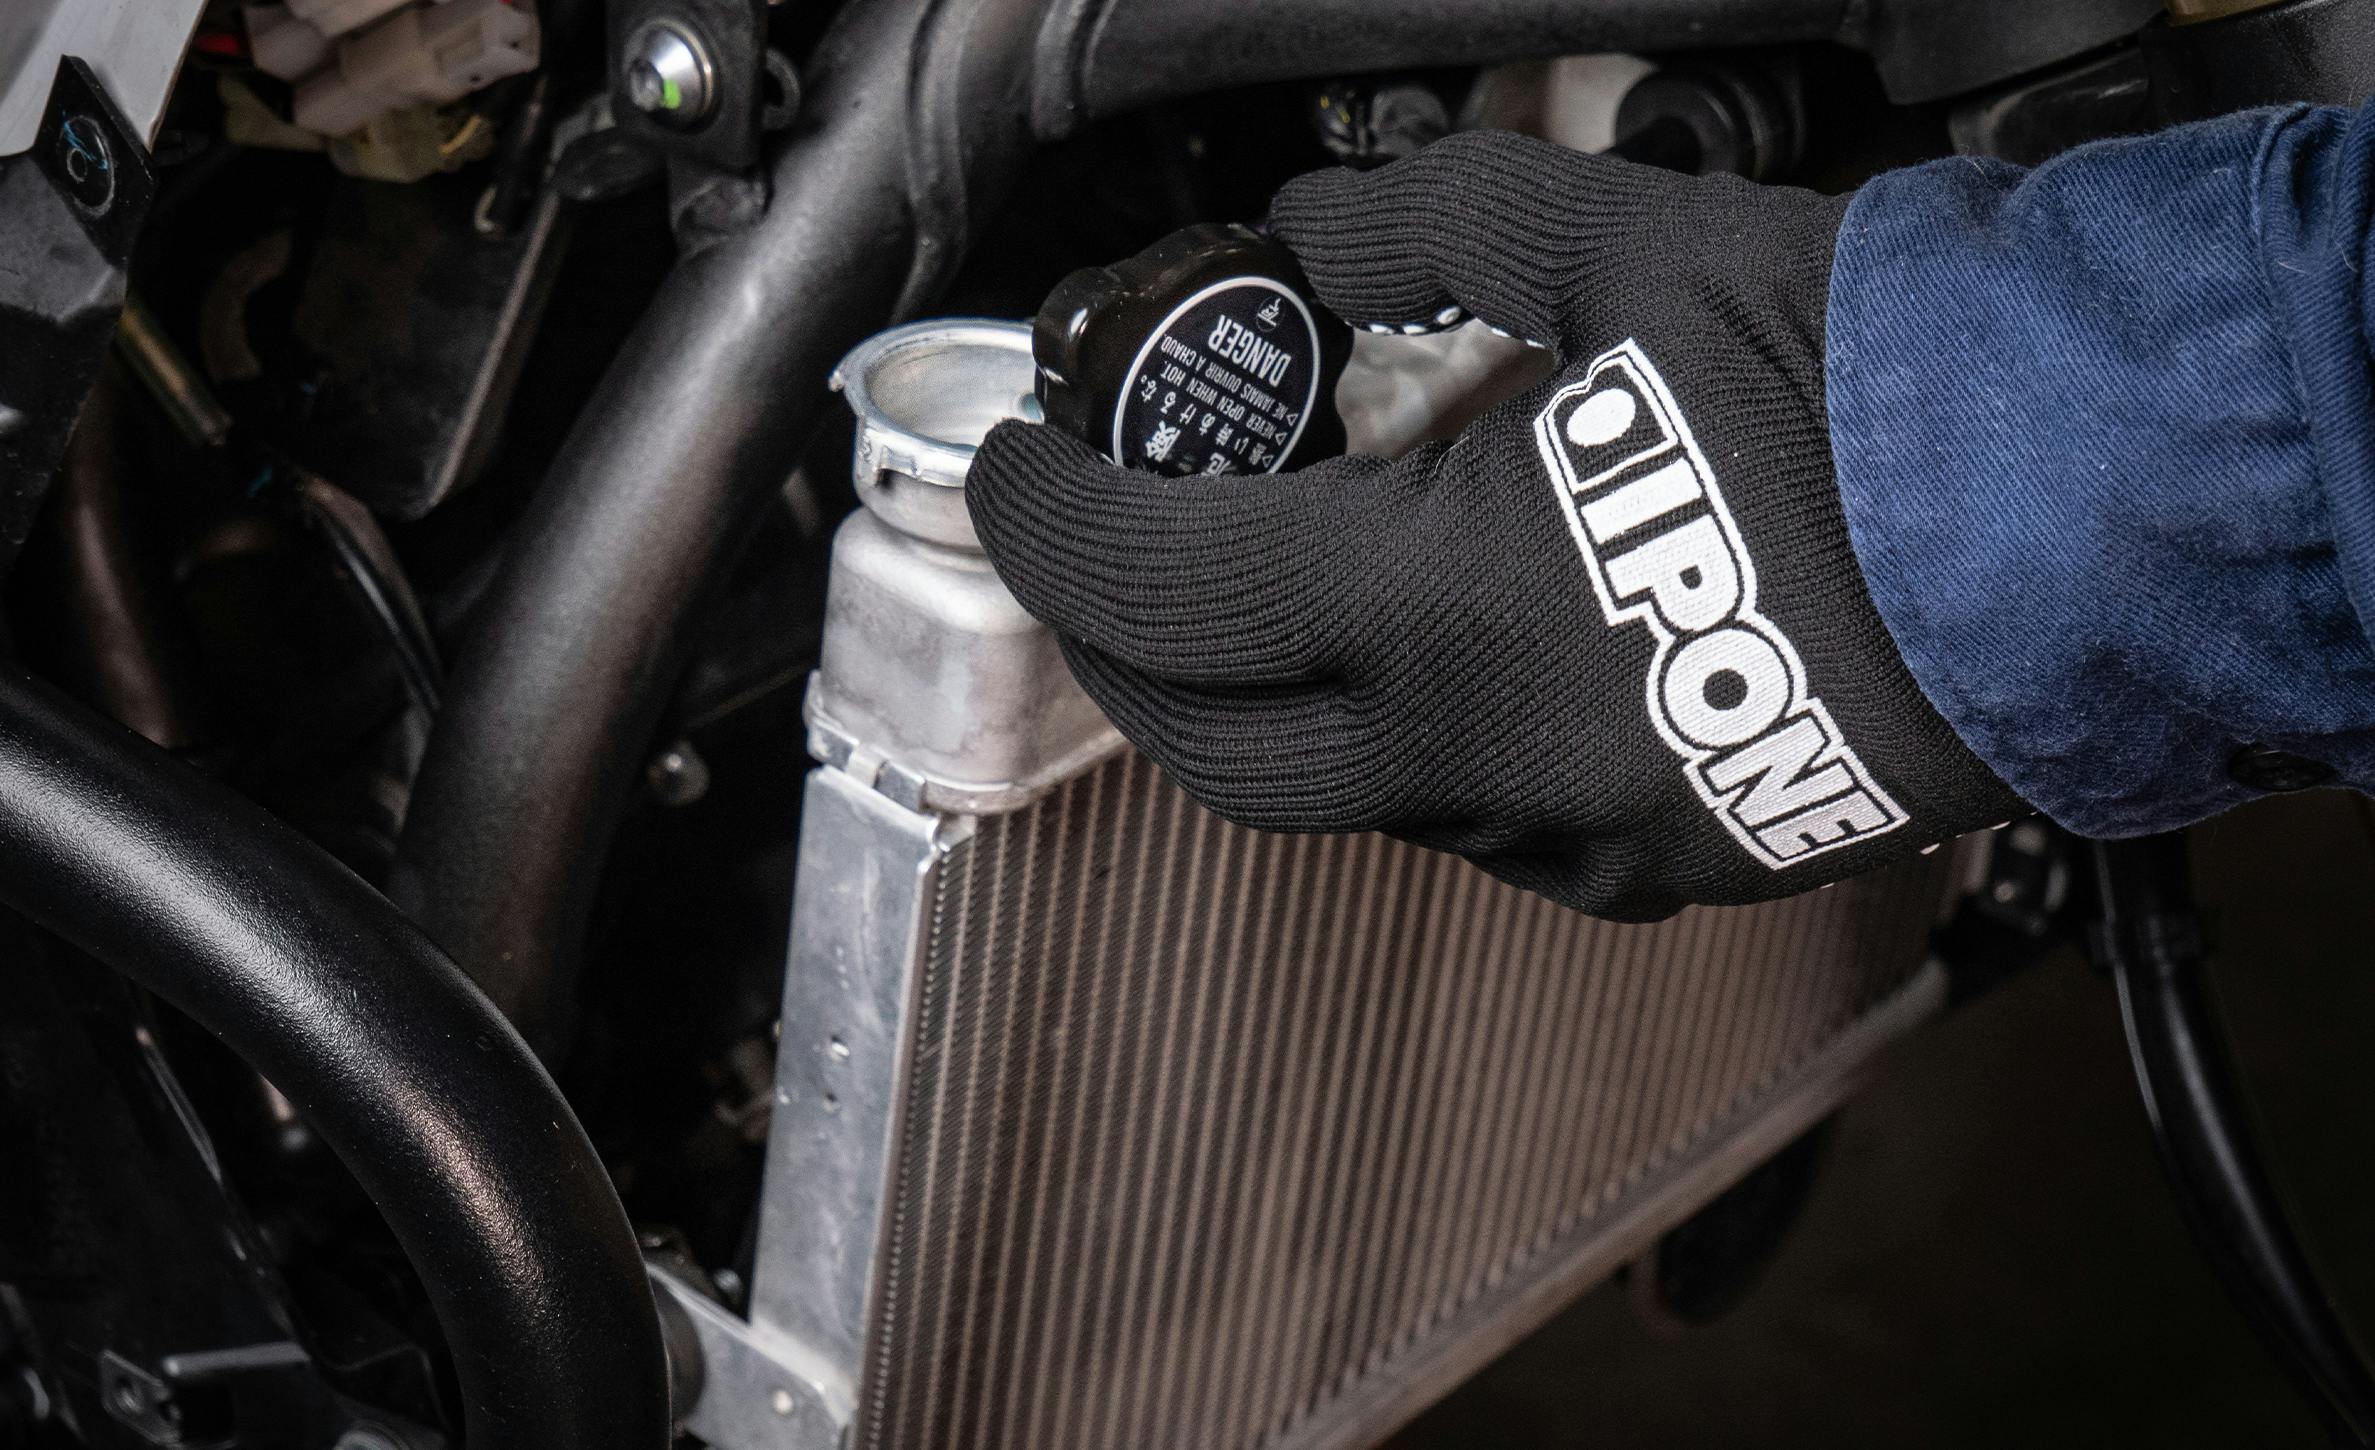
❄ Always when the engine is cold
No matter what what you're doing when it comes to the cooling system, you have to wait until the bike is cold. Be careful never to open the cap to check the levels or drain when the bike is hot, you might burn yourself!
How to check the levels
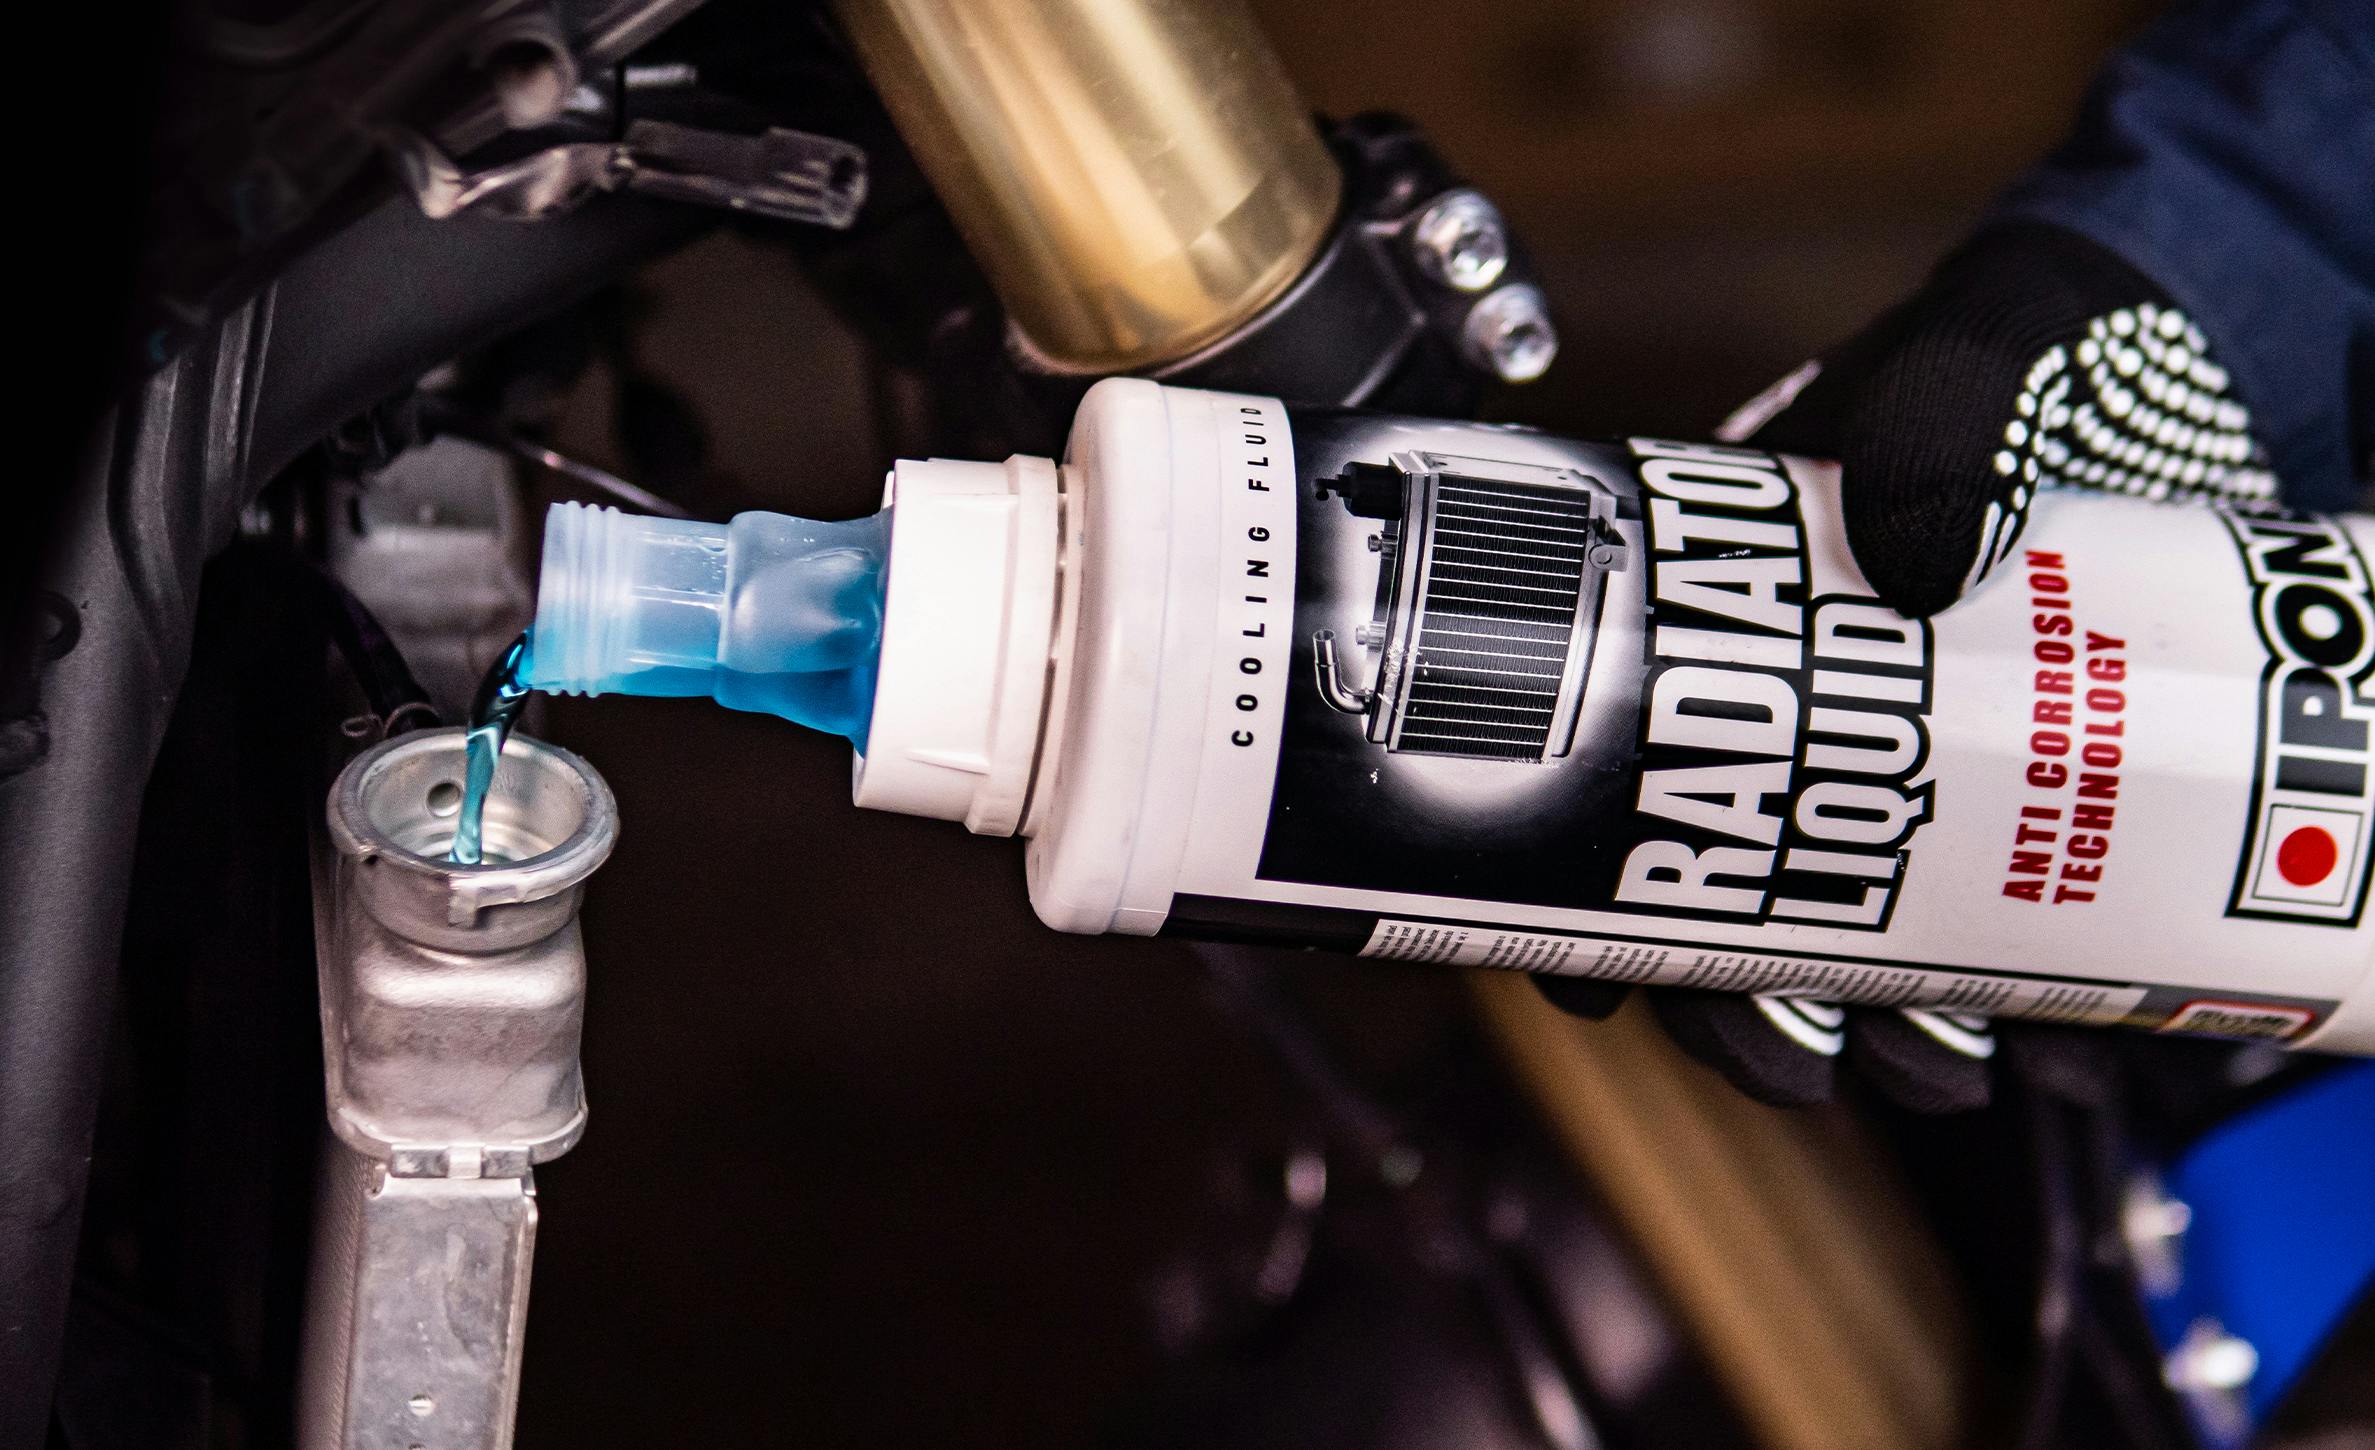
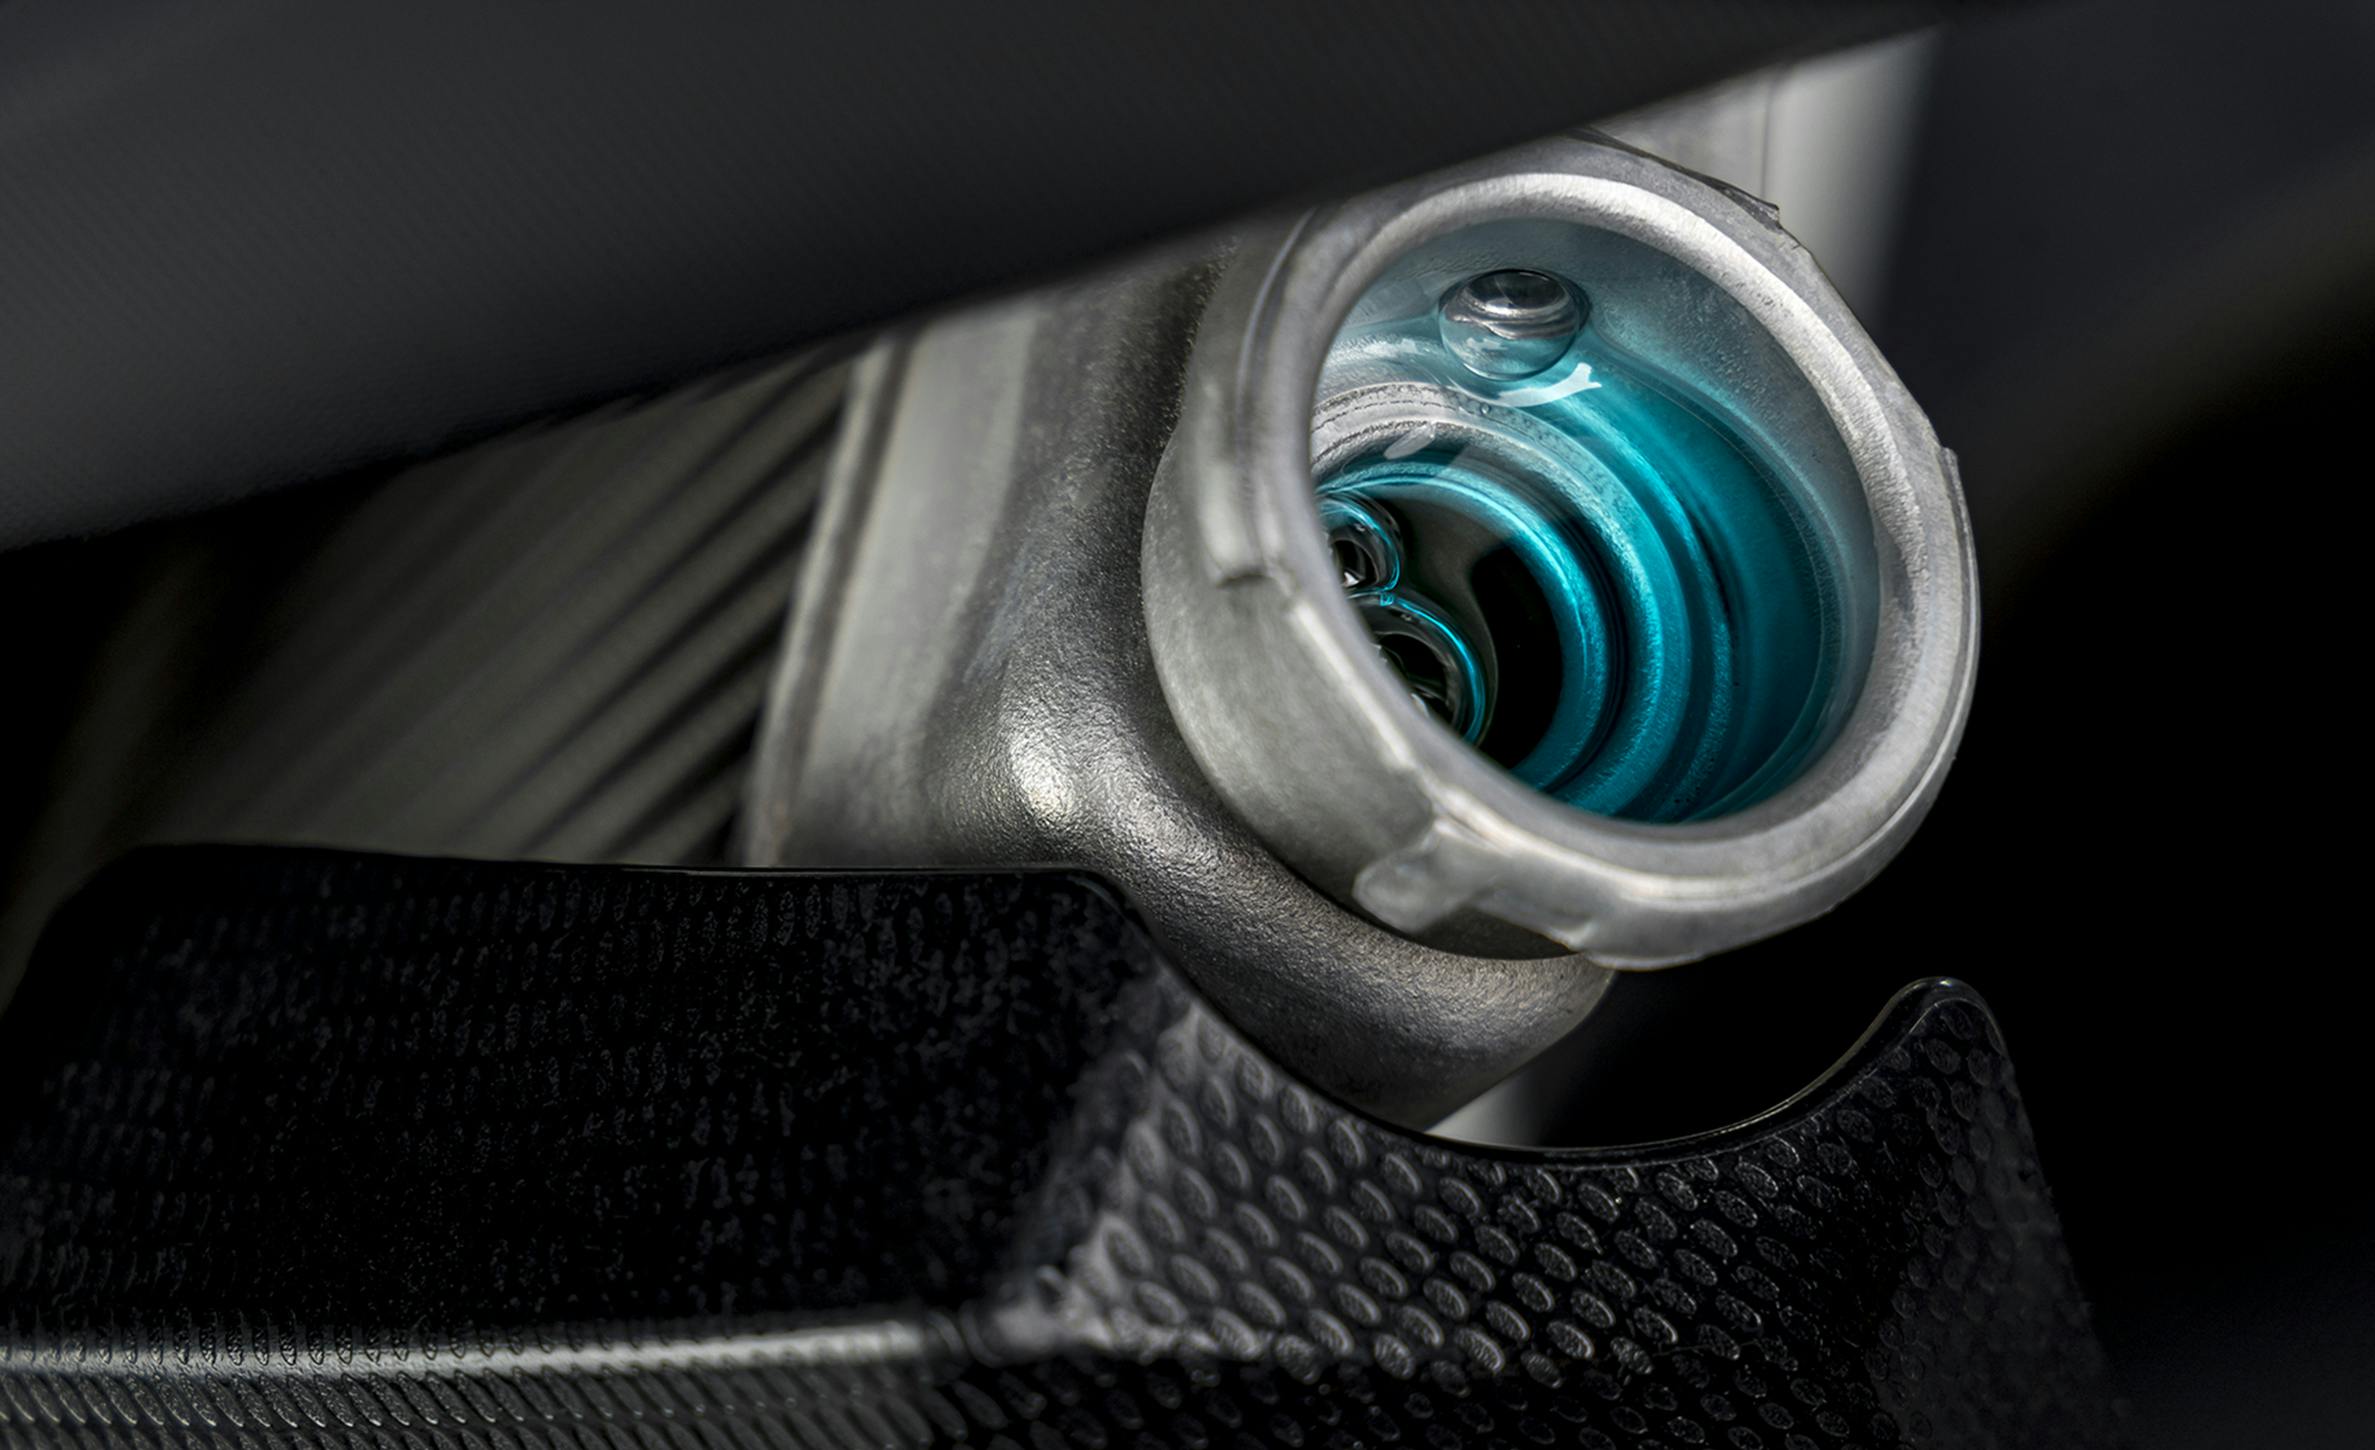
Open the radiator cap.
Top up the radiator, making sure not to exceed the maximum level.
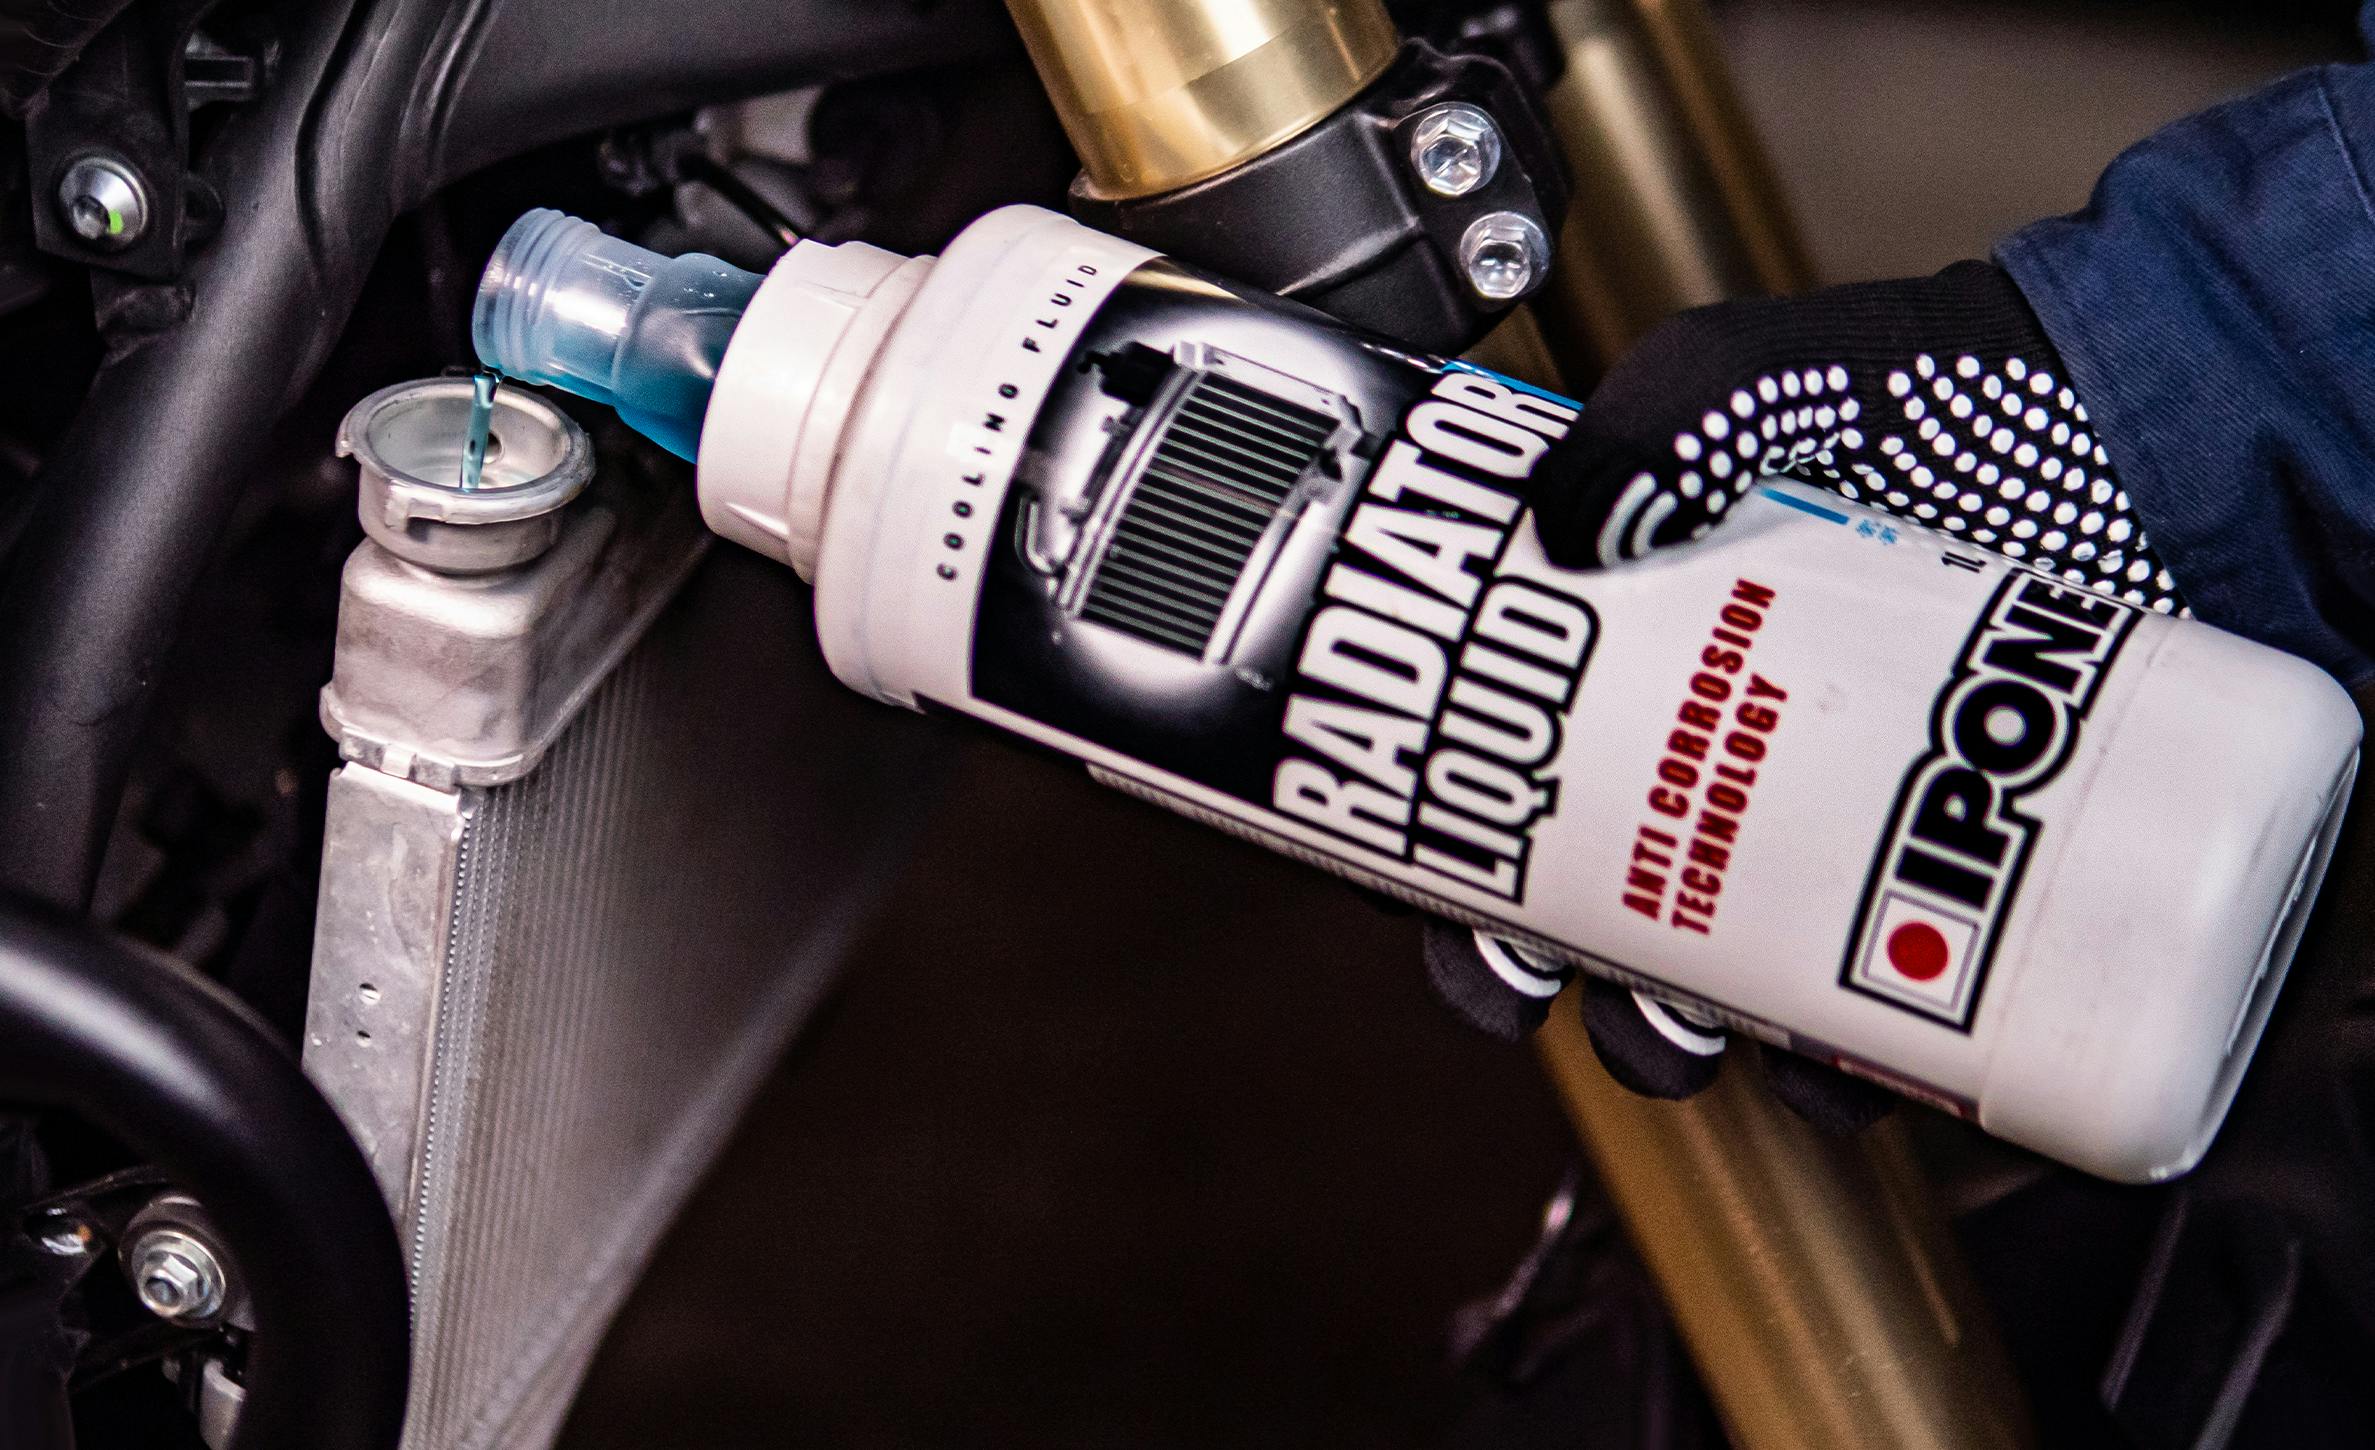
For this operation, our product Radiator Liquid is super practical with its blue color, you can easily see the level !
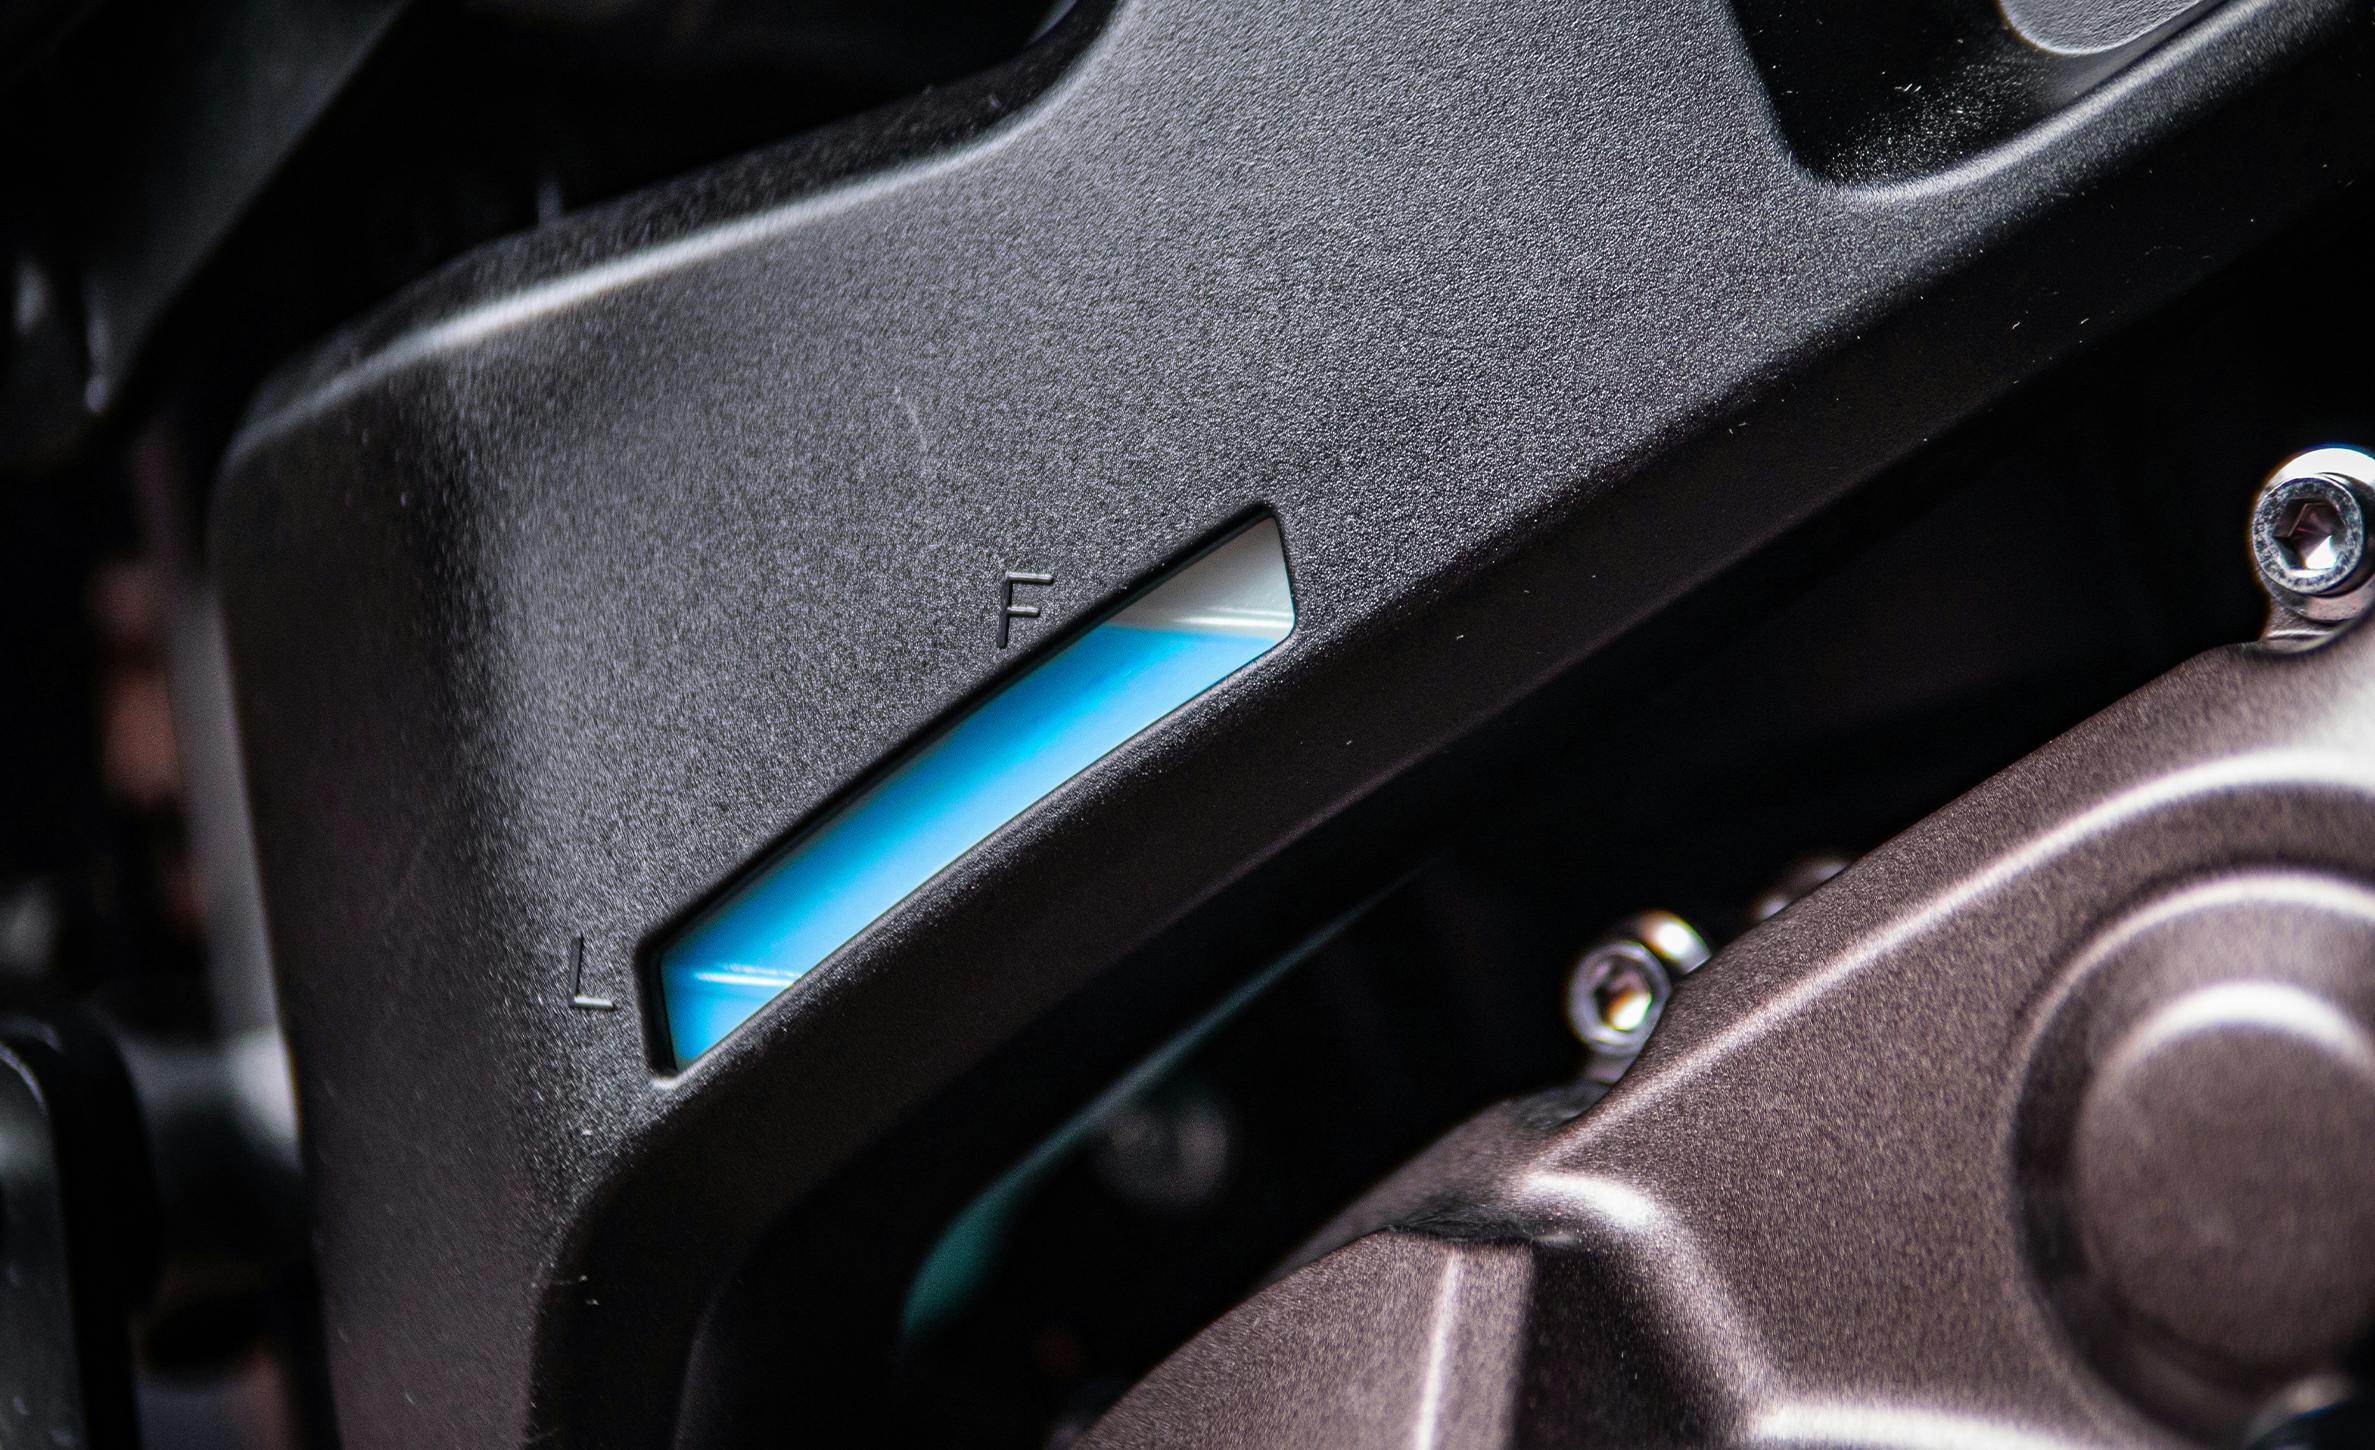
Tip for road motorcycles
If you have a road bike, there is probably an expansion tank. In that case, do not open the radiator cap, just fill the expansion tank (when cold, always) until reaching the maximum level indicated on the expansion tank. Don’t overdo it, stop just before the line!
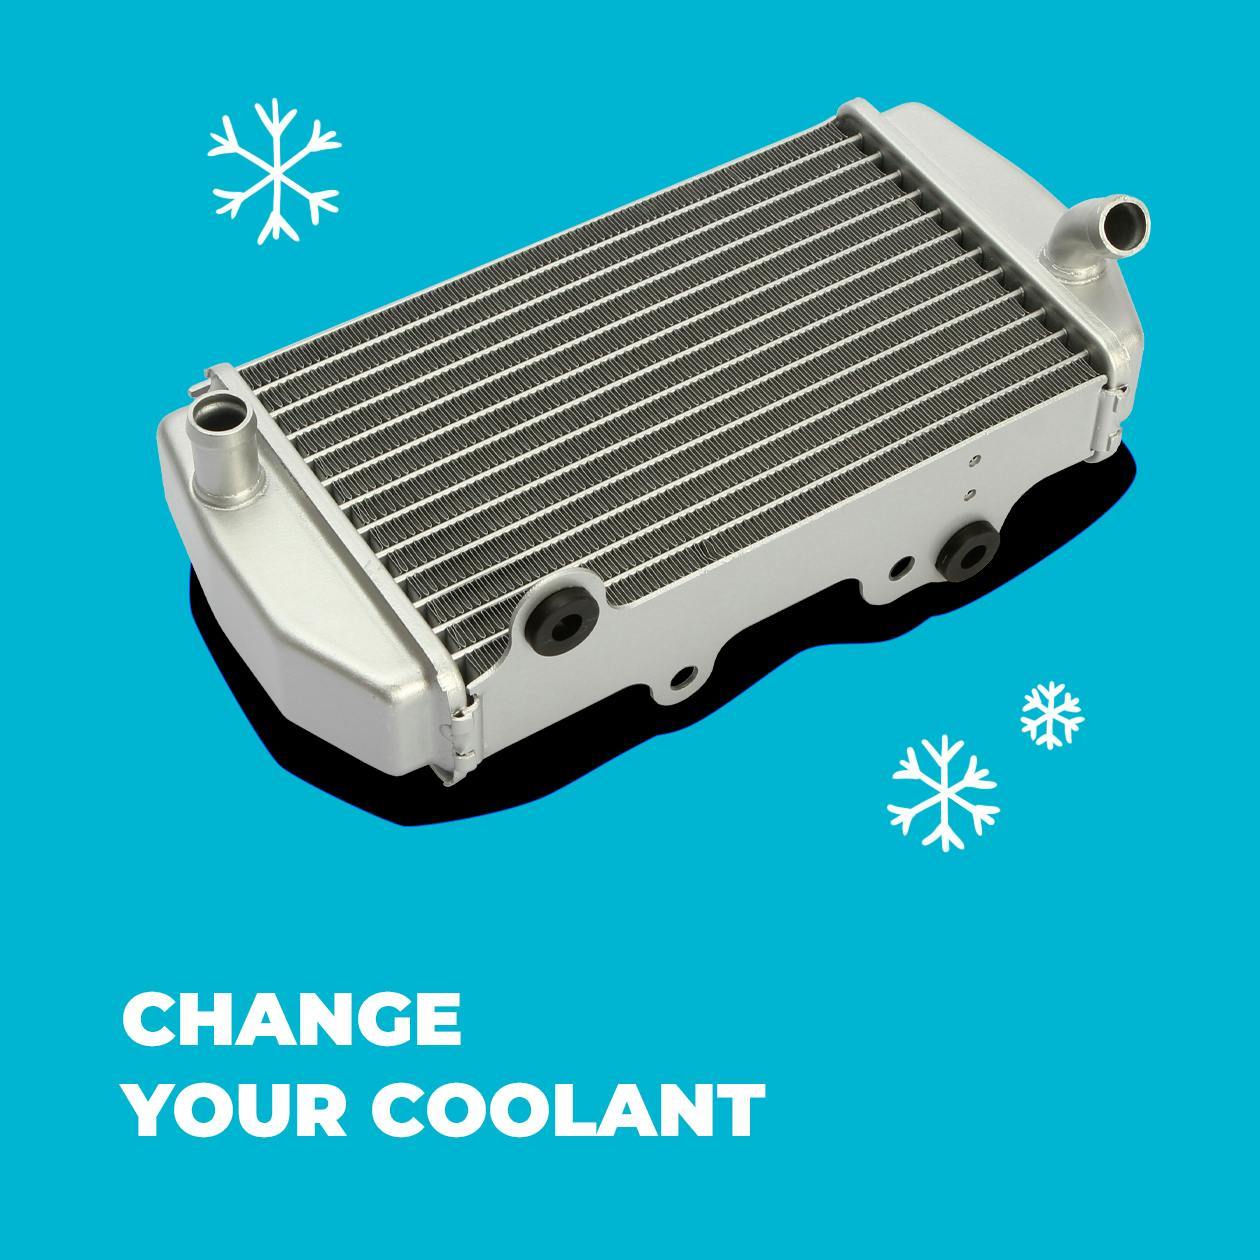
CHANGE THE COOLANT
Level of difficulty : ⭐⭐⭐⭐
Average time needed : 1 hour ⏳
When ?
For optimal operation, it is recommended to drain this liquid every 2 years or every 20,000 km.
Necessary equipment
Here’s what you need:
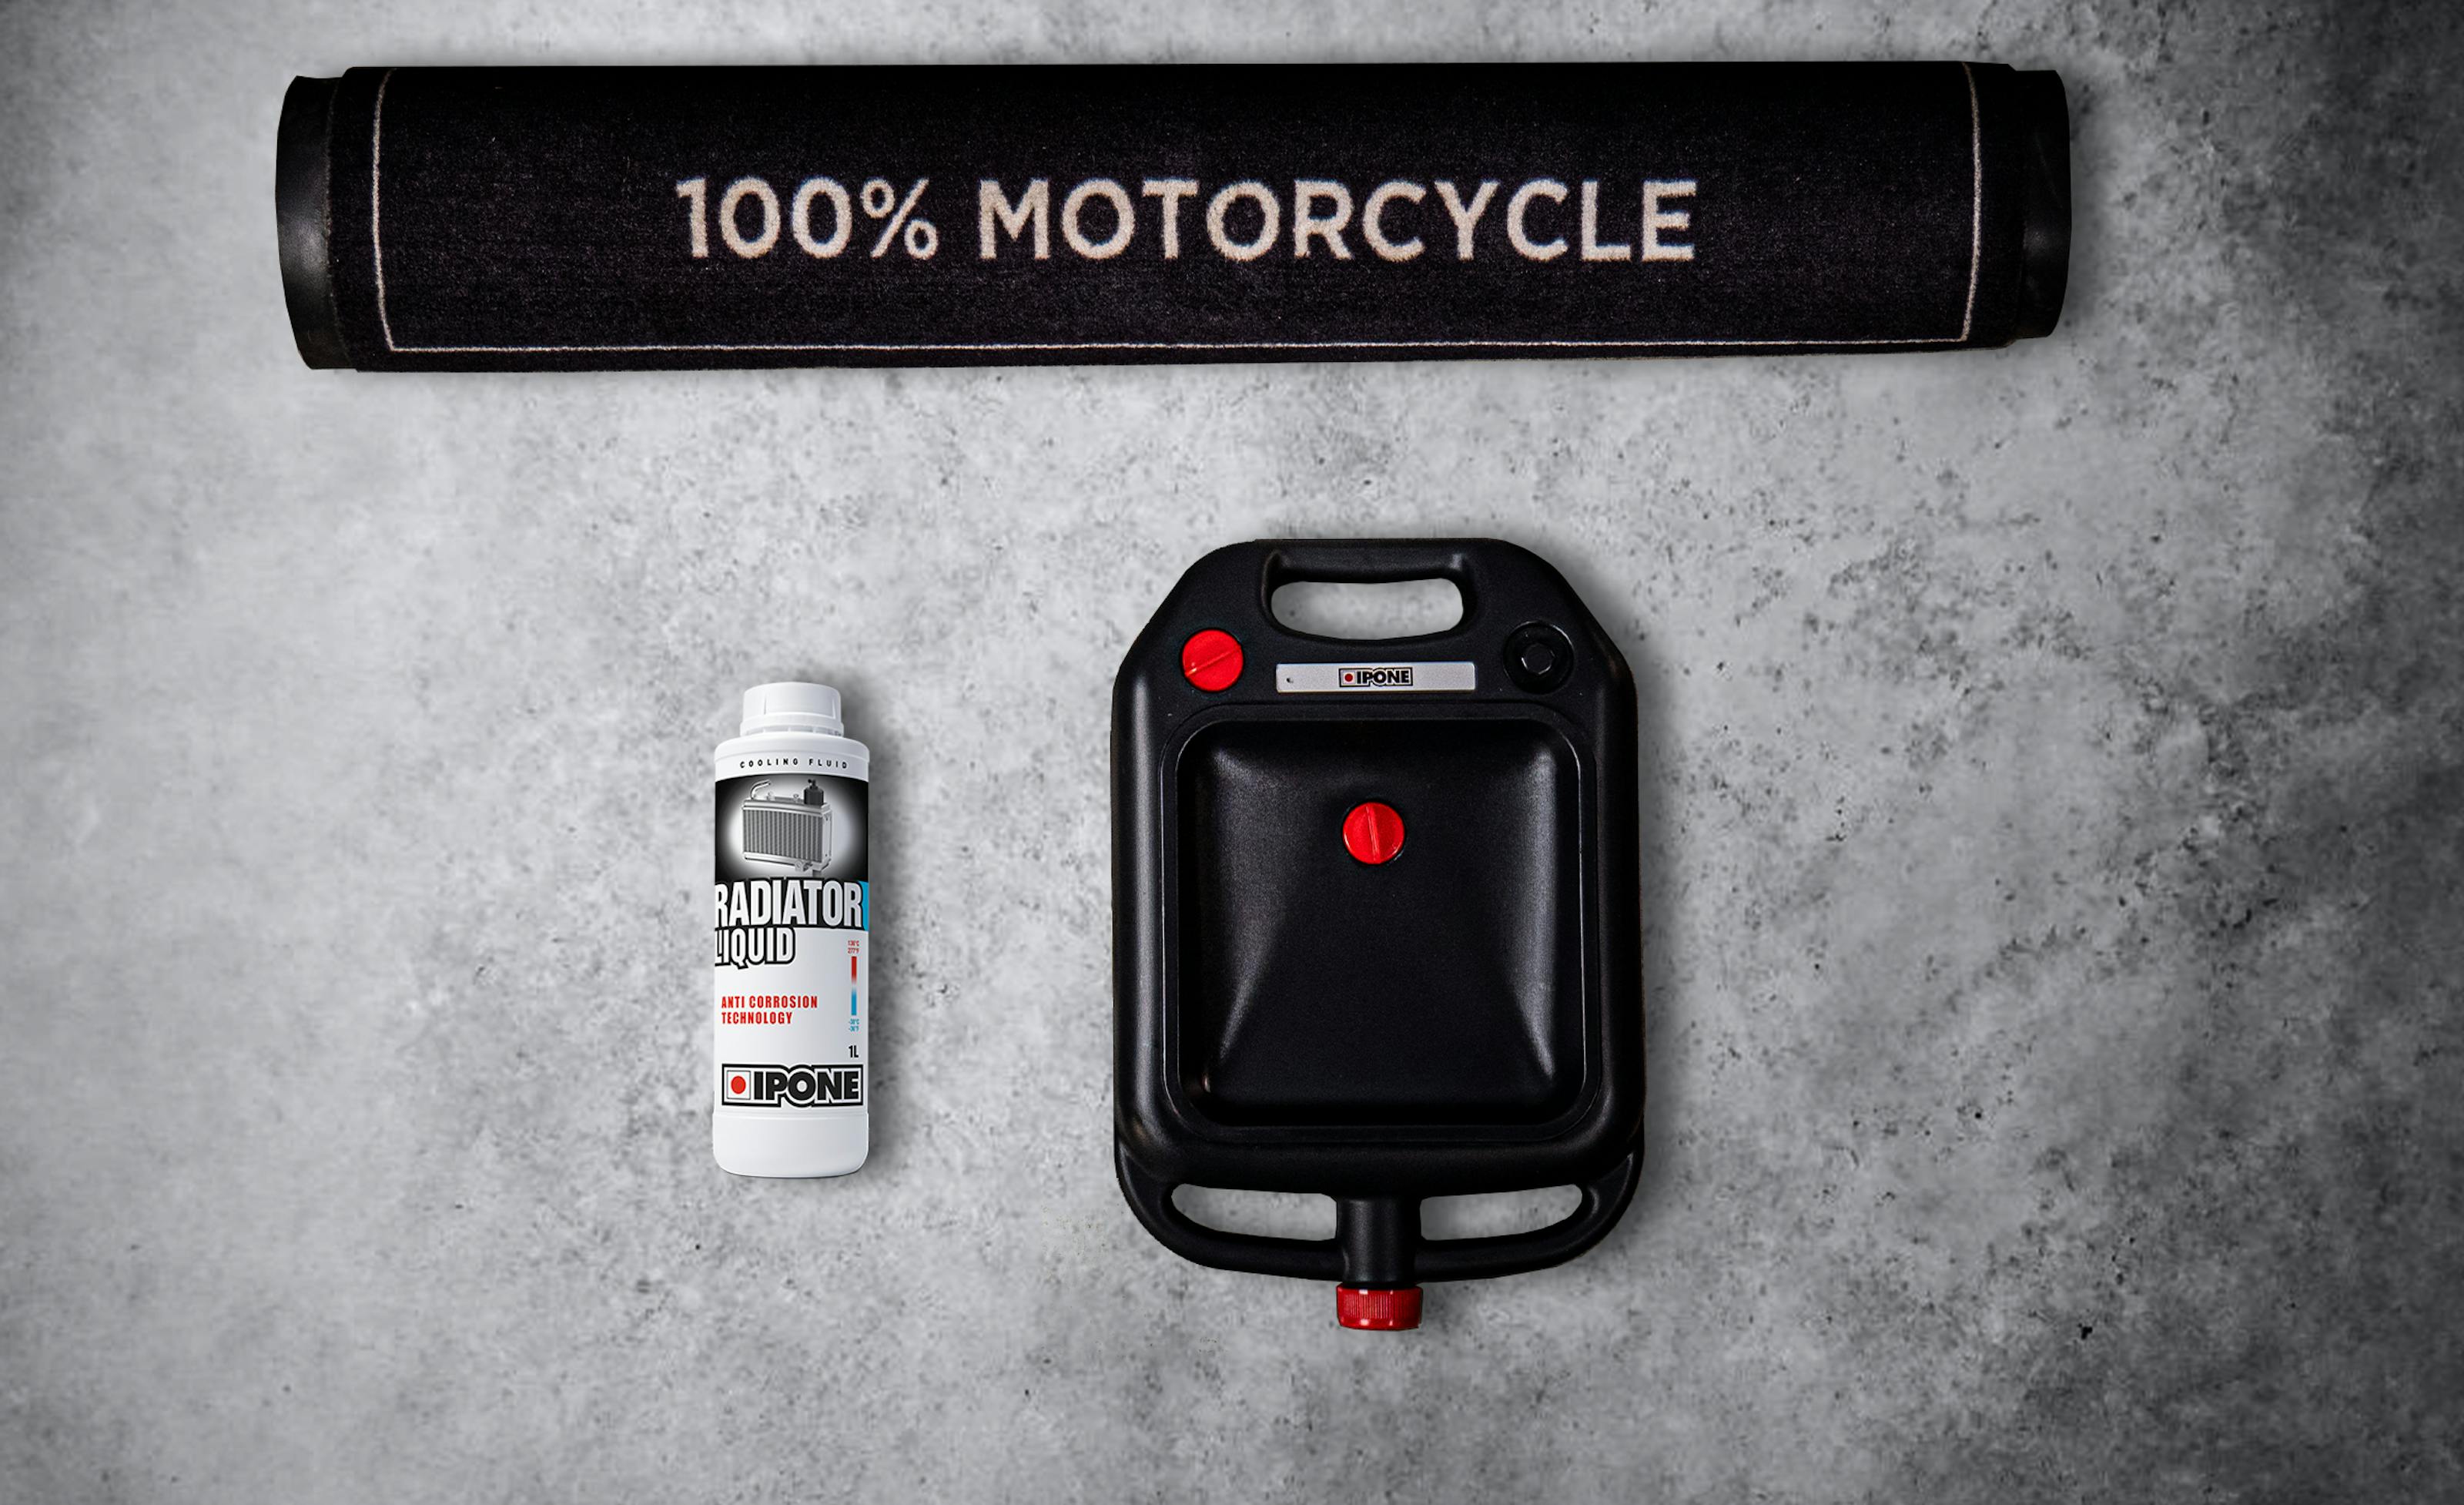
- Radiator Liquid
Our coolant which is THE cool dose your engine needs! - The environmental mat
It perfectly protects all floors from liquid stains. - The drain pan
Perfect to cleanly and easily recover used liquid without soiling the soil. - A tool box
A 8 or 10 mm wrench depending on the model of your motorcycle
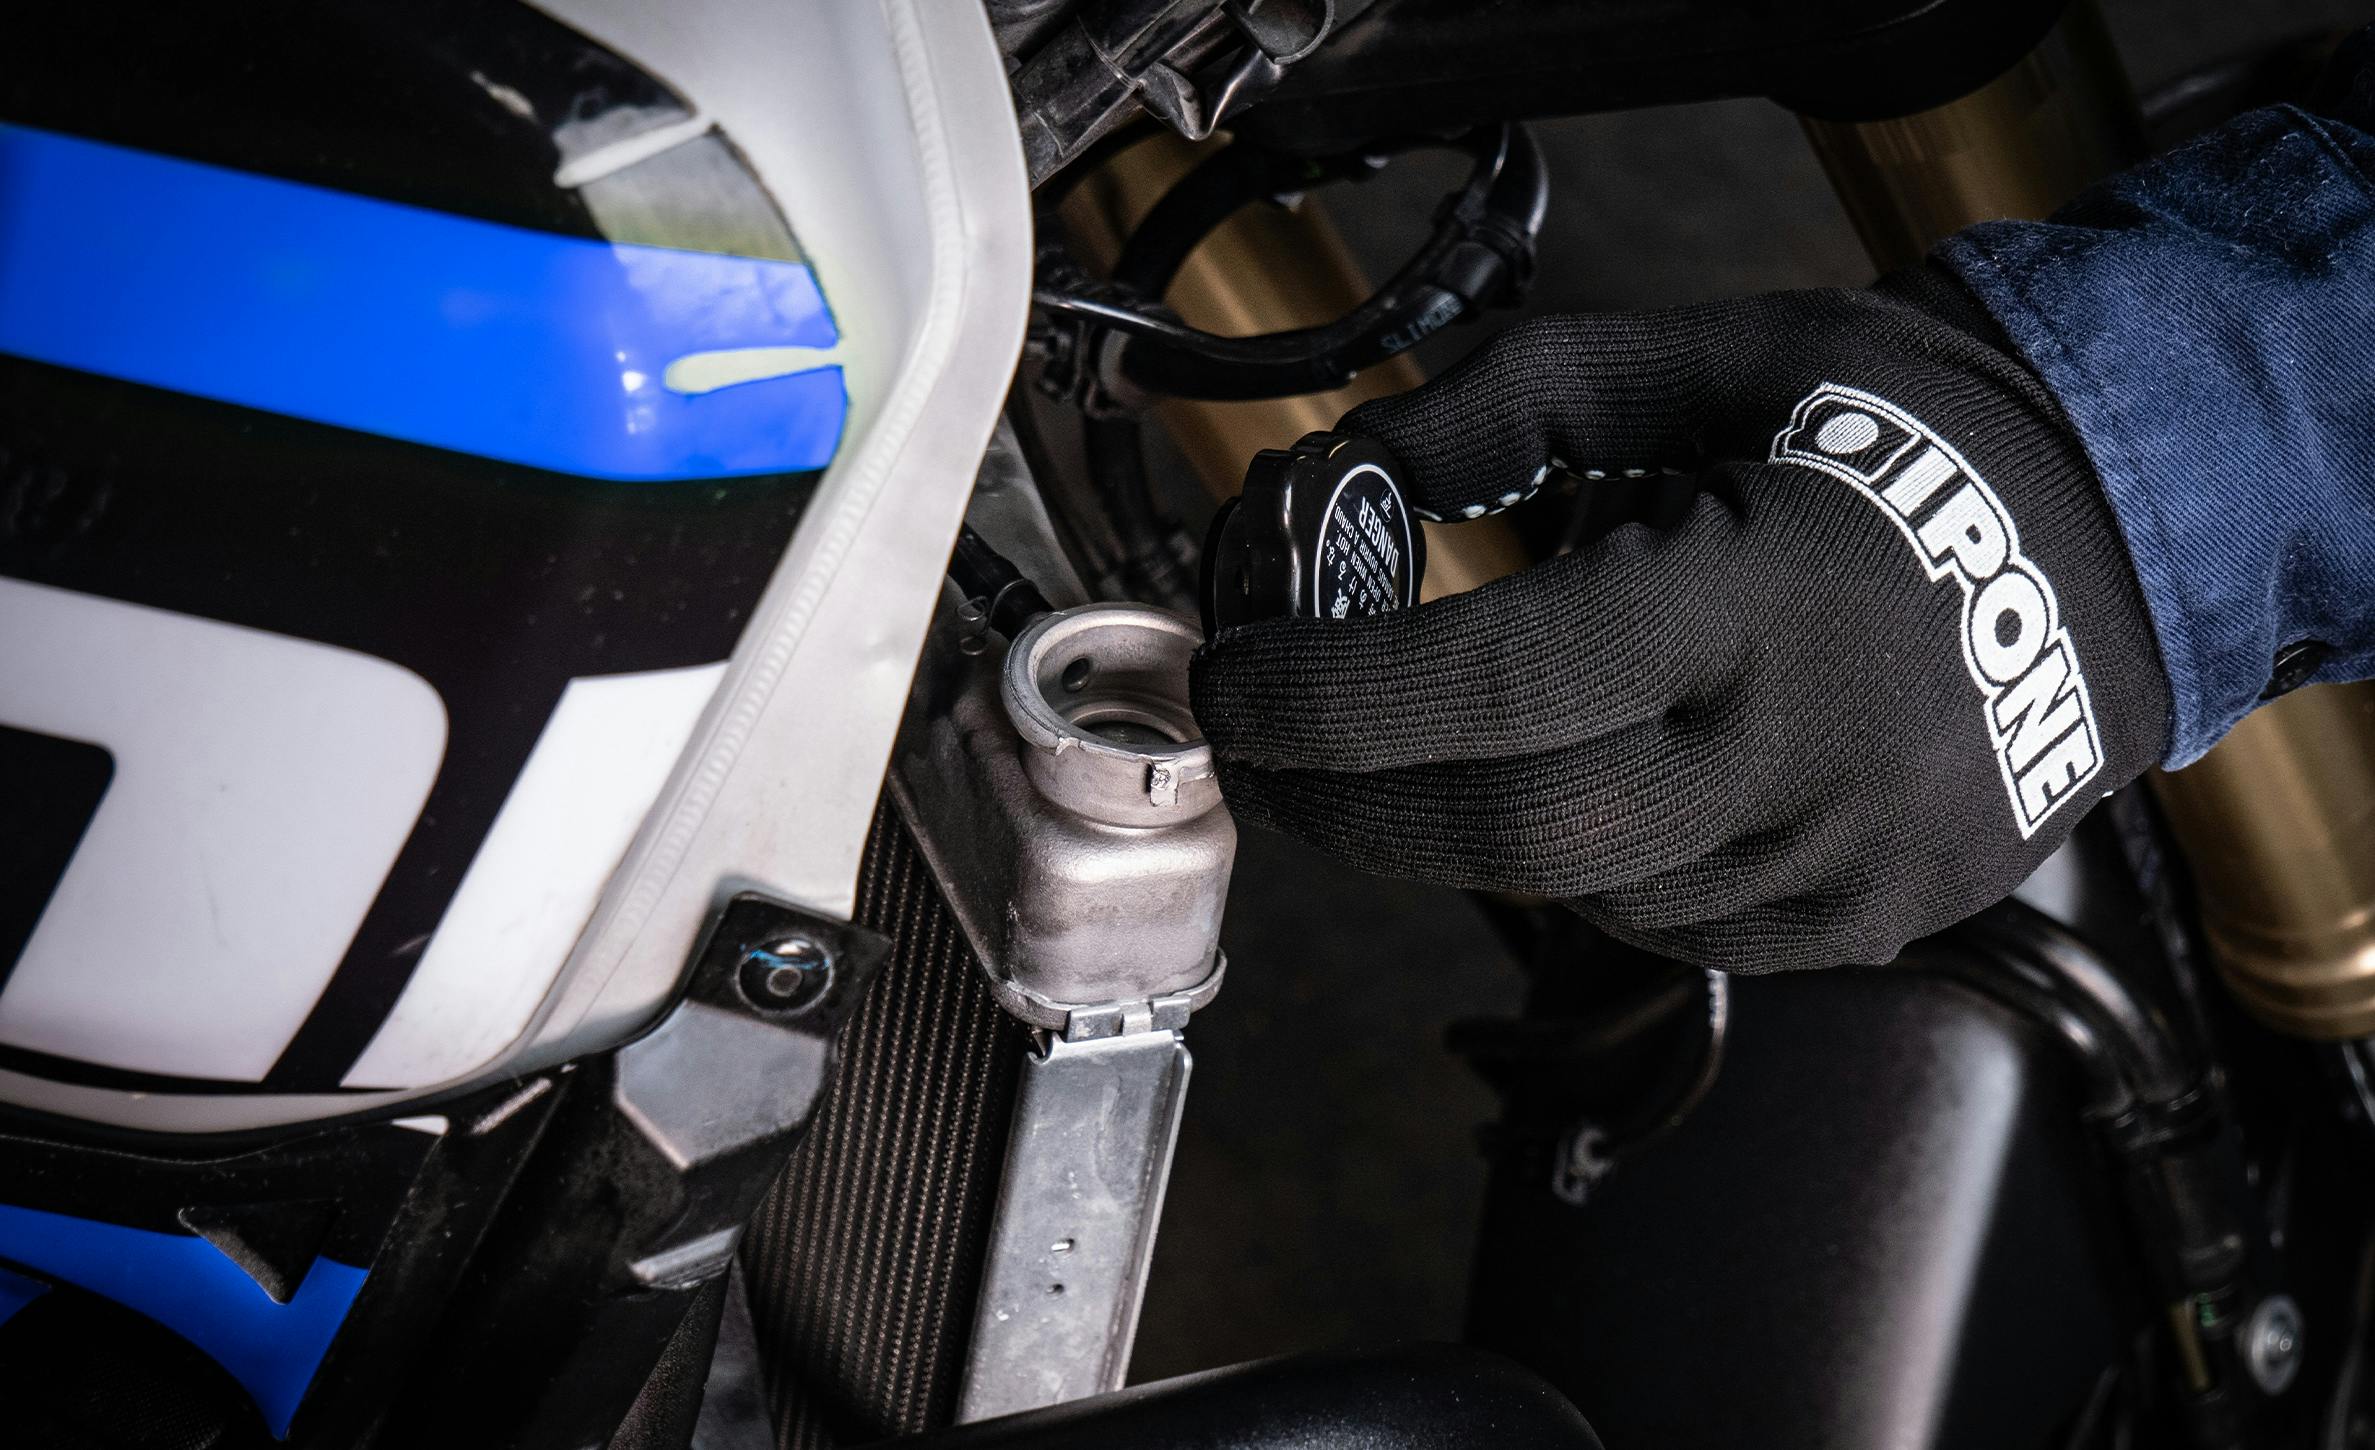
1. Open up !
Start by opening the expansion tank if there is one, then the radiator cap to let air in. For bi-cylindrical and V-motors, lift the front wheel to better bleed the air present in the engine.
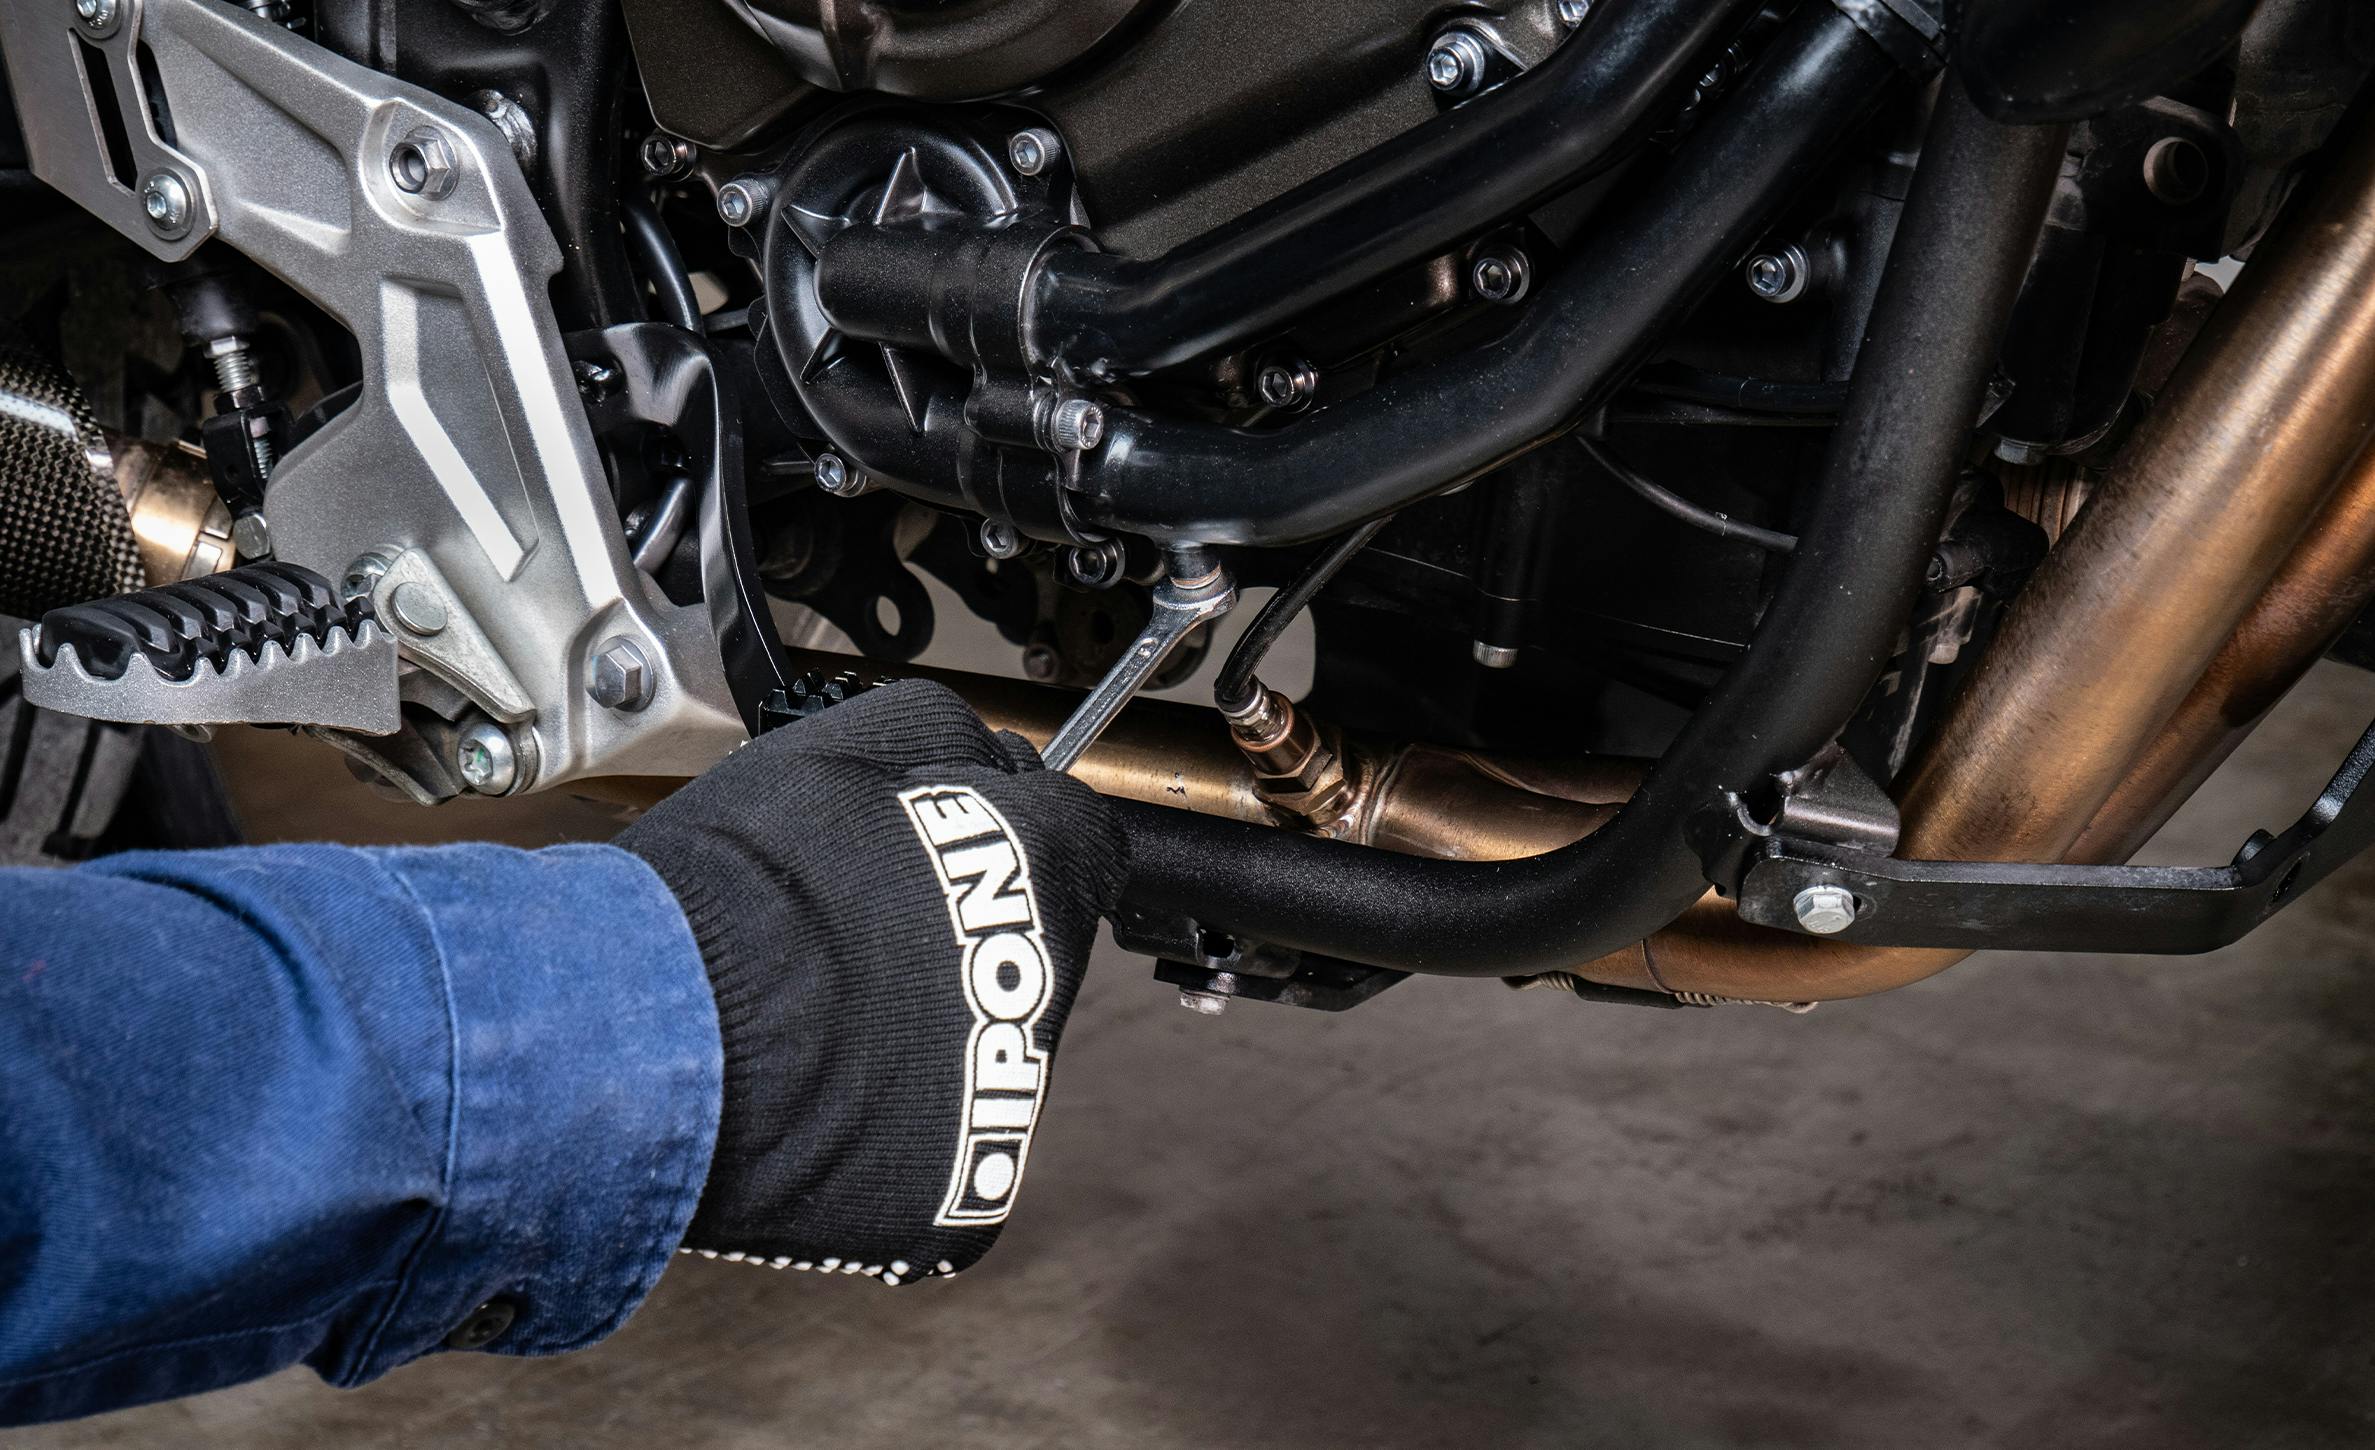
2. Drain the system
Remove the coolant drain bolt. It is usually located near the water pump 😉
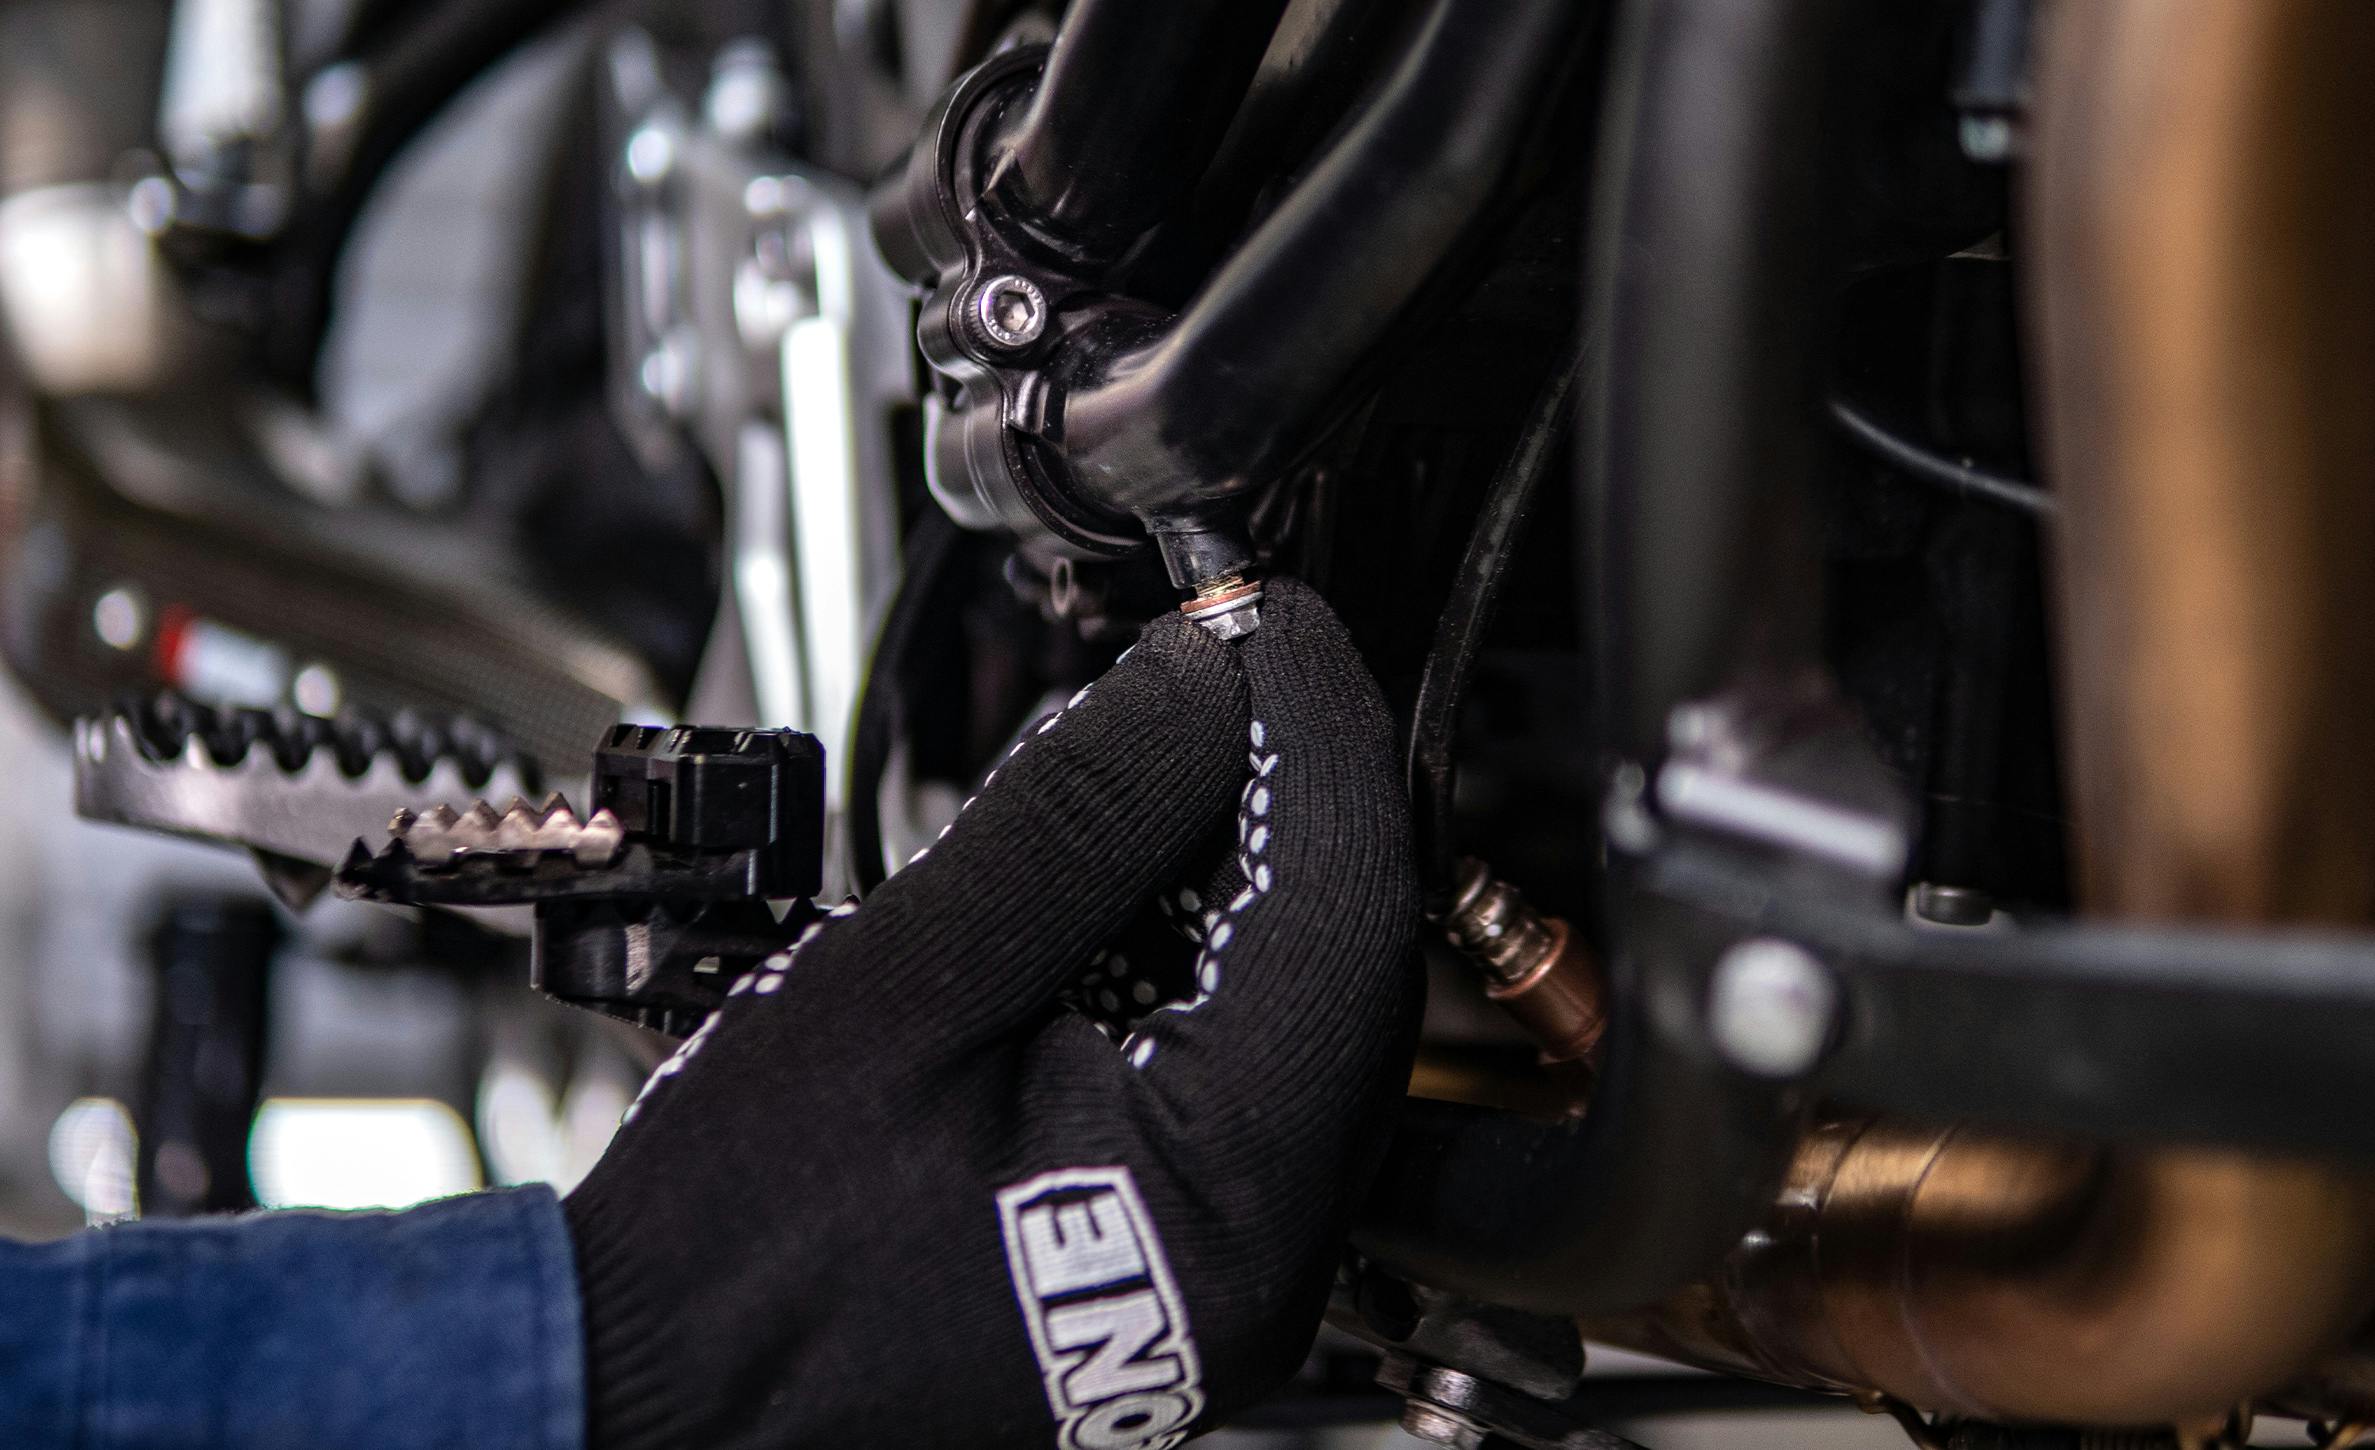
The liquid is going to flow, the cooling system is draining. Use the drain pan to cleanly collect all the used liquid. For an optimal drain, you can tilt the bike or press the hoses.
3. Close it up !
After draining the cooling system, put the the drain bolt back in place with a new washer. To know the right bolt torque for your motorcycle, please refer to the manufacturer’s manual.
4. Fill the system
Now we fill the radiator with the coolant. To know the exact amount your motorcycle needs, refer to the manufacturer’s manual.
5. Let's bleed
Since there is always air in the system when filling, to properly purge the cooling system, fire up the engine, let it idle for a few minutes without putting the radiator cap back on. You will see small air bubbles coming out through the radiator.
6. Top it up !
Turn off the engine, let it cool down, redo the level and start again! Check the levels one last time and close the radiator cap correctly. If there is an expansion tank, top it up as well.
That’s it, you're done !
Think about recycling!
Do not empty the used liquid in a sink or toilet. The used liquid is recycled at a waste disposal site. Our drain pan is super convenient for this, it is equipped with a handle to facilitate transport. And you don’t risk spilling it everywhere!
The essentials in video
To continue, we suggest watching our video tutorial on the same subject.
THE PRODUCTS YOU NEED


After any intervention on your bike, we recommend going for a small ride at cruising speed, this will allow you to control that everything is in place and that the operation has been carried out properly.
Enjoy your ride !
#iponefamily
.png?ixlib=gatsbyFP&auto=compress%2Cformat&fit=max&h=&w=3200)
.png?ixlib=gatsbyFP&auto=compress%2Cformat&fit=max&h=&w=3200)
.png?ixlib=gatsbyFP&auto=compress%2Cformat&fit=max&h=&w=3200)