LEARN HOW TO CHECK YOUR MOTORCYCLE CHAIN TENSION IN 5 MINUTES
Checking your chain tension is important, quick and easy 😉
Difficulty : ⭐
Duration : 15 min ⏳
4 REASONS WHY YOU SHOULD CHECK YOUR CHAIN TENSION

To avoid chain wear or tear

To avoid rear wheel lock-up

To improve gear shifting

To increase the performance of your bike
When to check your motorcycle chain tension ?
We recommend checking your motorcycle chain every 300 miles / 500 km. This should be adapted depending on your riding style and the type of motorcycle you own 😉 If you notice your chain snapping when accelerating or decelerating, it's because your chain is too loose. It's high time to take care of it.
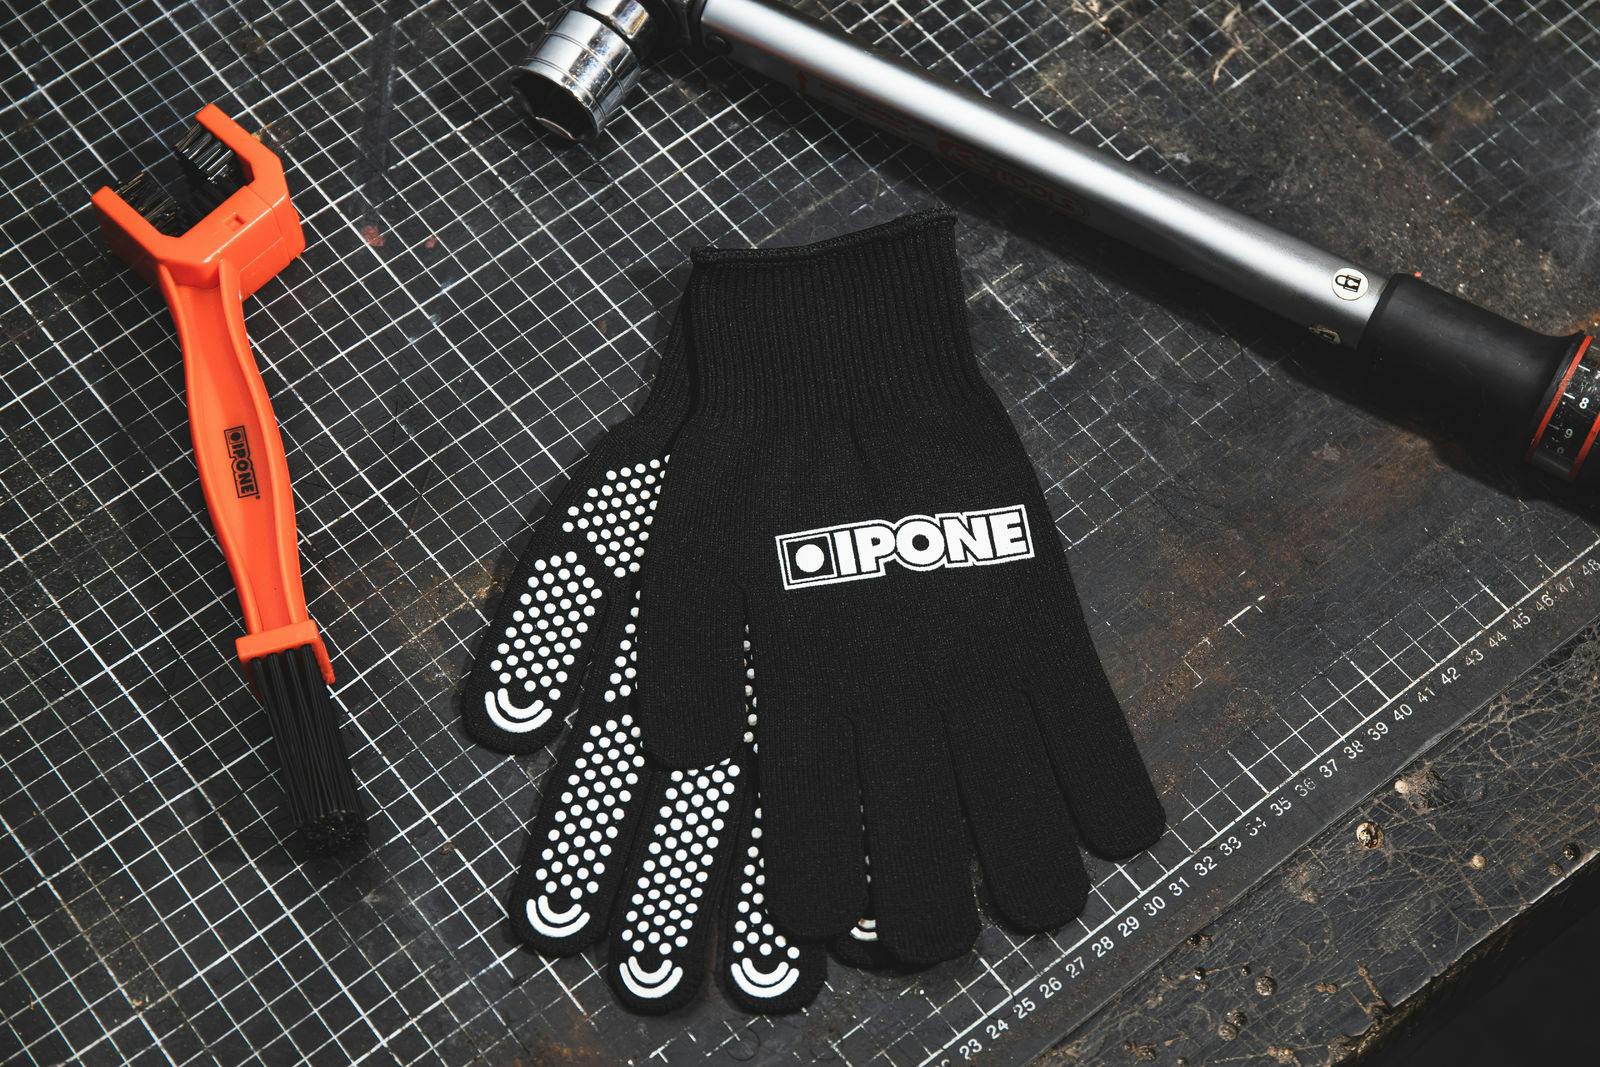
What you need to check your motorcycle chain
IPONE product list:
- X-Trem Chain
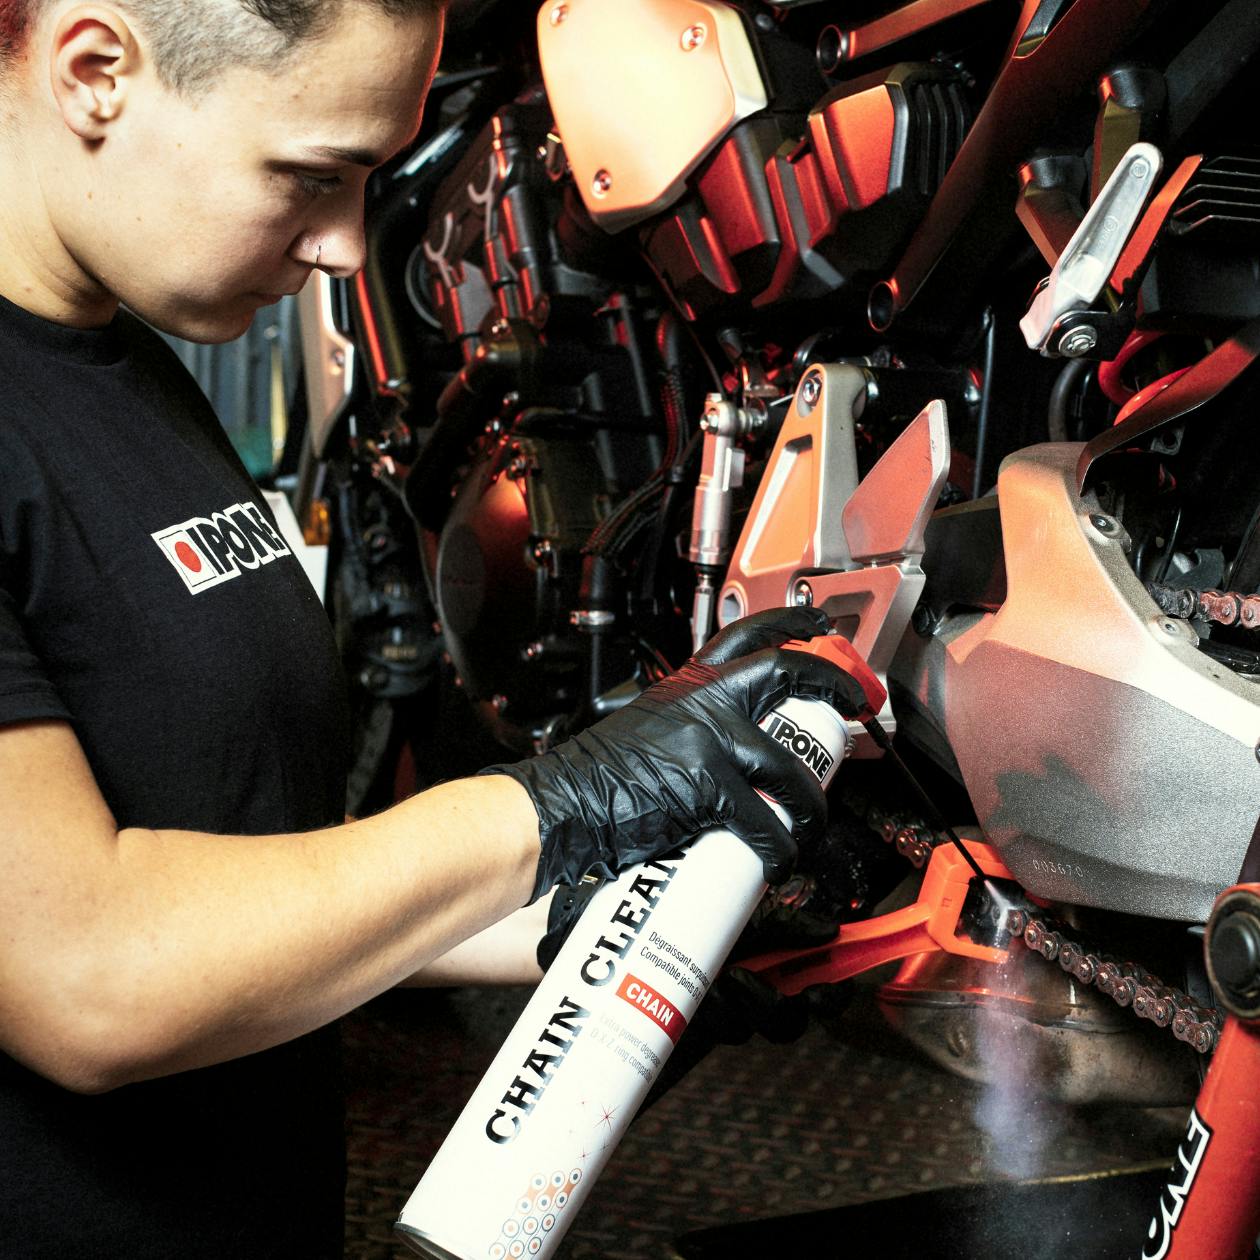
The road chain grease that lasts for 500 miles / 800km - Chain Cleaner
The chain cleaner that cleans and shines your chain and makes it look new again - Chain Brush
Essential tool for cleaning the chain and the sprocket - Environmental mat
It protects floors from grease stains - A pair of gloves
A pair of one-size gloves, made of 100% nylon to avoid getting your hands dirty
Other essential accessories:
- A toolbox
- A stainless steel tray
- The manufacturer's manual
- A torque wrench
CHECKING CHAIN TENSION IN 4 STEPS
Chain tensioning is done with both wheels on the ground and ideally with the rider on the bike. Indeed, the weight of the rider influences the chain tension and changes the geometry of the motorcycle. Before doing anything on your motorcycle, refer to the user's manual or the manufacturer's guide. Check if it mentions that the chain tension should be checked on the stand or with the rider on it.
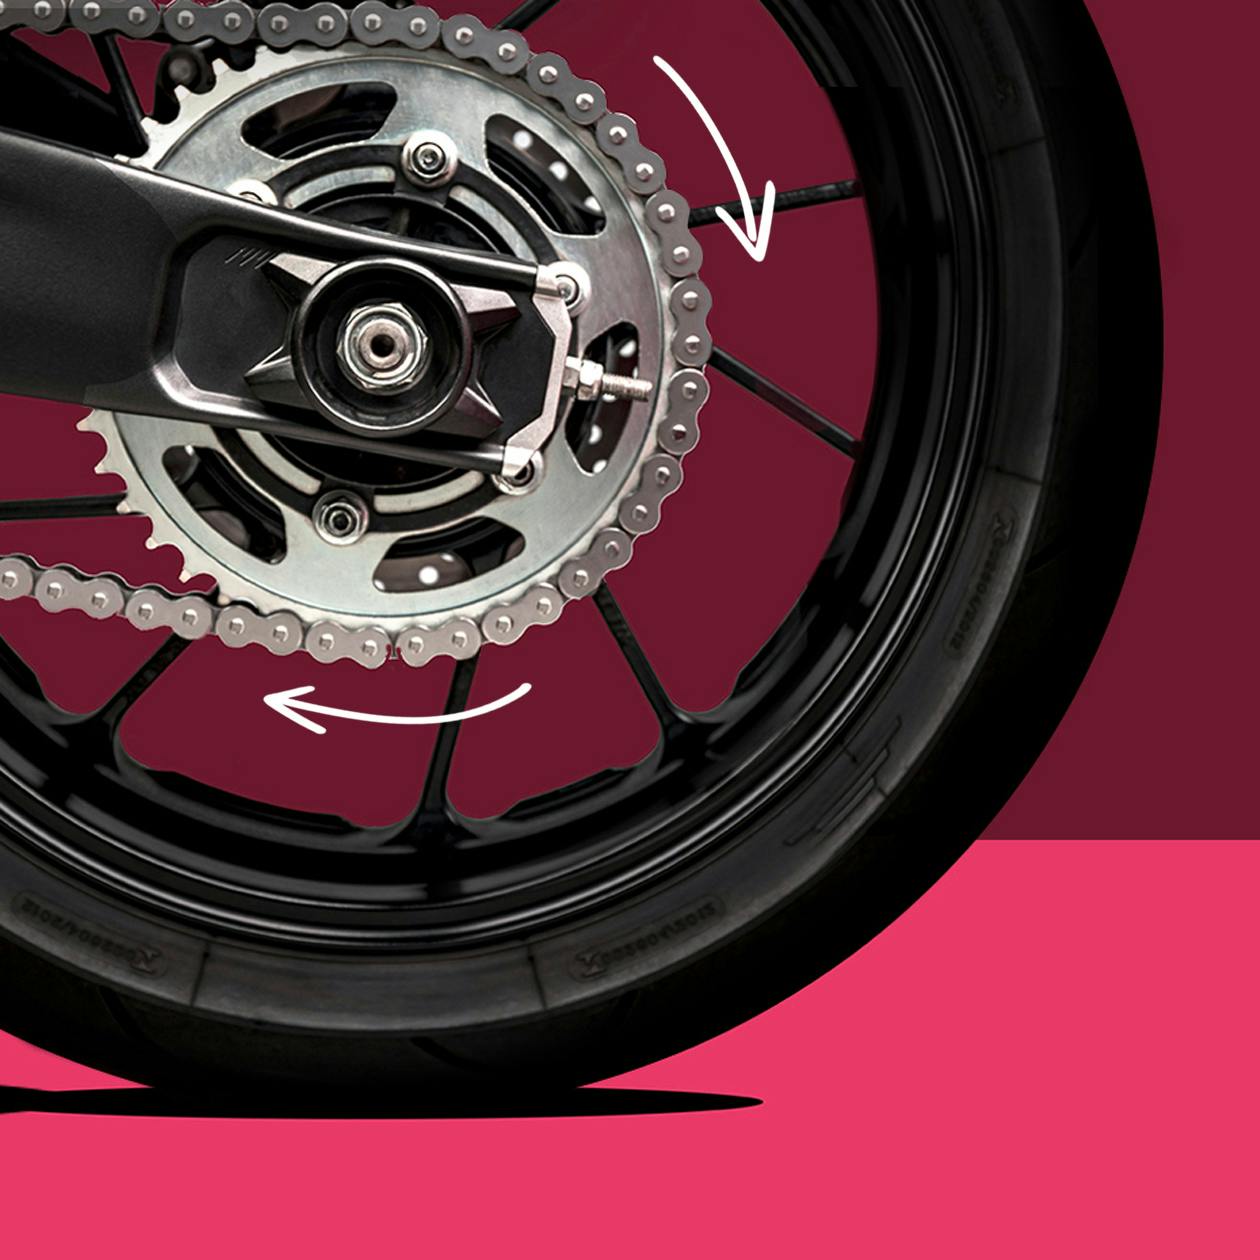
1. Check the chain travel
1a. Now let's get down to business. Start by cleaning your chain.. As you know, we always work on clean parts.
1b. Now that your chain is clean, you can measure the travel. Measure the height of the chain at rest. Then push your chain up with your finger and note the measurement. The measurement will vary depending on the bike you have.
As a rule of thumb, normal chain tension is between 20-30mm for a roadster, 30-40mm for a trail bike and 15-25mm for a sport bike.
If the measurement taken does not match the value listed on the swingarm sticker or the manufacturer's guide you will need to loosen the axle of your rear wheel to slide it 😉
.png?ixlib=gatsbyFP&auto=compress%2Cformat&fit=max&h=&w=3200)
2. Loosen the axle
You have to start by loosening the rear wheel axle, without unscrewing everything.
Option 1: On most bikes, the axle comes out of the swingarm and you can see two nuts that will allow you to tension the chain. You just have to unscrew the outer nut to free the one closest to the swingarm. It's with this one that you will adjust the tension of your chain. If the axle is too tight, loosen the tensioner. Otherwise, if it's too loose, tighten it.
Option 2. You don't have a locknut/nut system but an eccentric system. Don't worry! It's basically the same thing but this time the part is notched and it looks like a snail. To tighten the chain, you just have to rotate the part.

Quick tip, go easy on the lock nut system as it gets tight fast! When tightening the nuts, use a flat wrench to hold the screw when you tighten the lock nut. This will prevent the screw from turning 😉
3. Check the alignment of your wheel
Checking the alignment of your wheel and having the same tightening on both sides is easy! Use the markings on the swingarm.
4. Tighten your wheel
Tighten your wheel with a torque wrench, ensuring that the correct torque is used. For that you must refer to your manufacturer's guide.
Final advice: wait a few hours before going for a ride after cleaning/greasing your chain to allow time for the grease to penetrate. After doing any work on your motorcycle, we advise you to ride a few kilometers at a cruising pace, this will allow you to check that everything is in place and that the work has been well done.
Now you know everything about chain tensioning!
Have a safe and fun ride!
The #iponefamily


