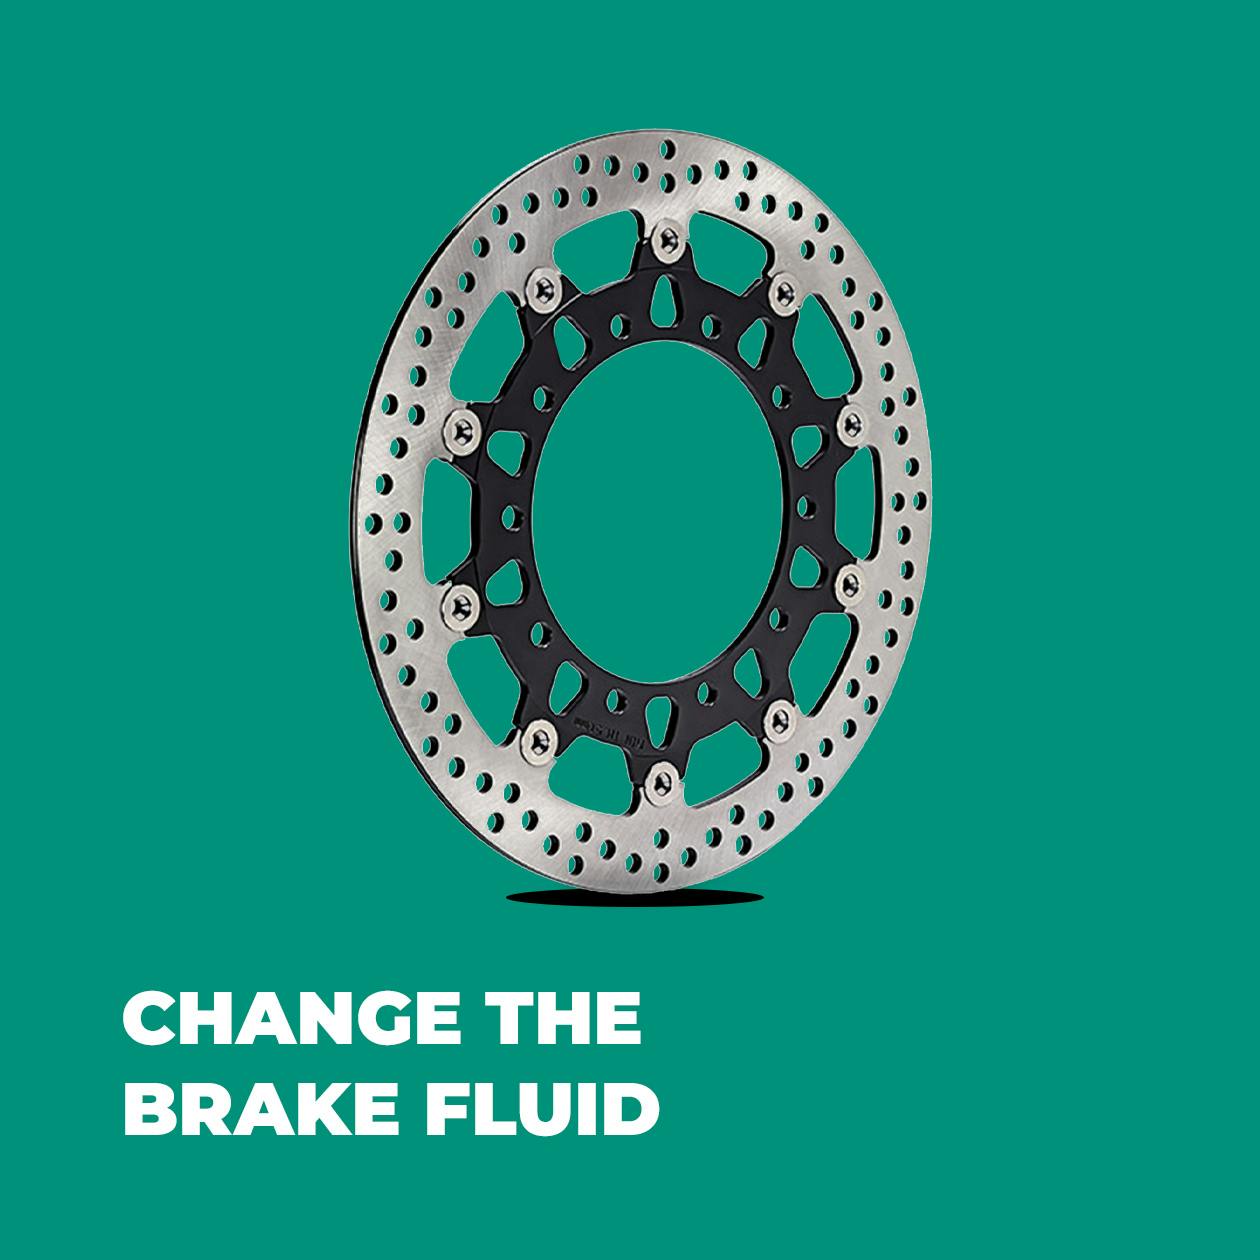
How to flush and change brake fluid
Brake fluid is an important part of your bike’s braking system. Over time, fluid efficiency decreases, braking becomes difficult and less accurate, which can be dangerous.
Level of difficulty : ⭐⭐⭐⭐
Average time needed : 45 min ⏳
4 GOOD REASONS TO BLEED MOTORCYCLES BRAKES
For more efficient braking
For more precise braking
To preserve your braking system
For your safety
When ?
The quality and efficiency of brake fluid decreases over time, so no matter how many kilometres you drive, it is recommended to purge the brake fluid every year. You can also feel it, if braking is more difficult, if you feel bumps, or if the lever or brake pedal are spongy, then it is time to replace the brake fluid.
Necessary equipment
Here's what you need :
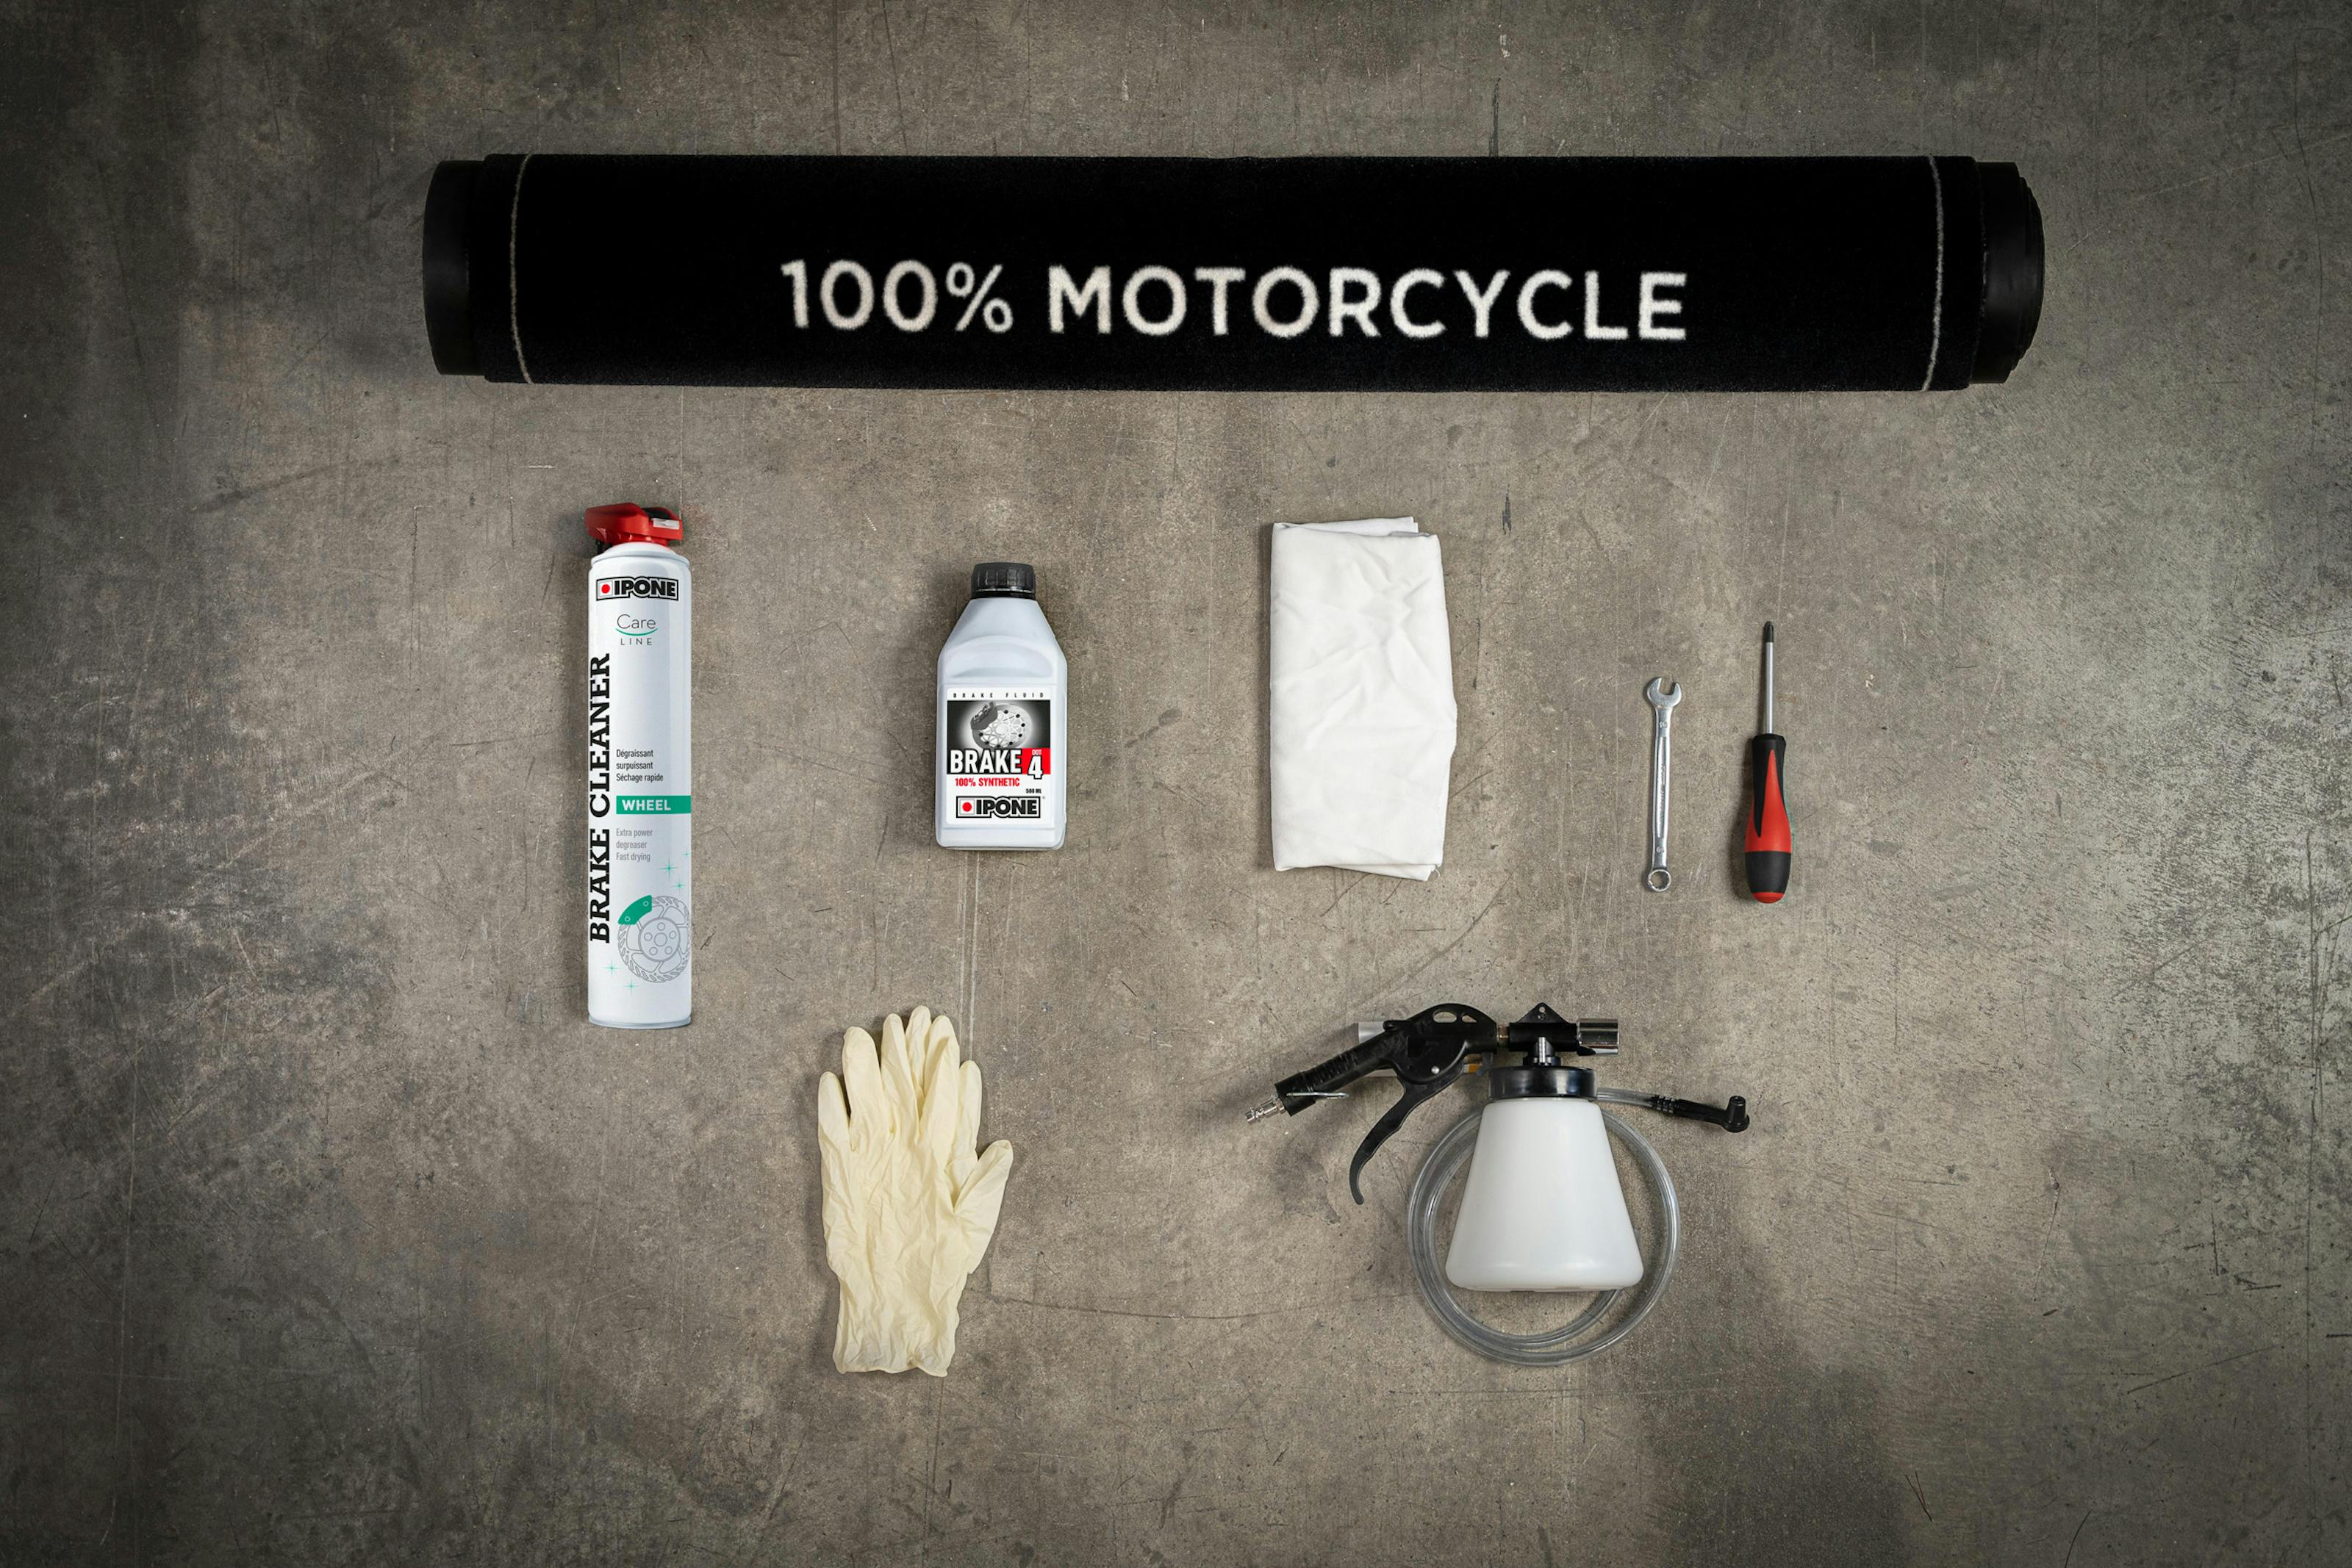
List of IPONE's products :
- Brake fluid
Brake dot 4 or Brake dot 5.1 according to the manufacturer’s recommendations for your bike and X-trem Brake Fluid for competiton motorcycles. - The environmental mat
To perfectly protect all floors from liquid stains. - Brake Cleaner
Degreases brakes and all mechanical parts.
Other accessories needed :
- A brake bleeding kit
- Cloths to protect your bike
- A tool box with a Phillips screwdriver and a combination wrench
- A pair of surgical gloves
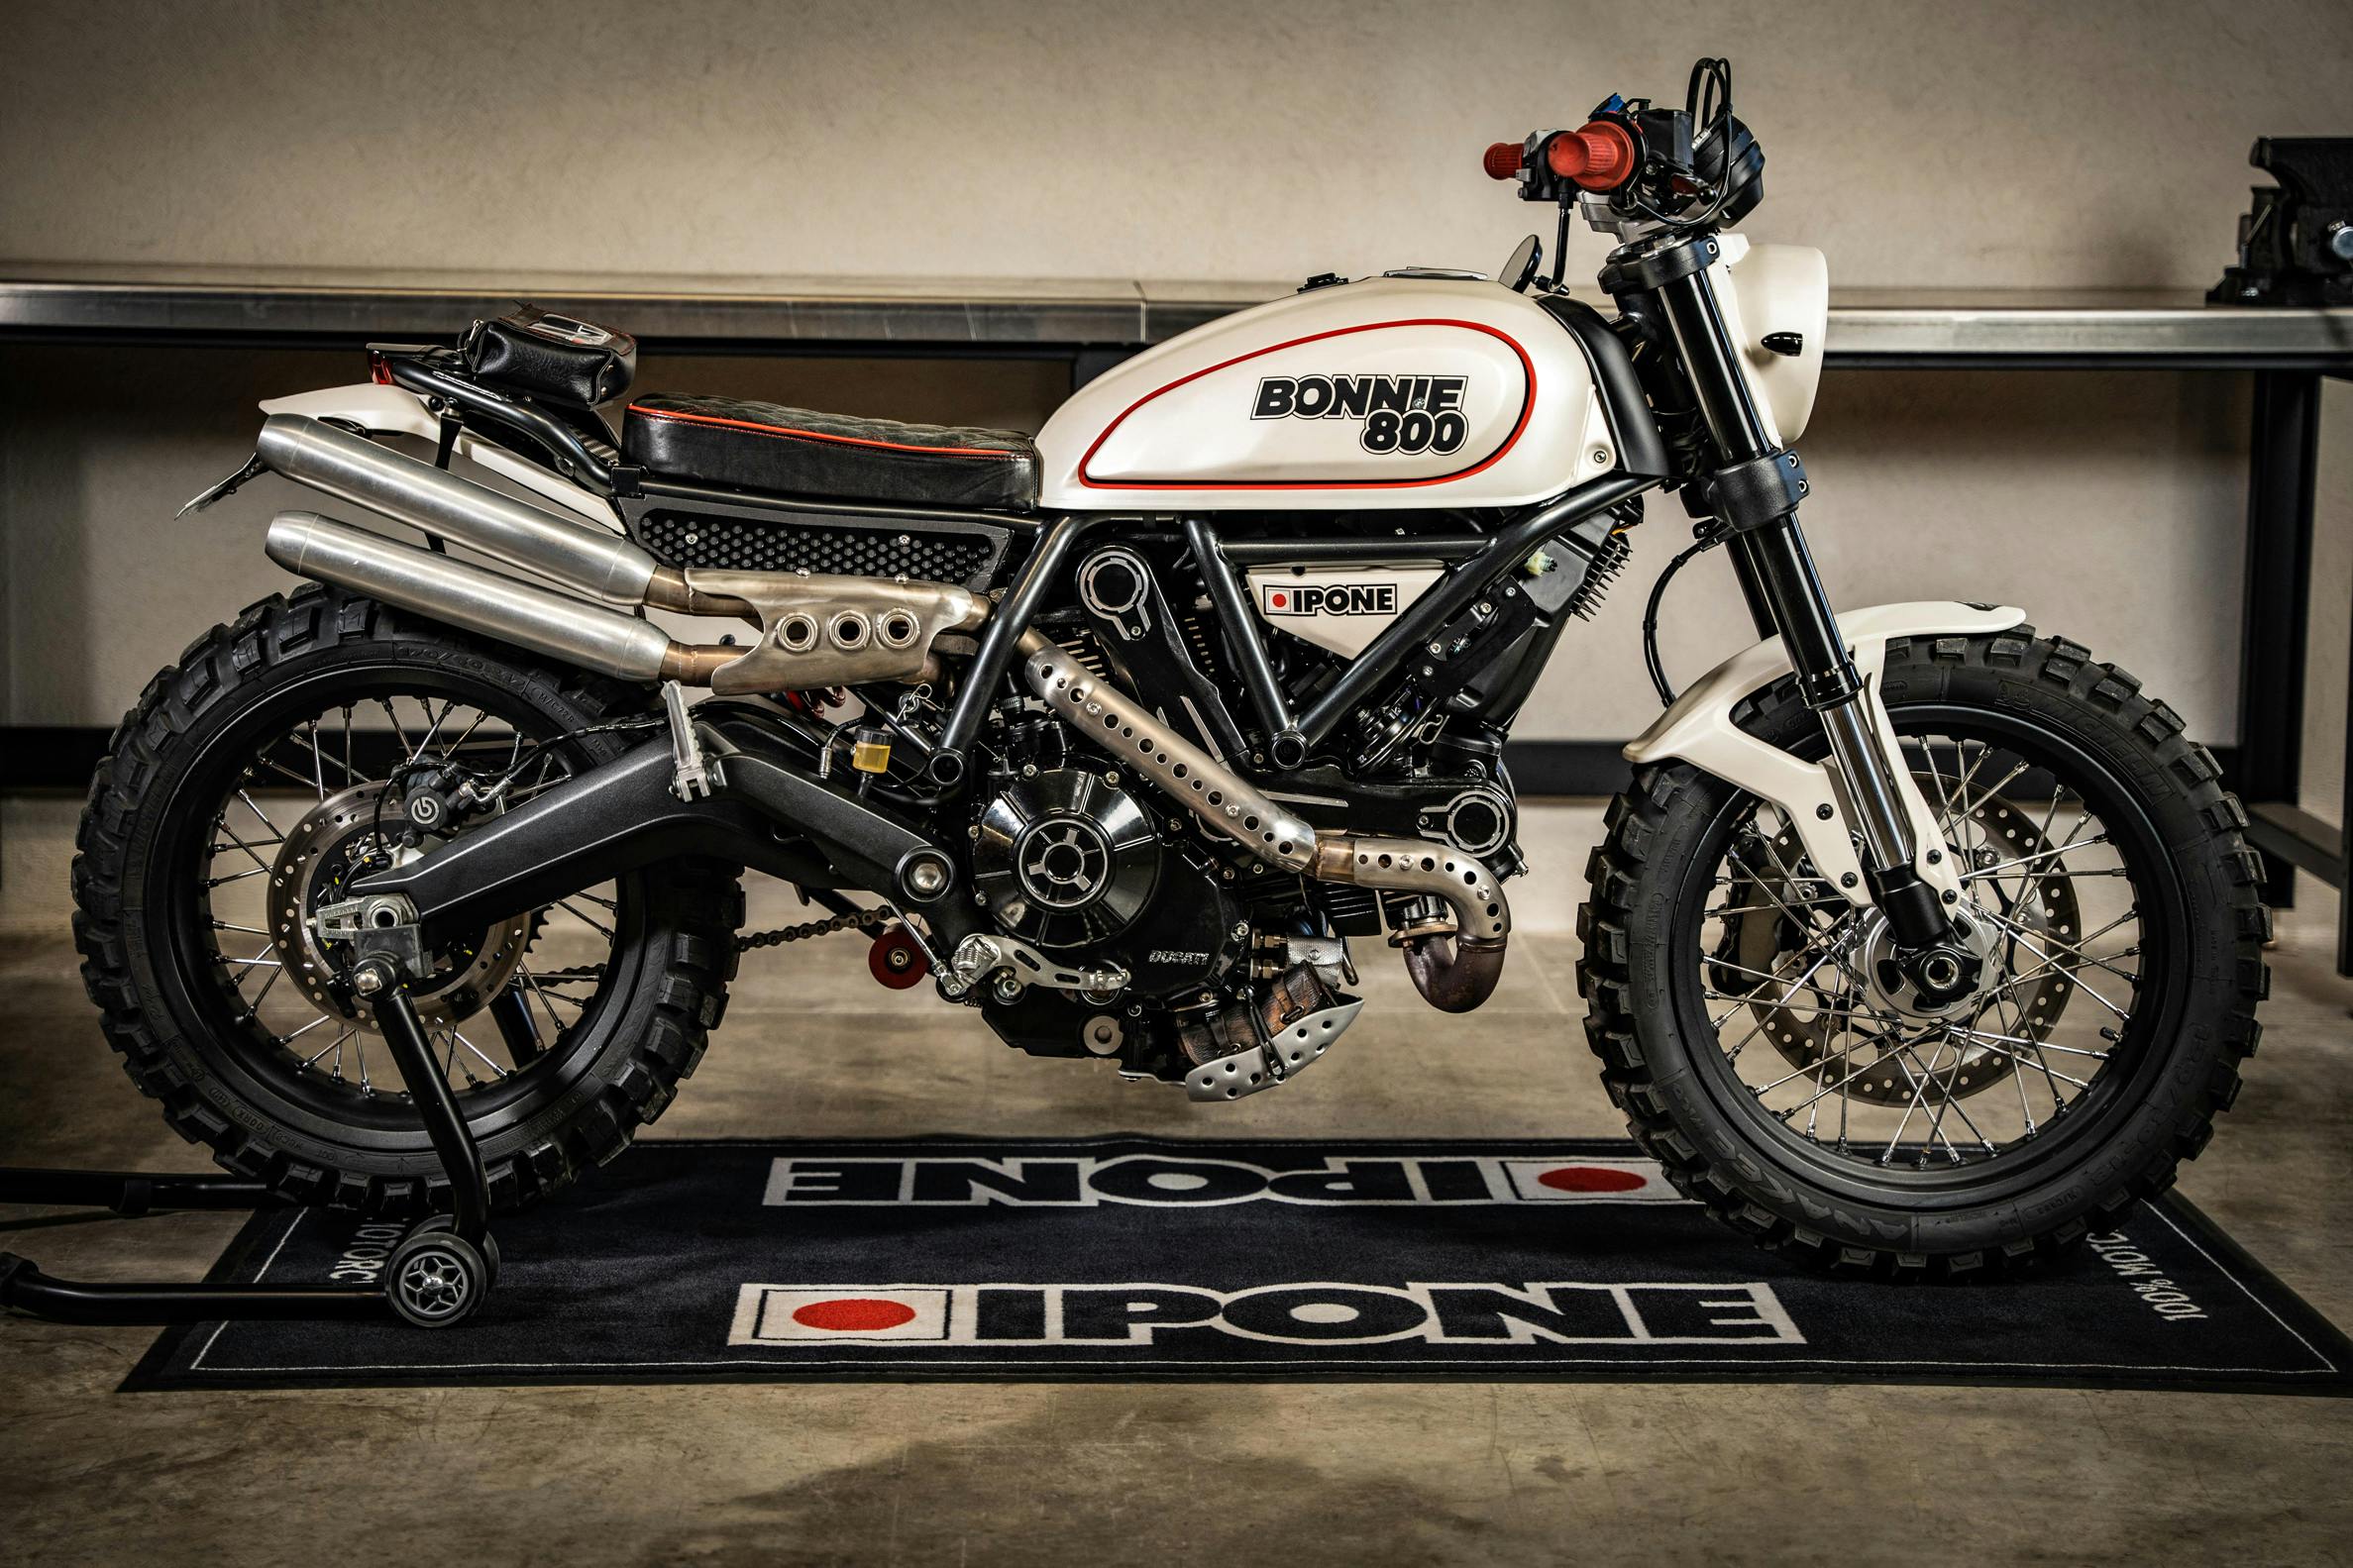
1. Place your bike
Start by placing your bike straight, on a stand crutch.
Then place cloths on the fairings under the reservoir to protect the bike from the corrosive product.
2. Drain the old liquid
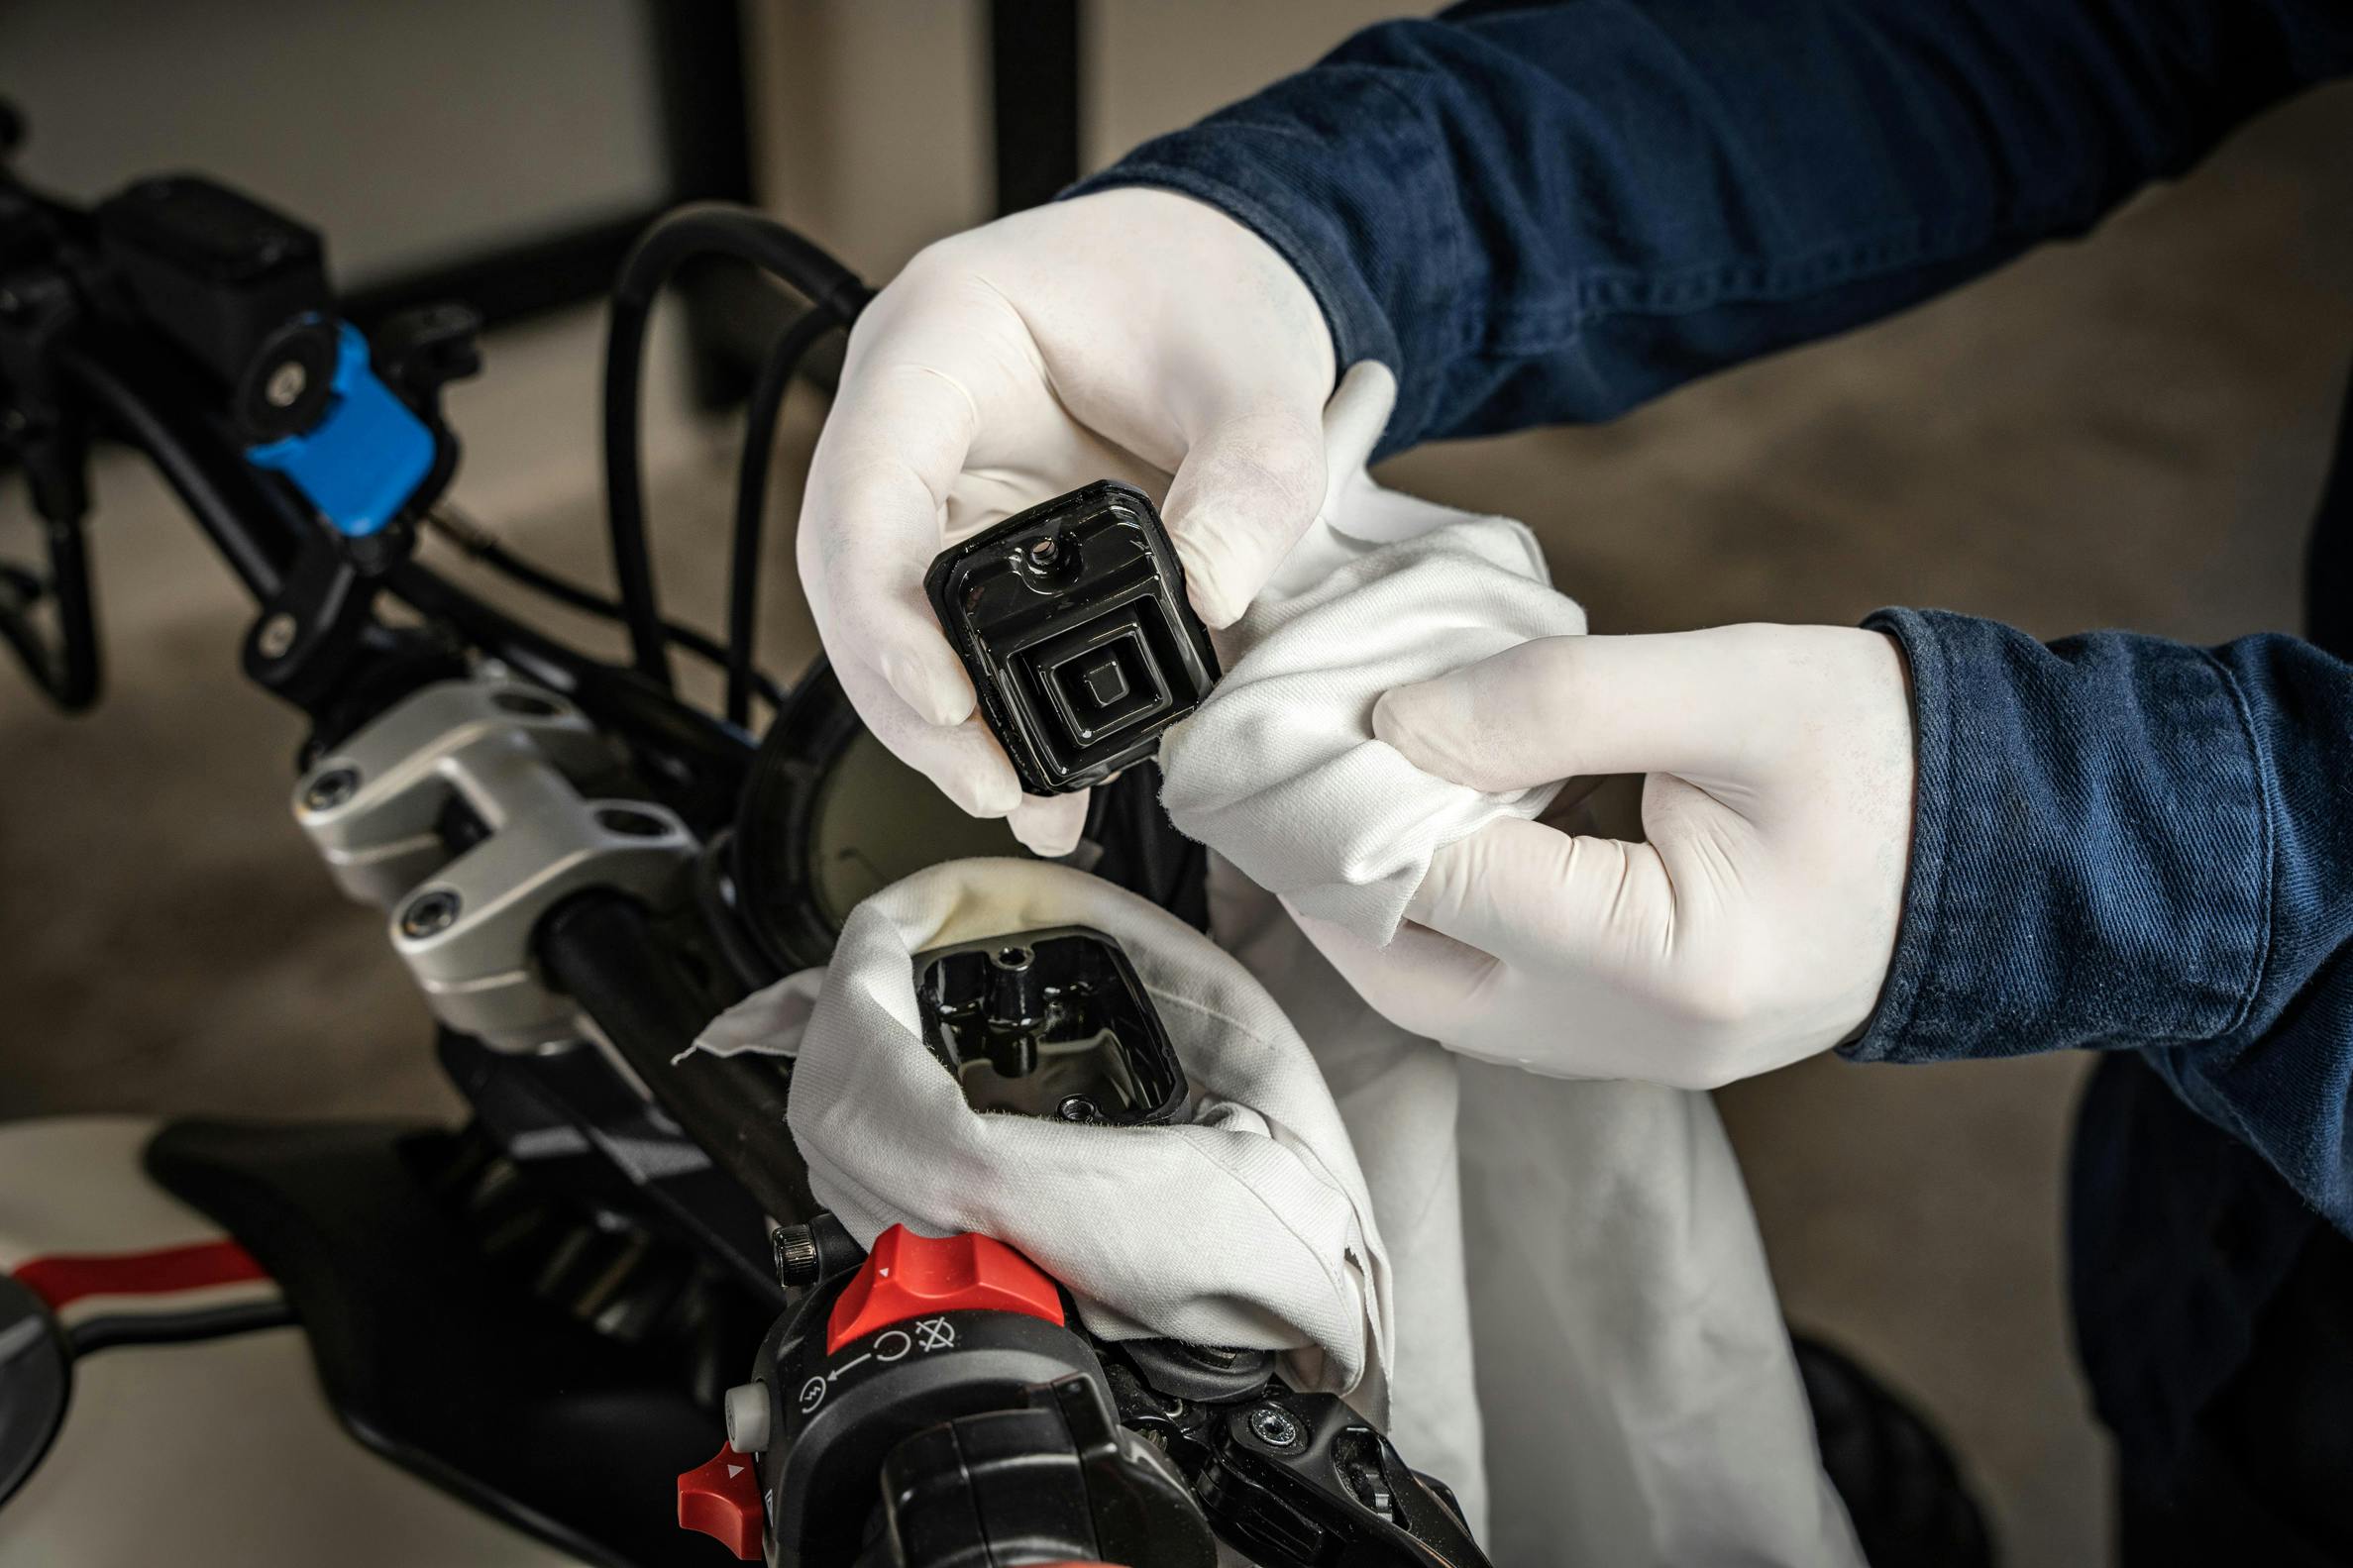
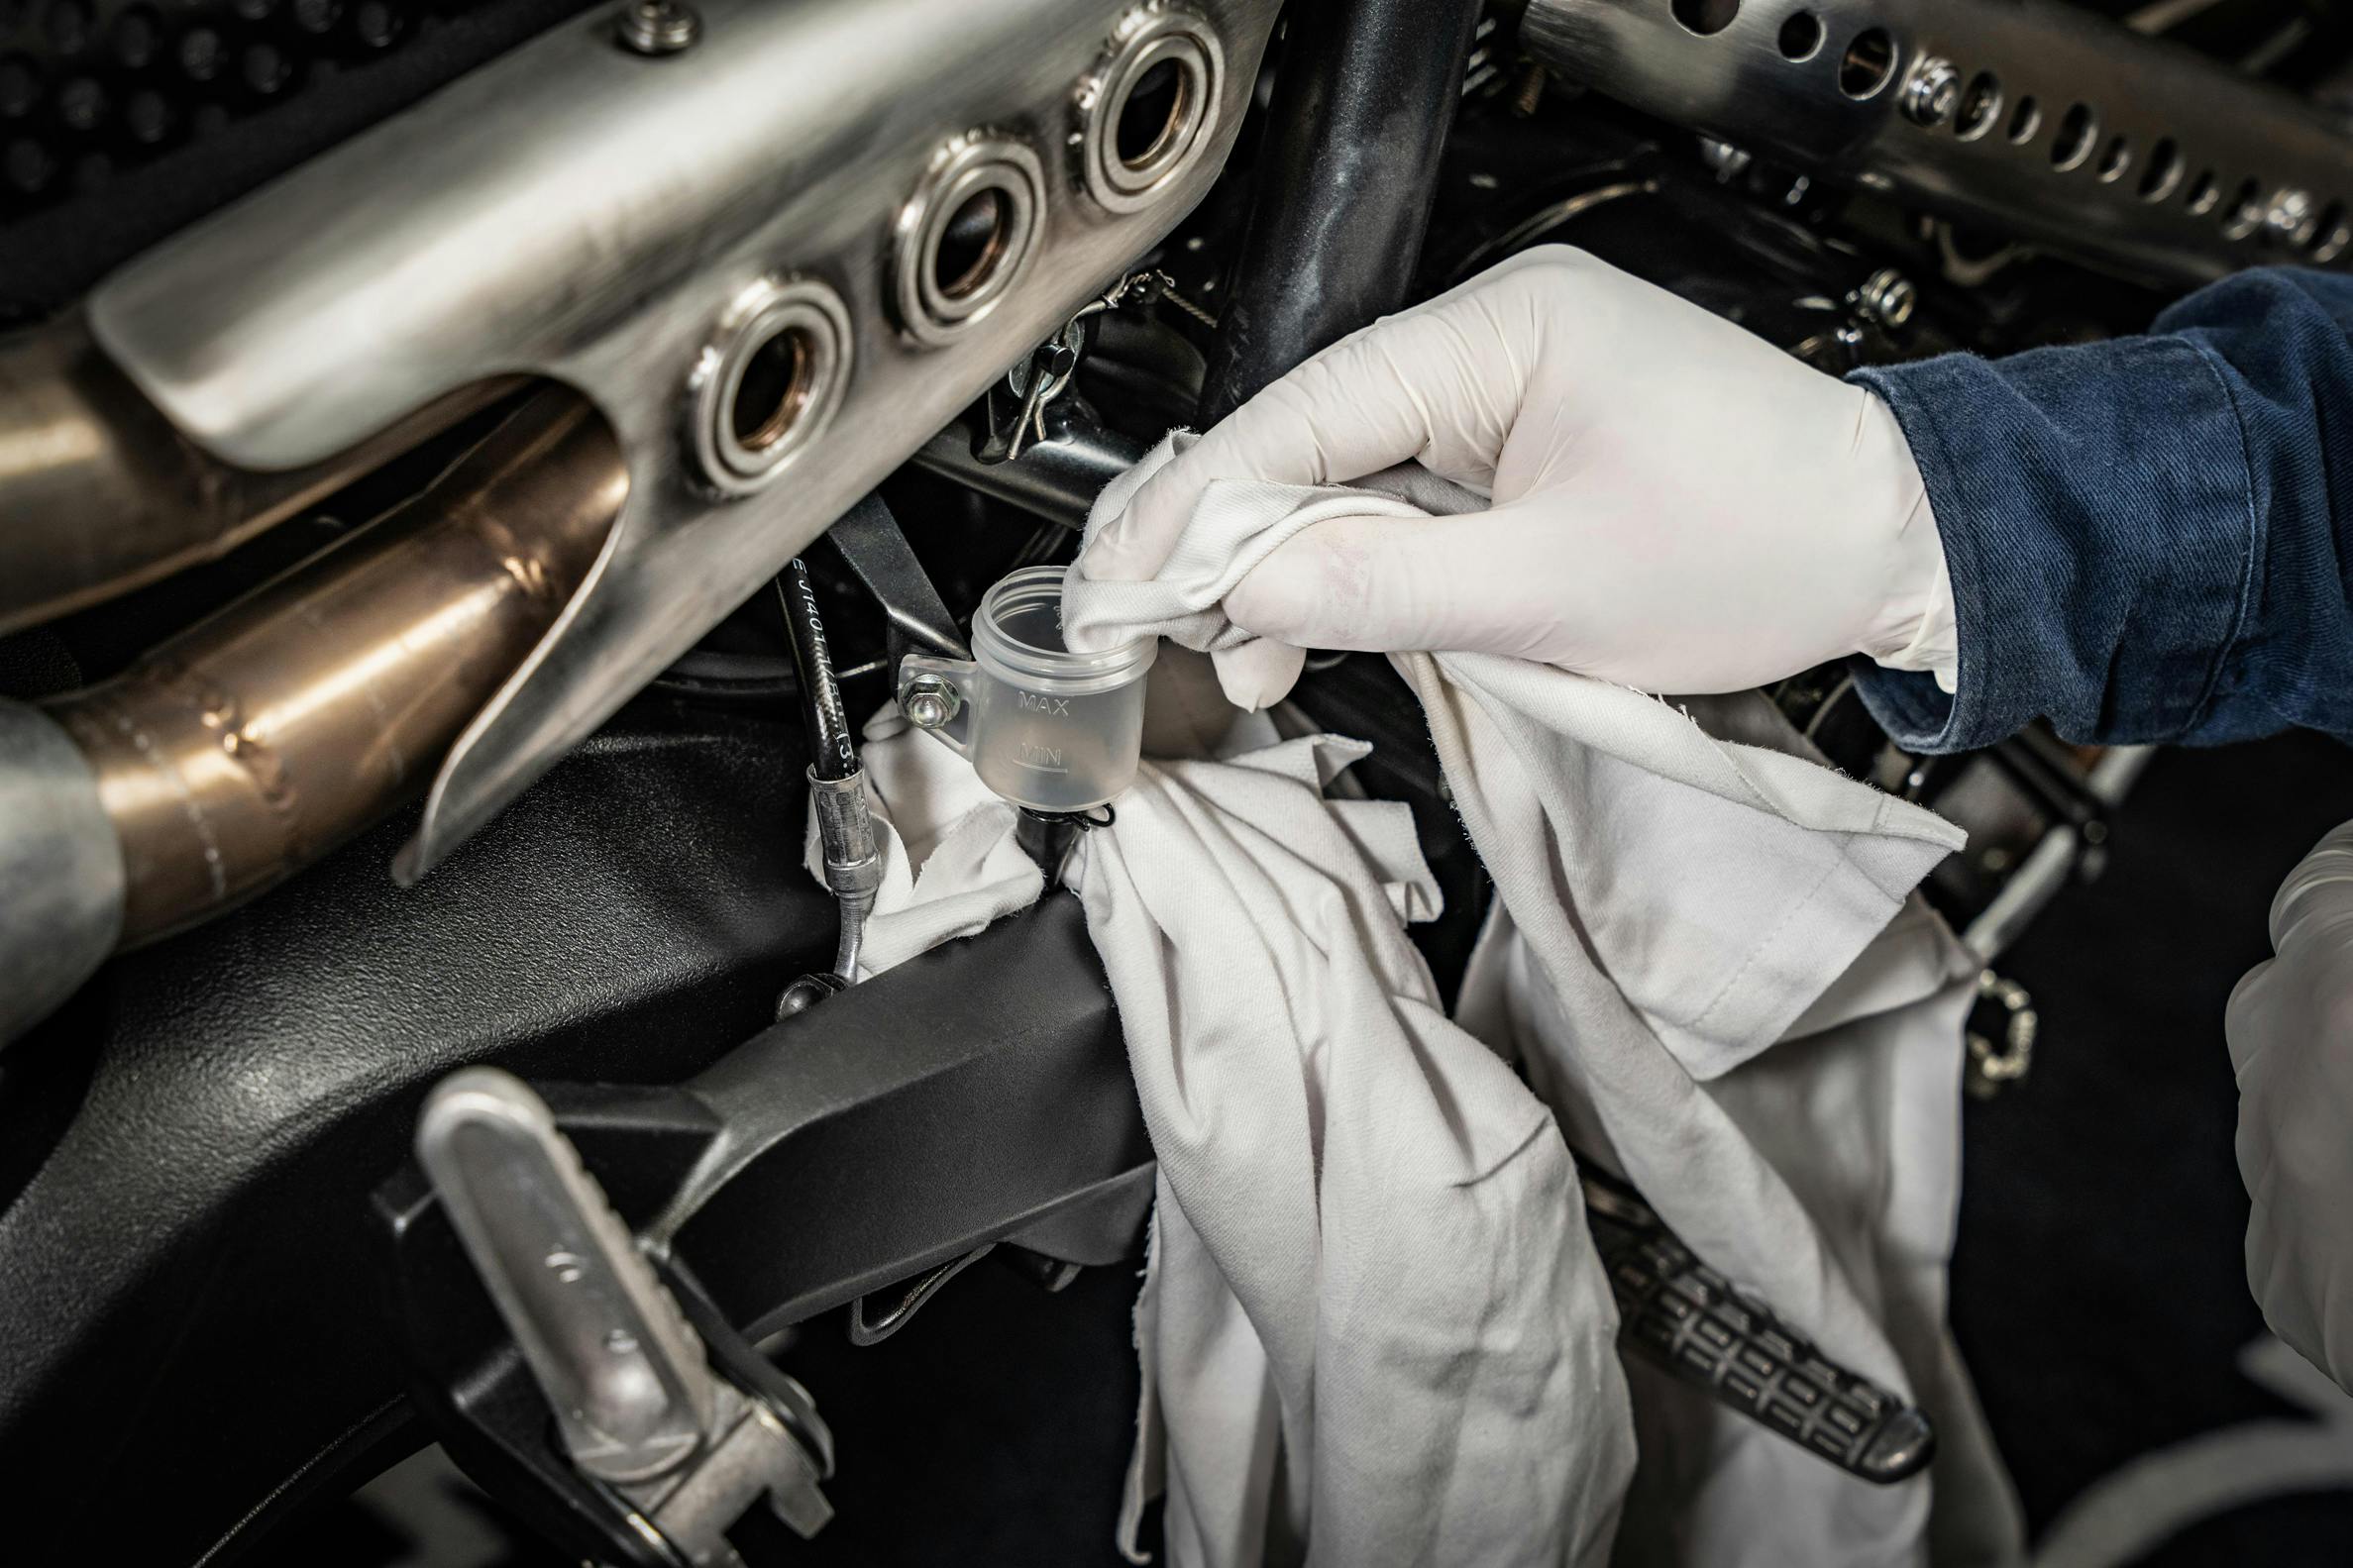
Open the master cylinder reservoir with an adapted screwdriver to avoid damaging the screws.
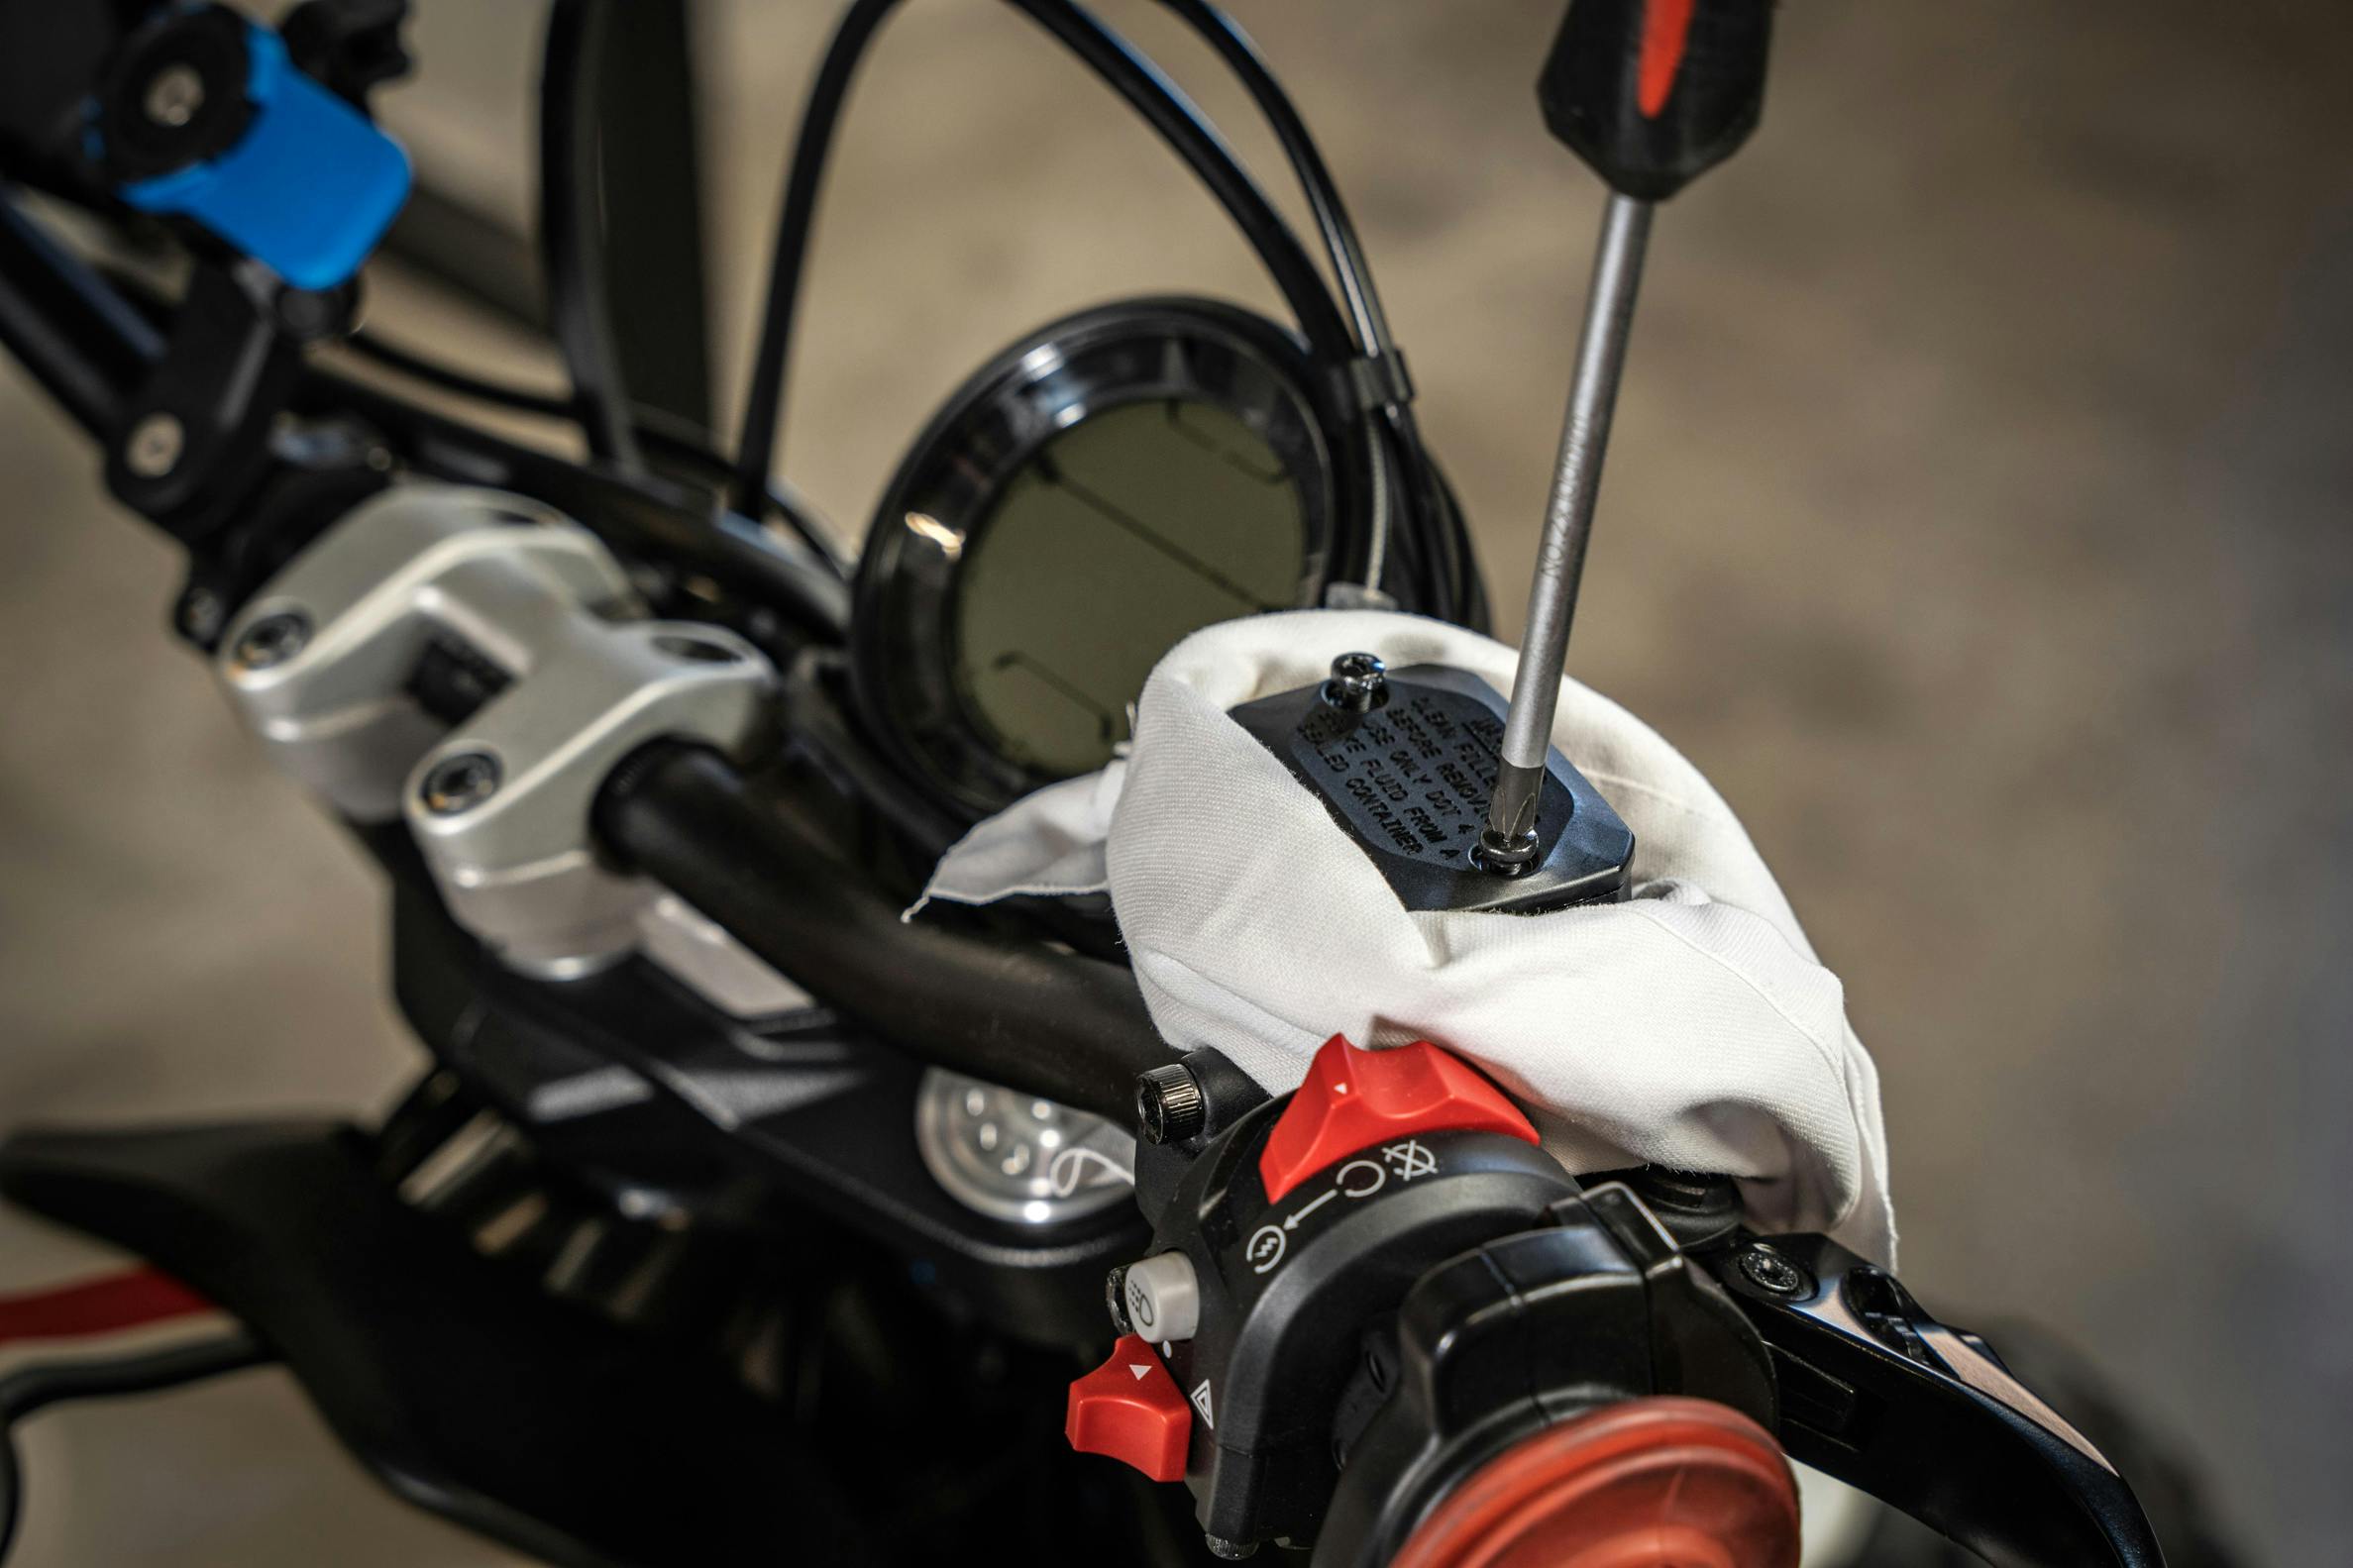
Then remove the cap and washer. Check the state of the washer, if it is damaged, change it, if it isn't just clean it with a cloth.
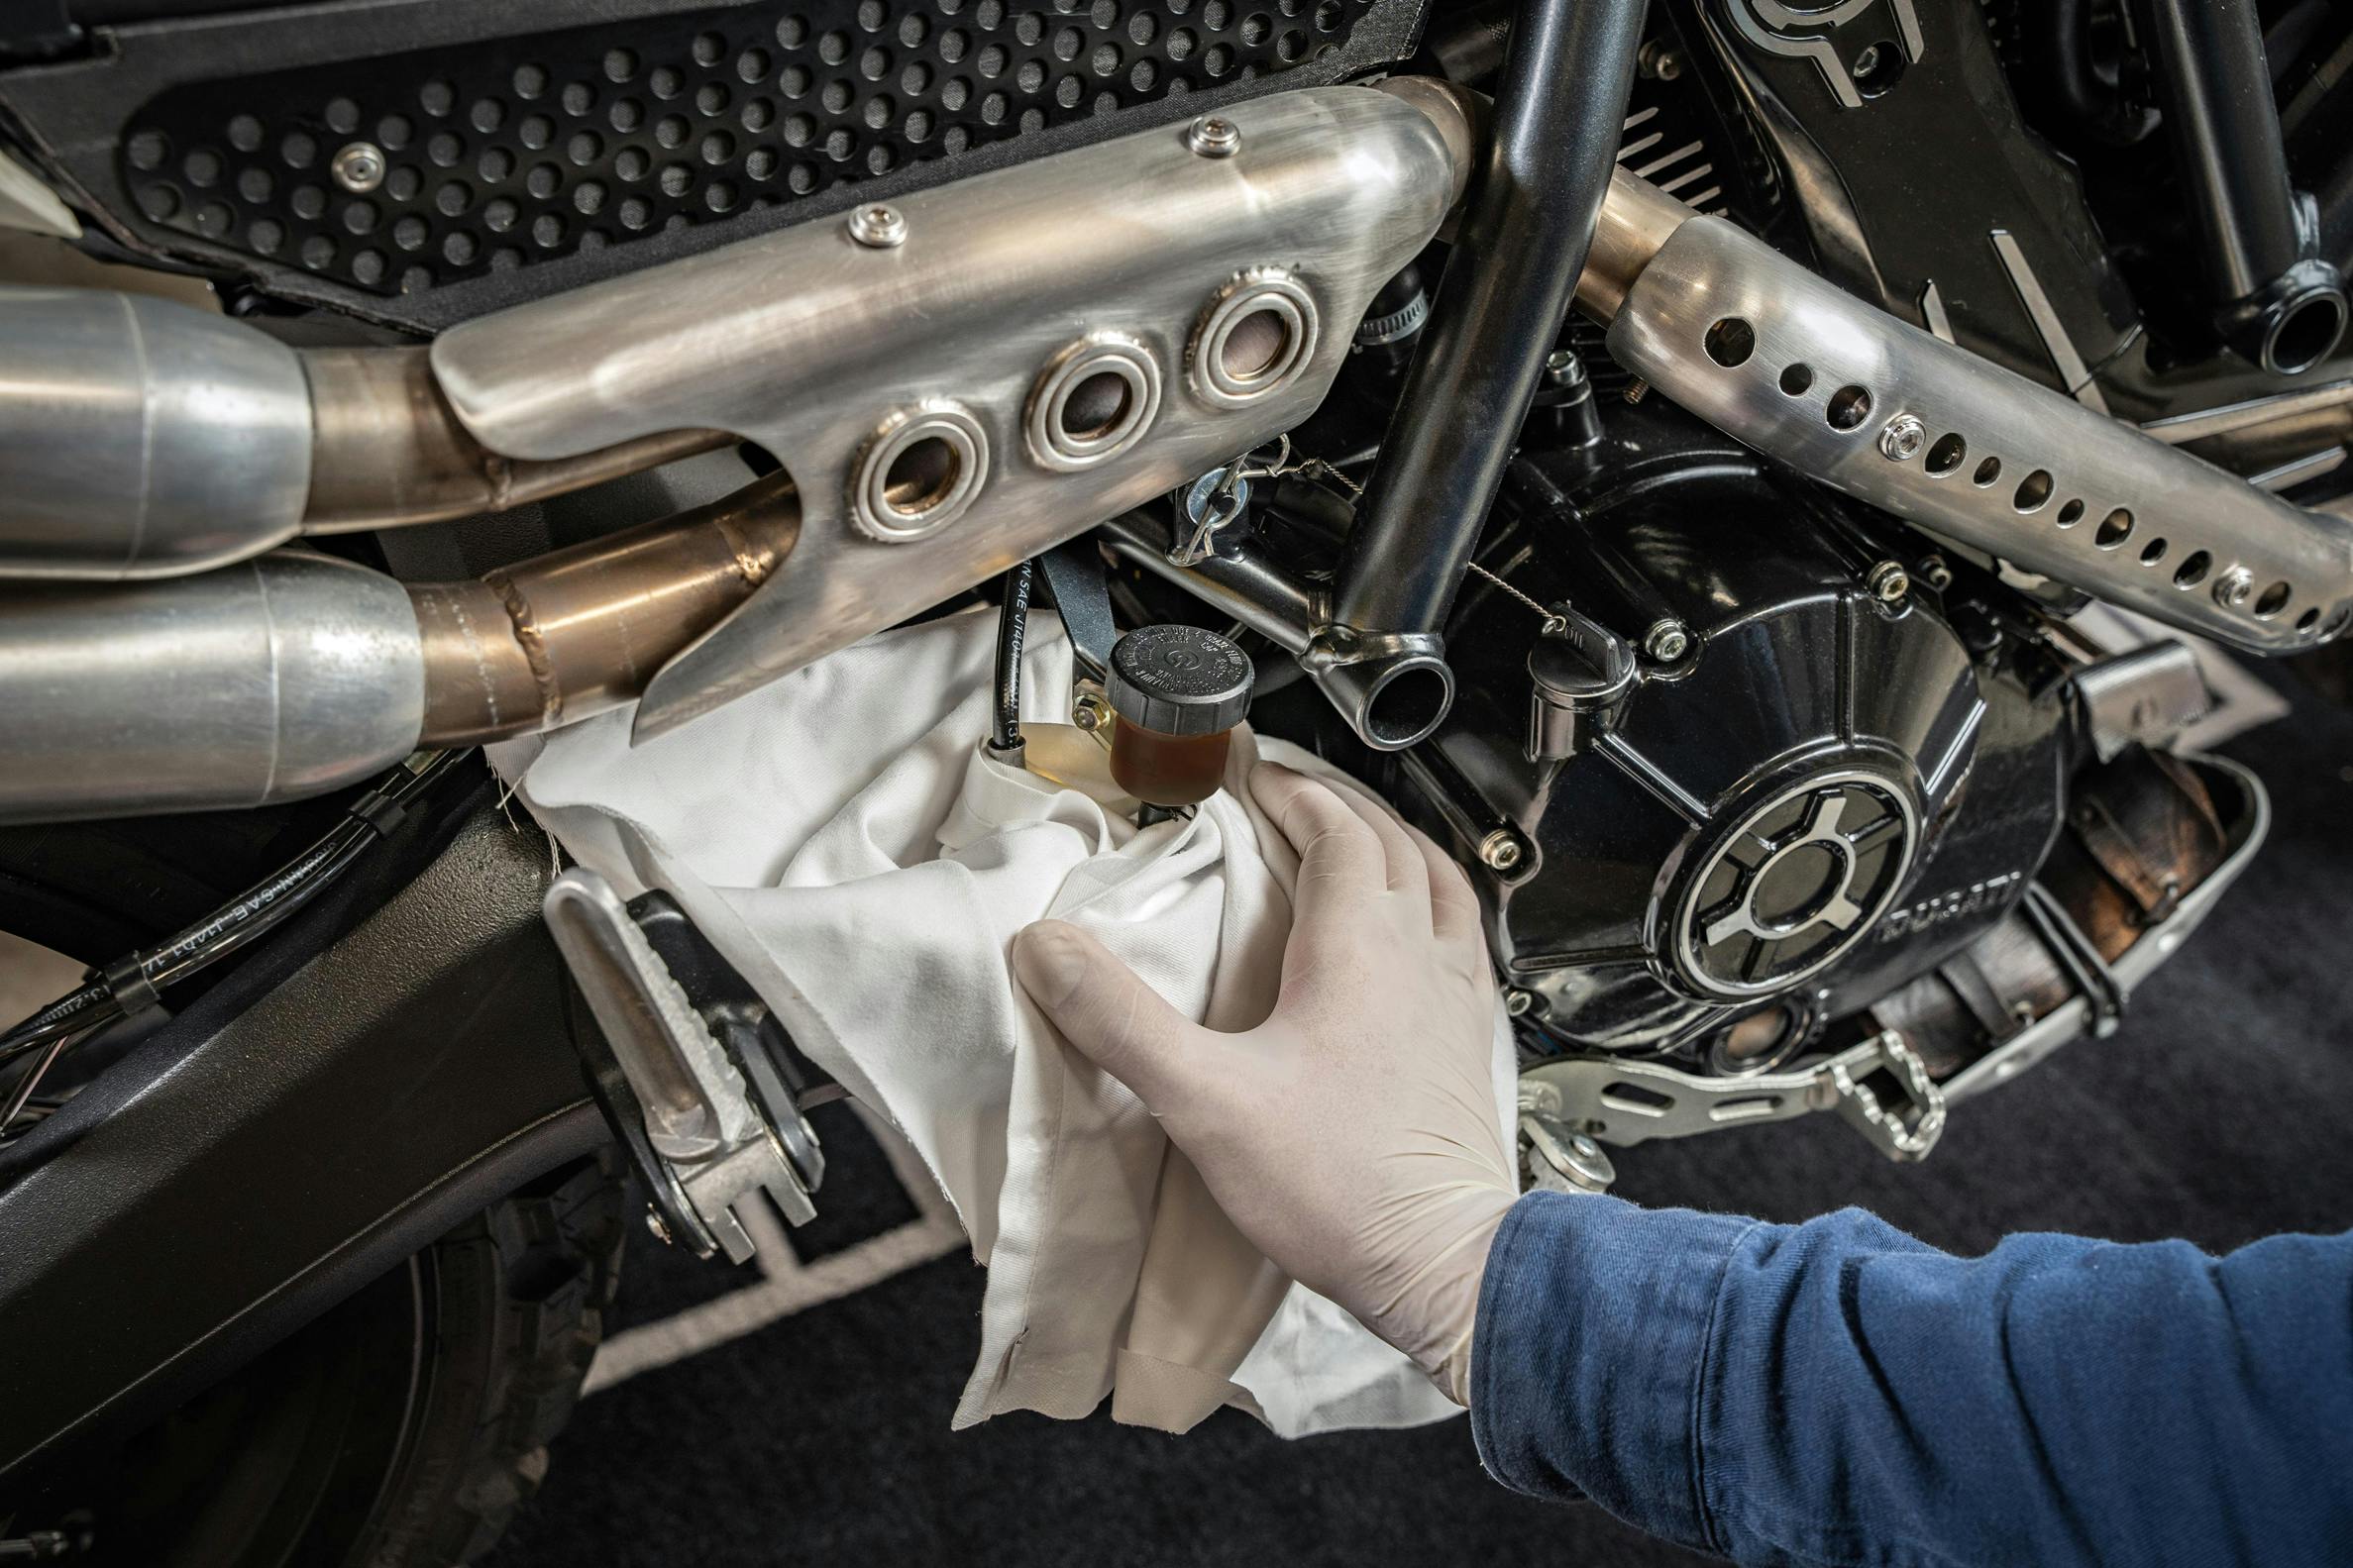
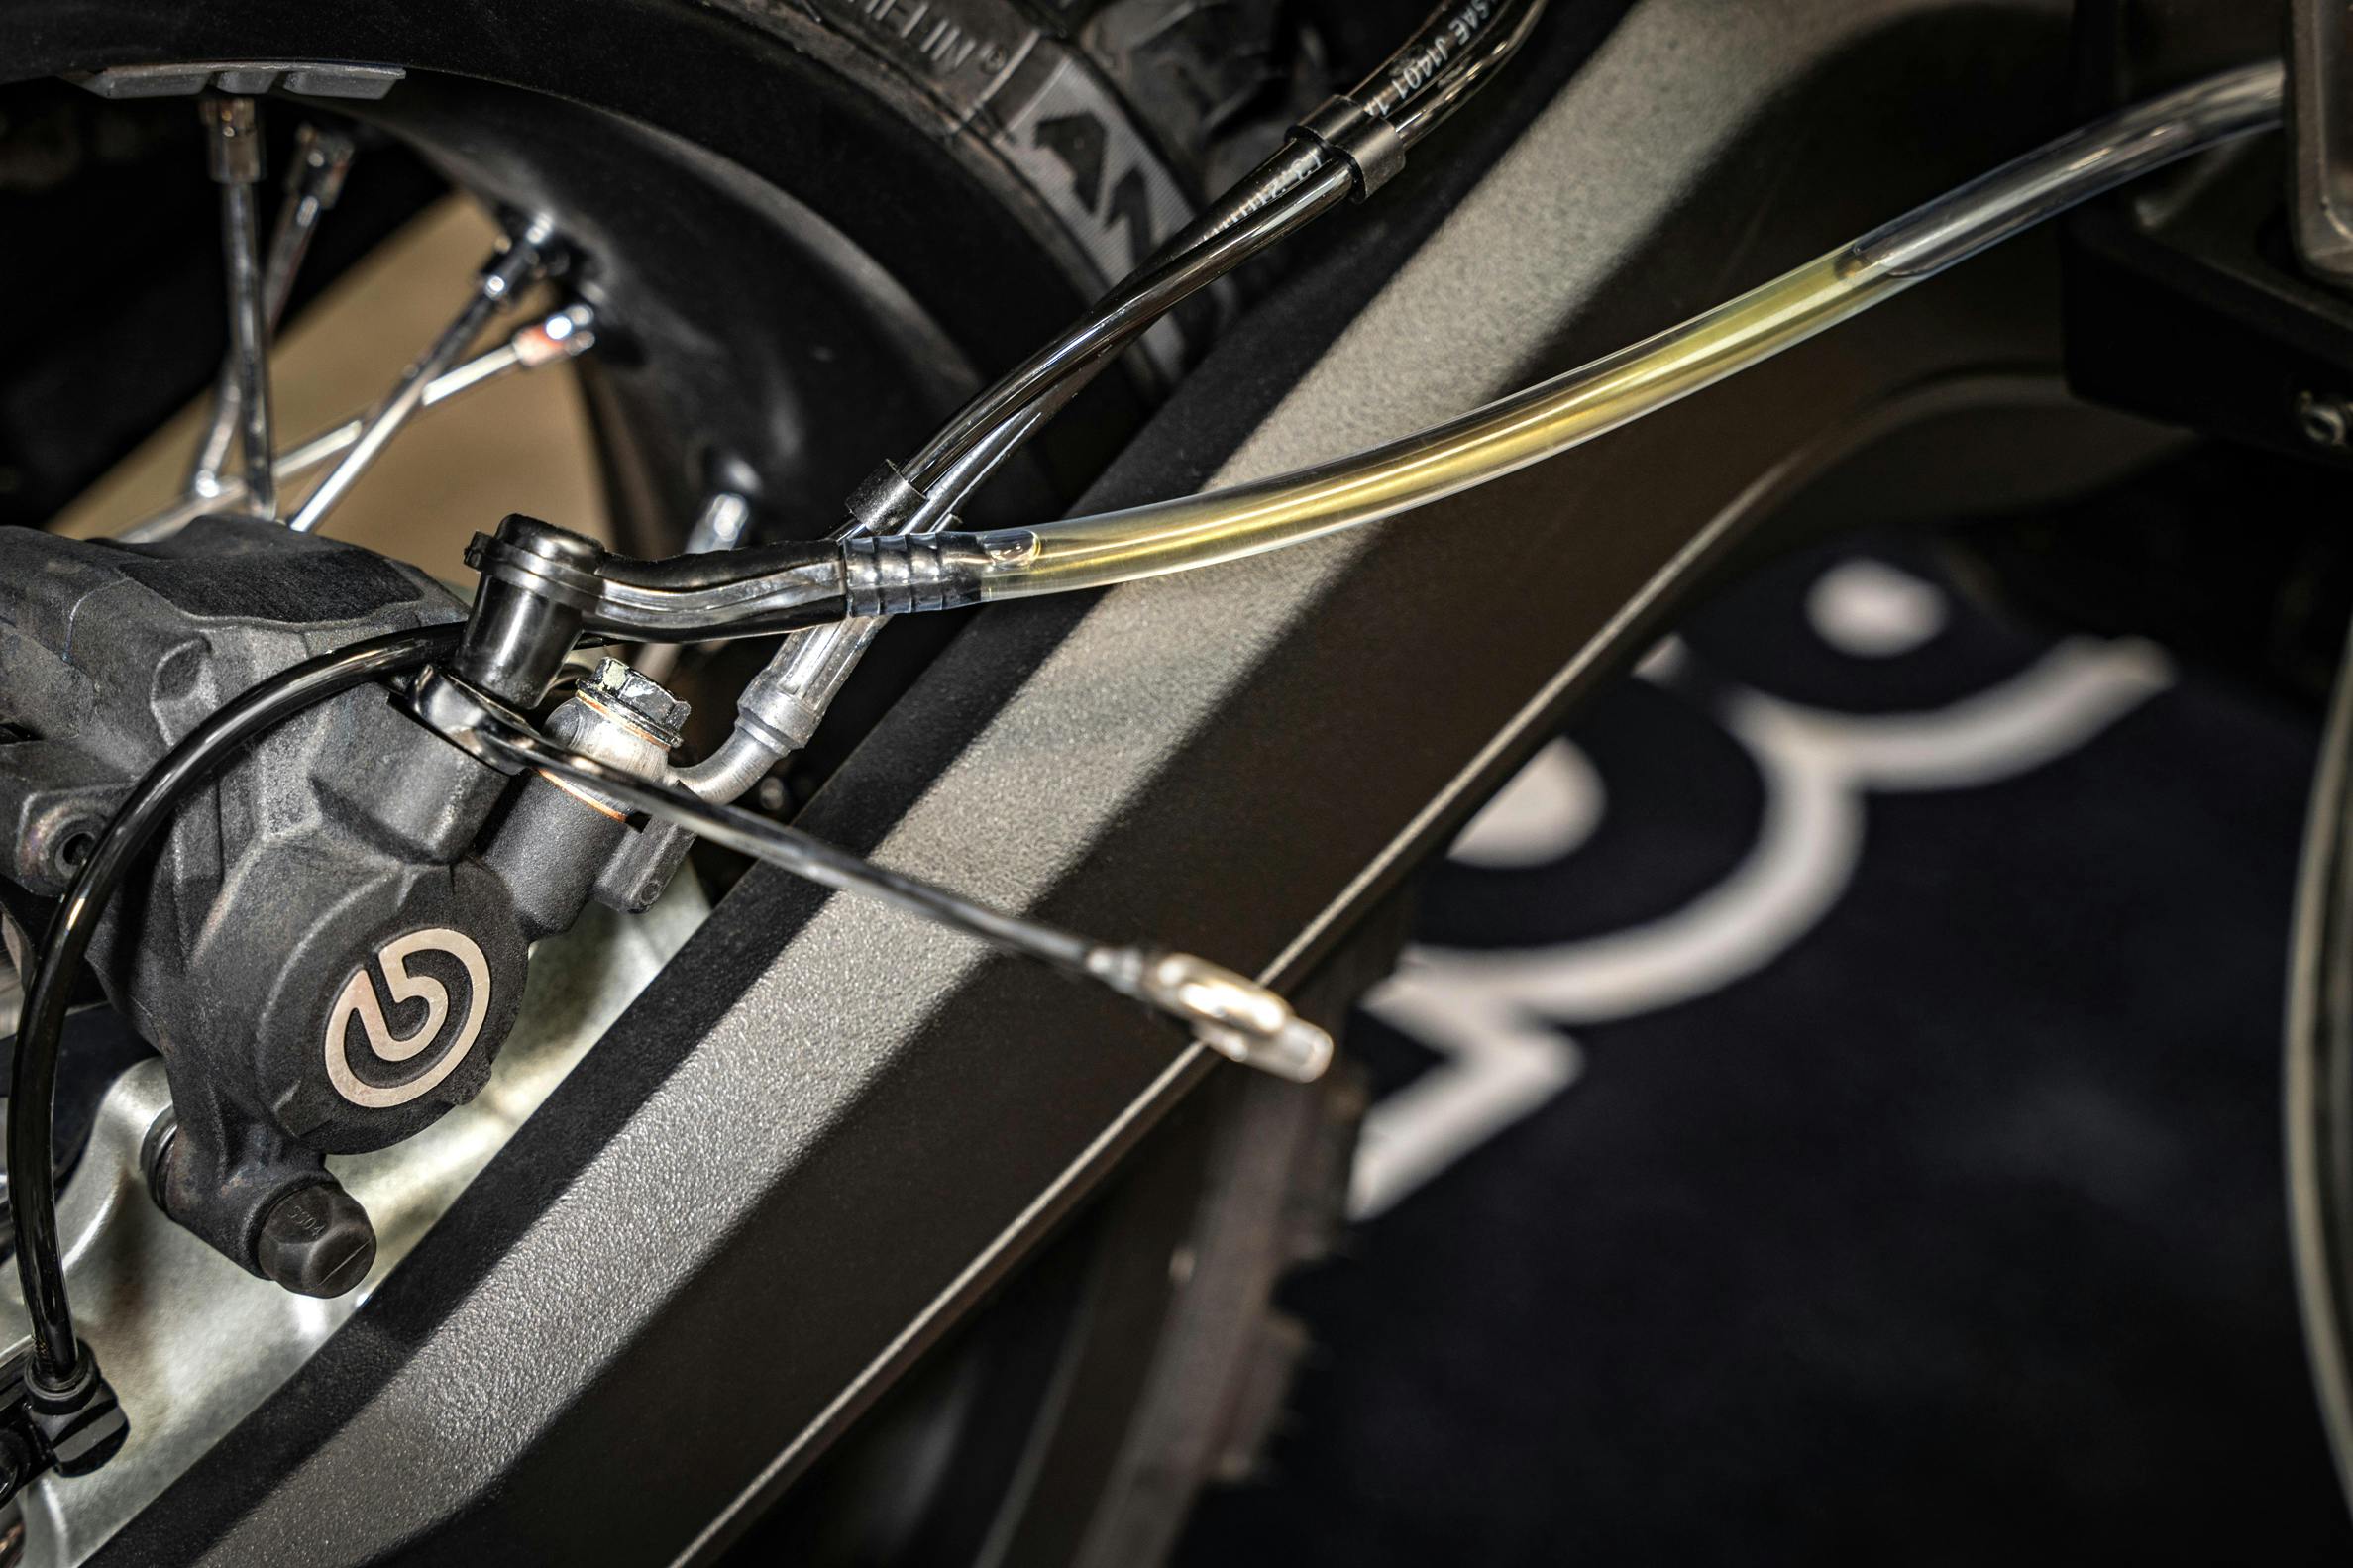
On the brake caliper side, remove the rubber cap that protects the bleeder screw.
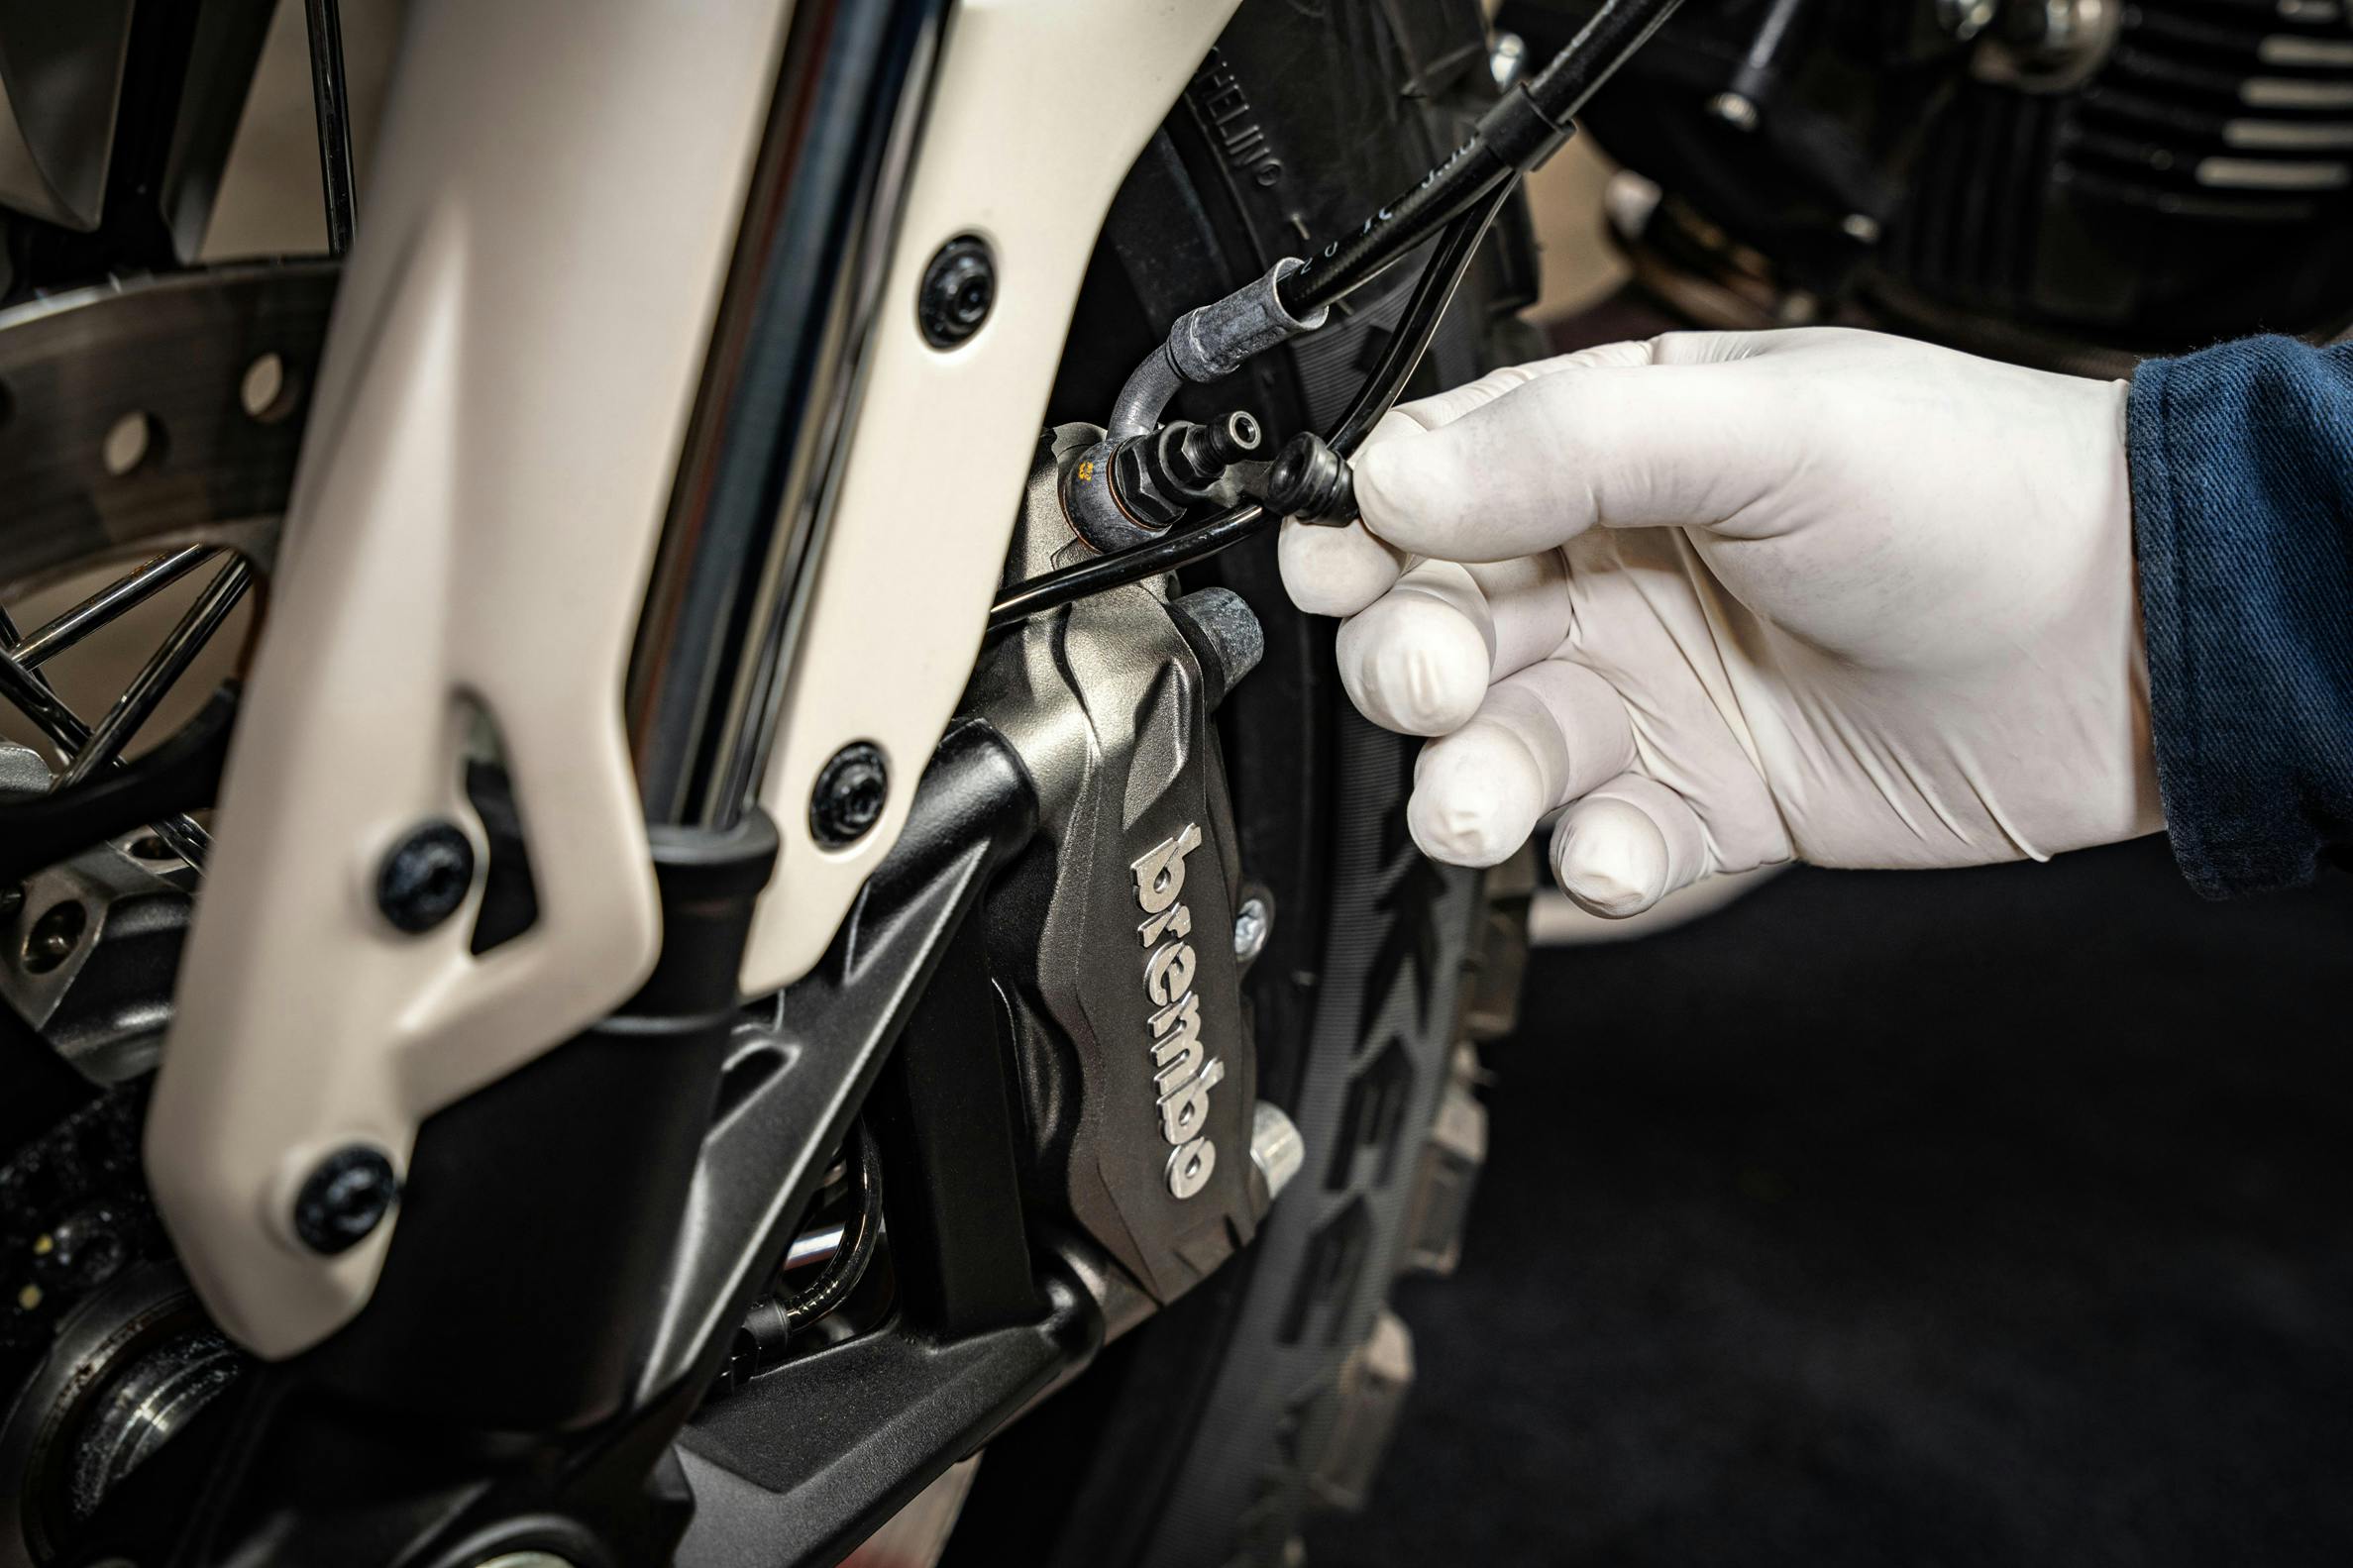
Then place the combination wrench, boxed end on the bleed screw. Connect the bleeding kit to an air compressor and place the transparent tube on the screw to empty the reservoir and braking circuit.
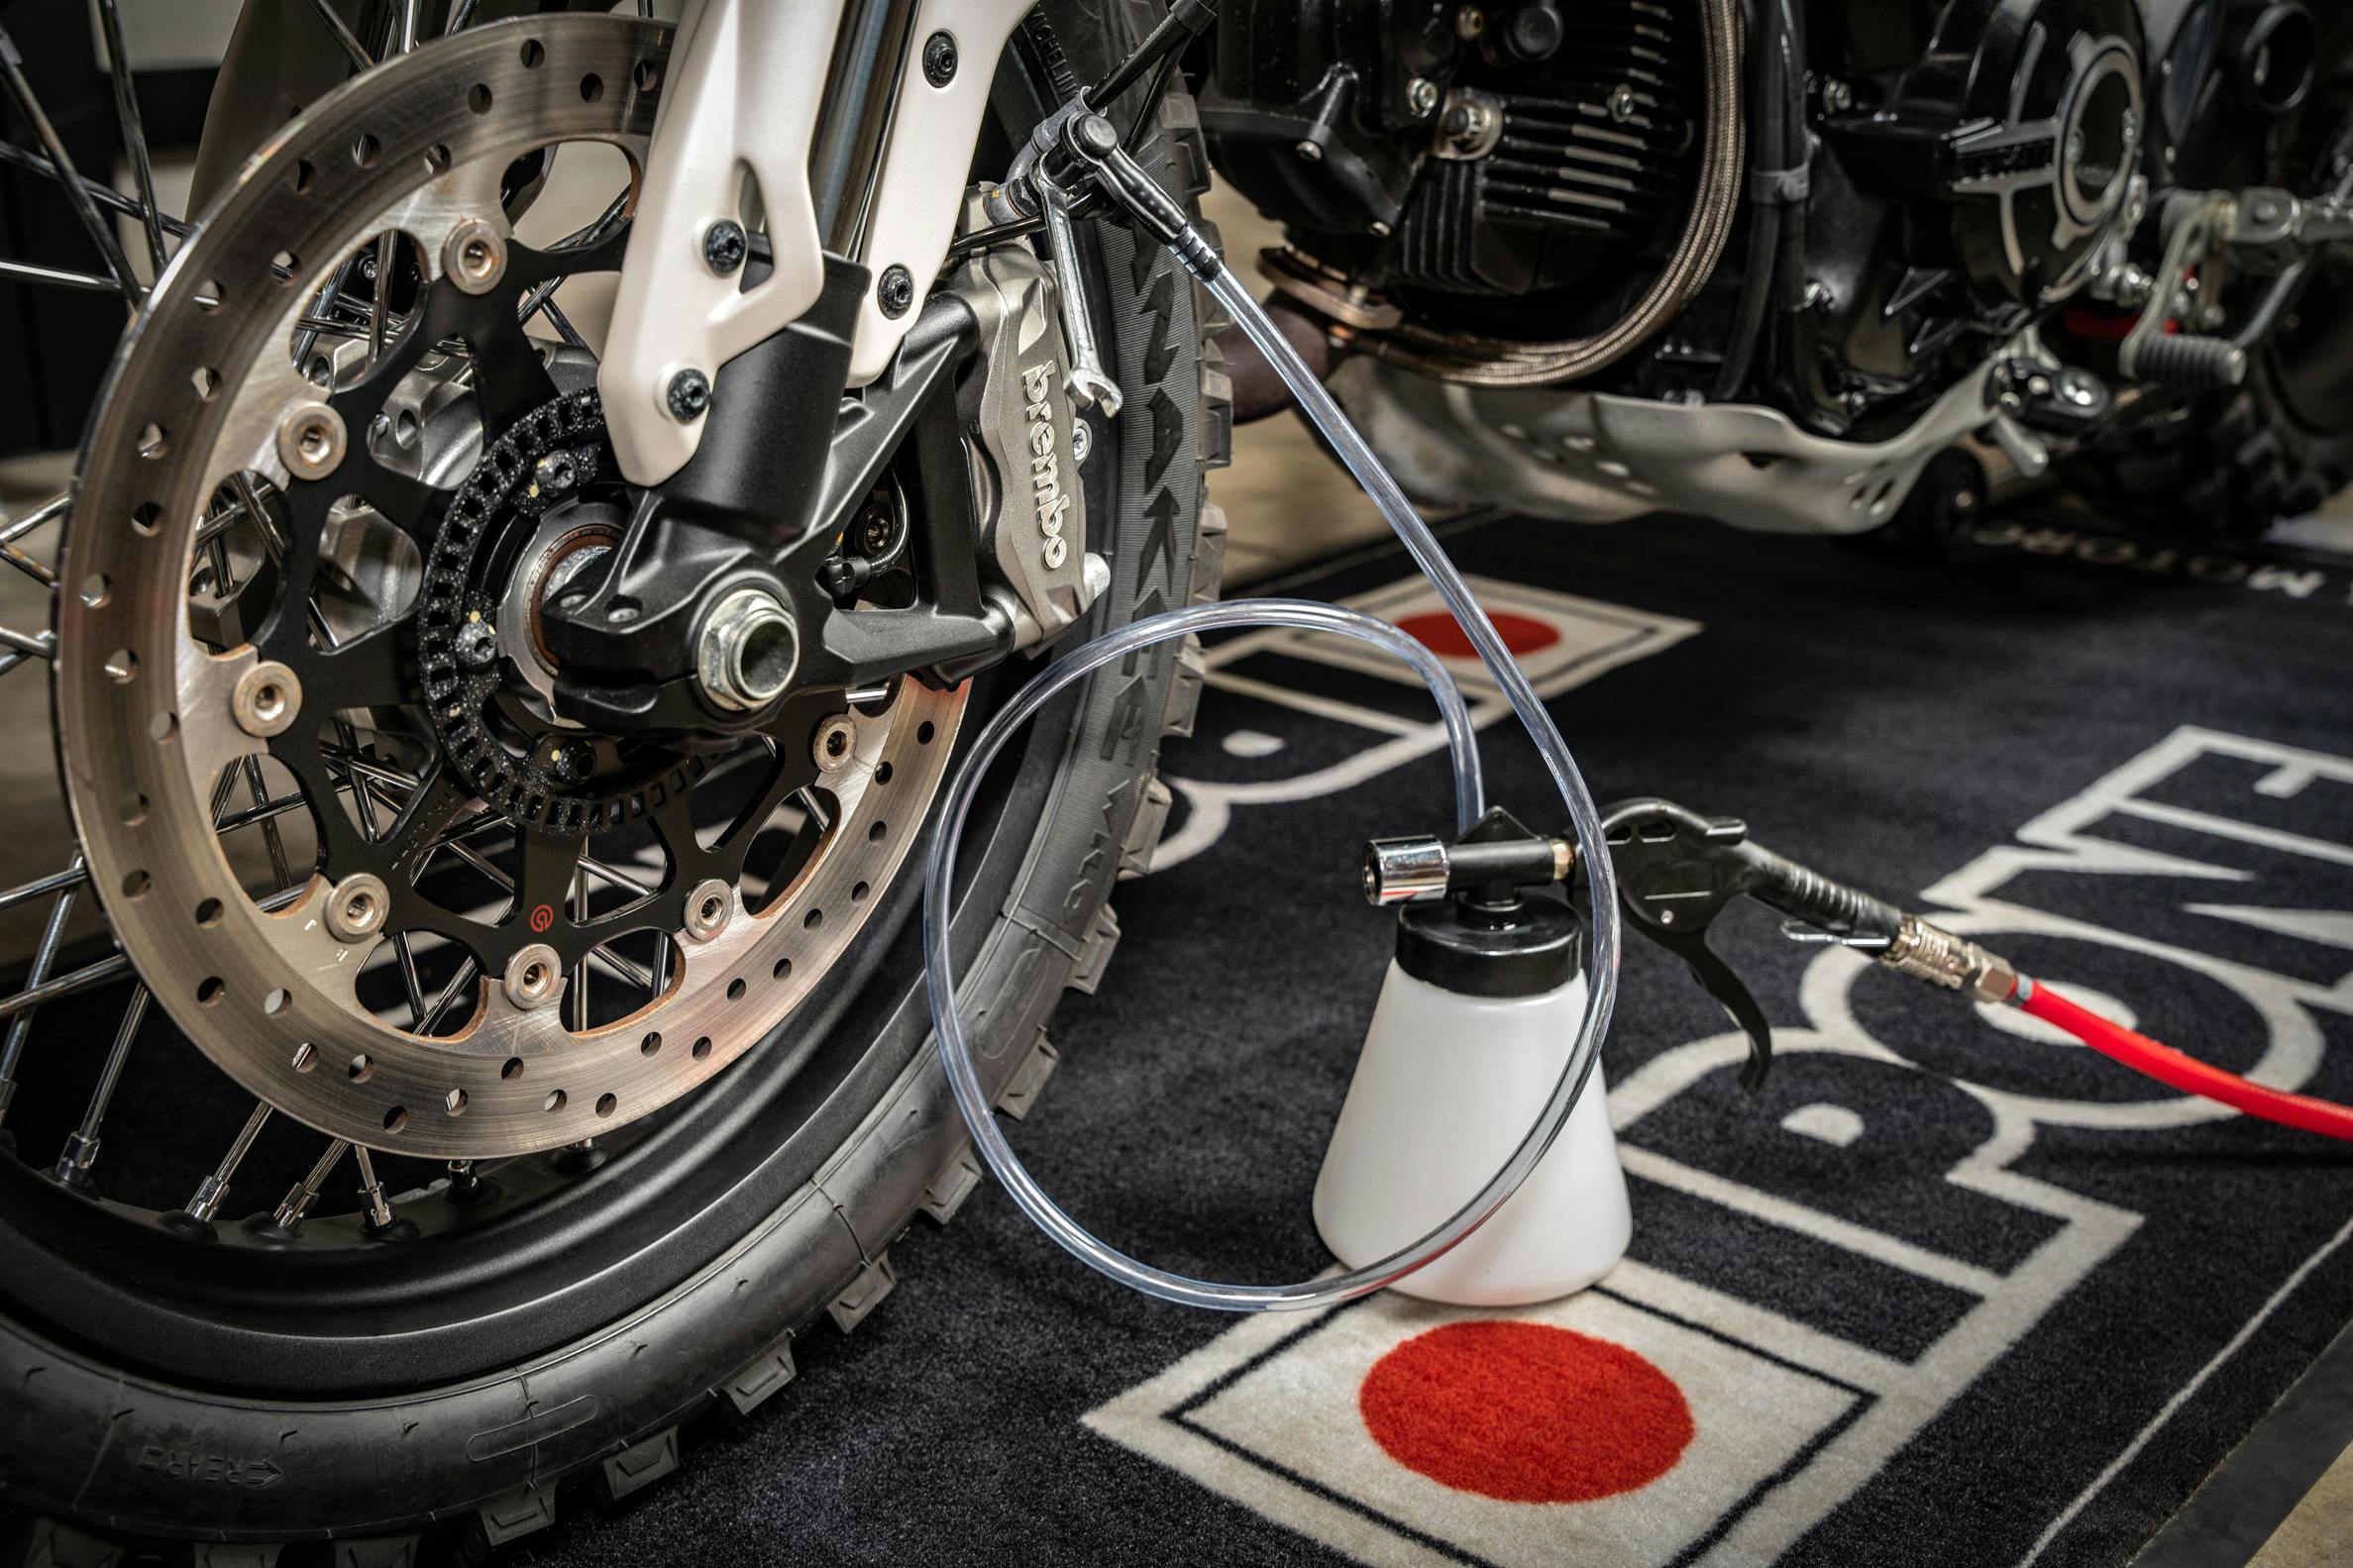
Slightly loosen the bleed screw and activate the bleeding kit, it does all the work for you. Isn’t that nice?
Once the reservoir is empty, clean it with a clean cloth.
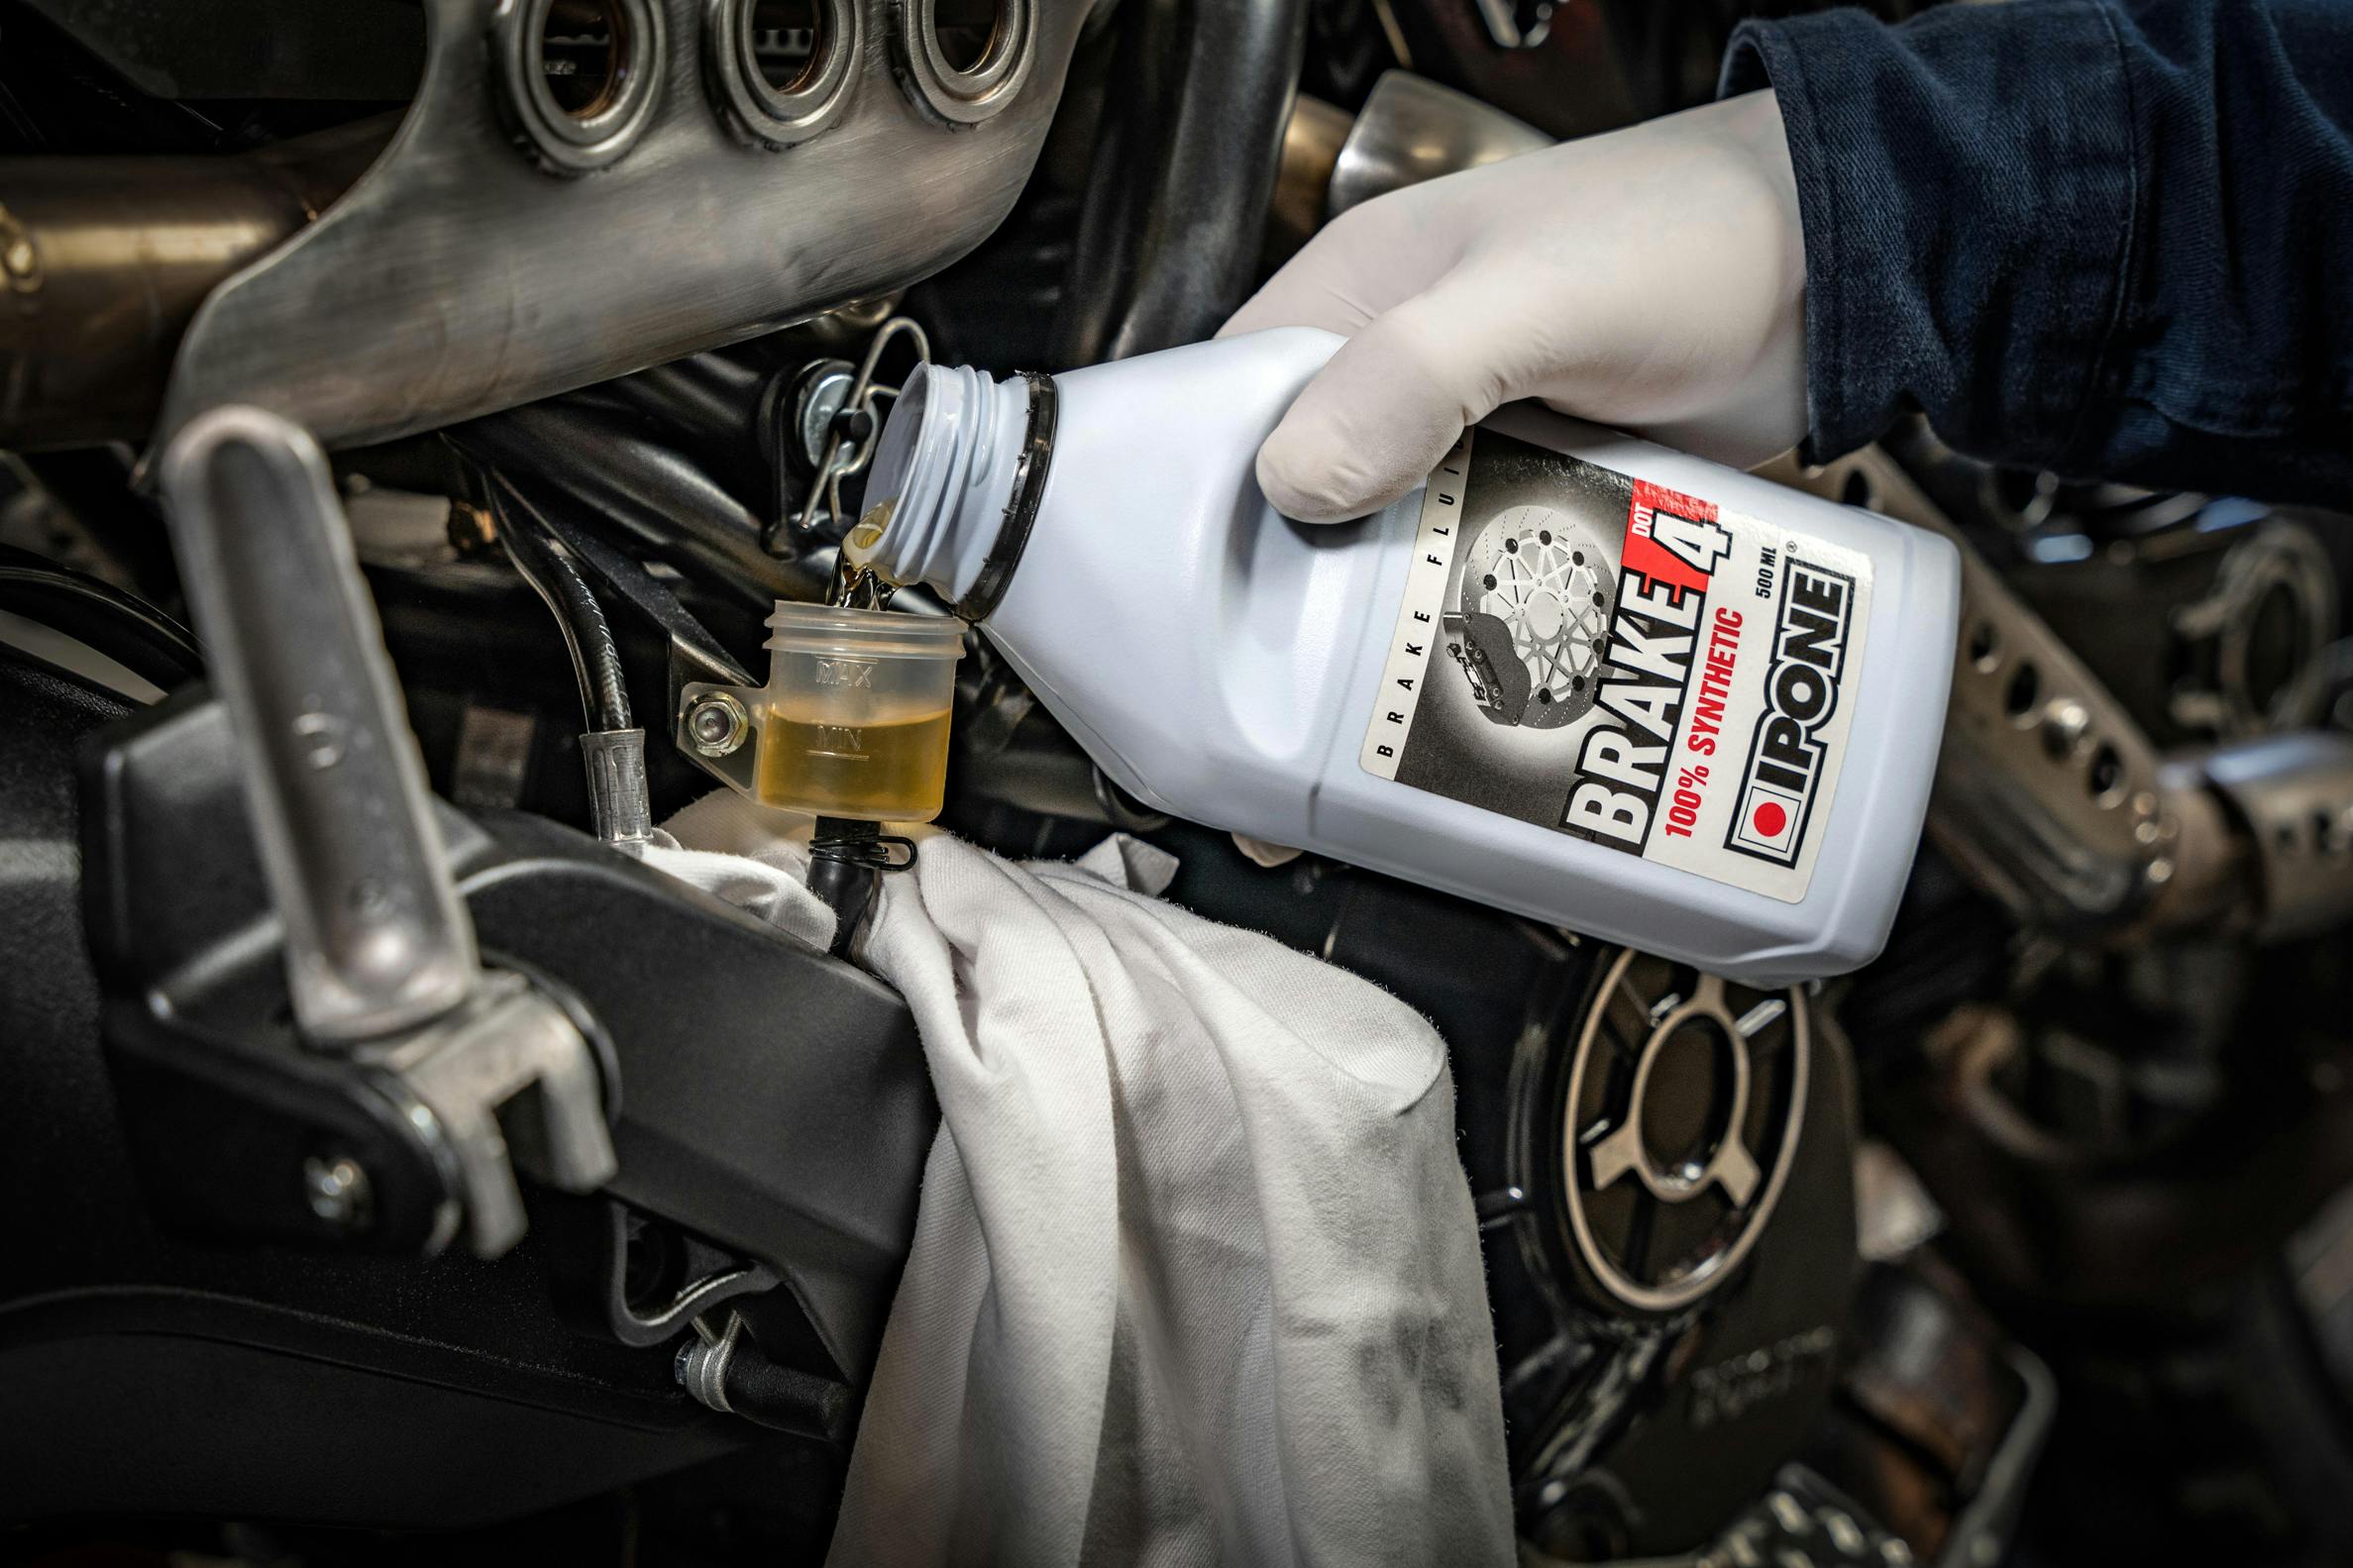
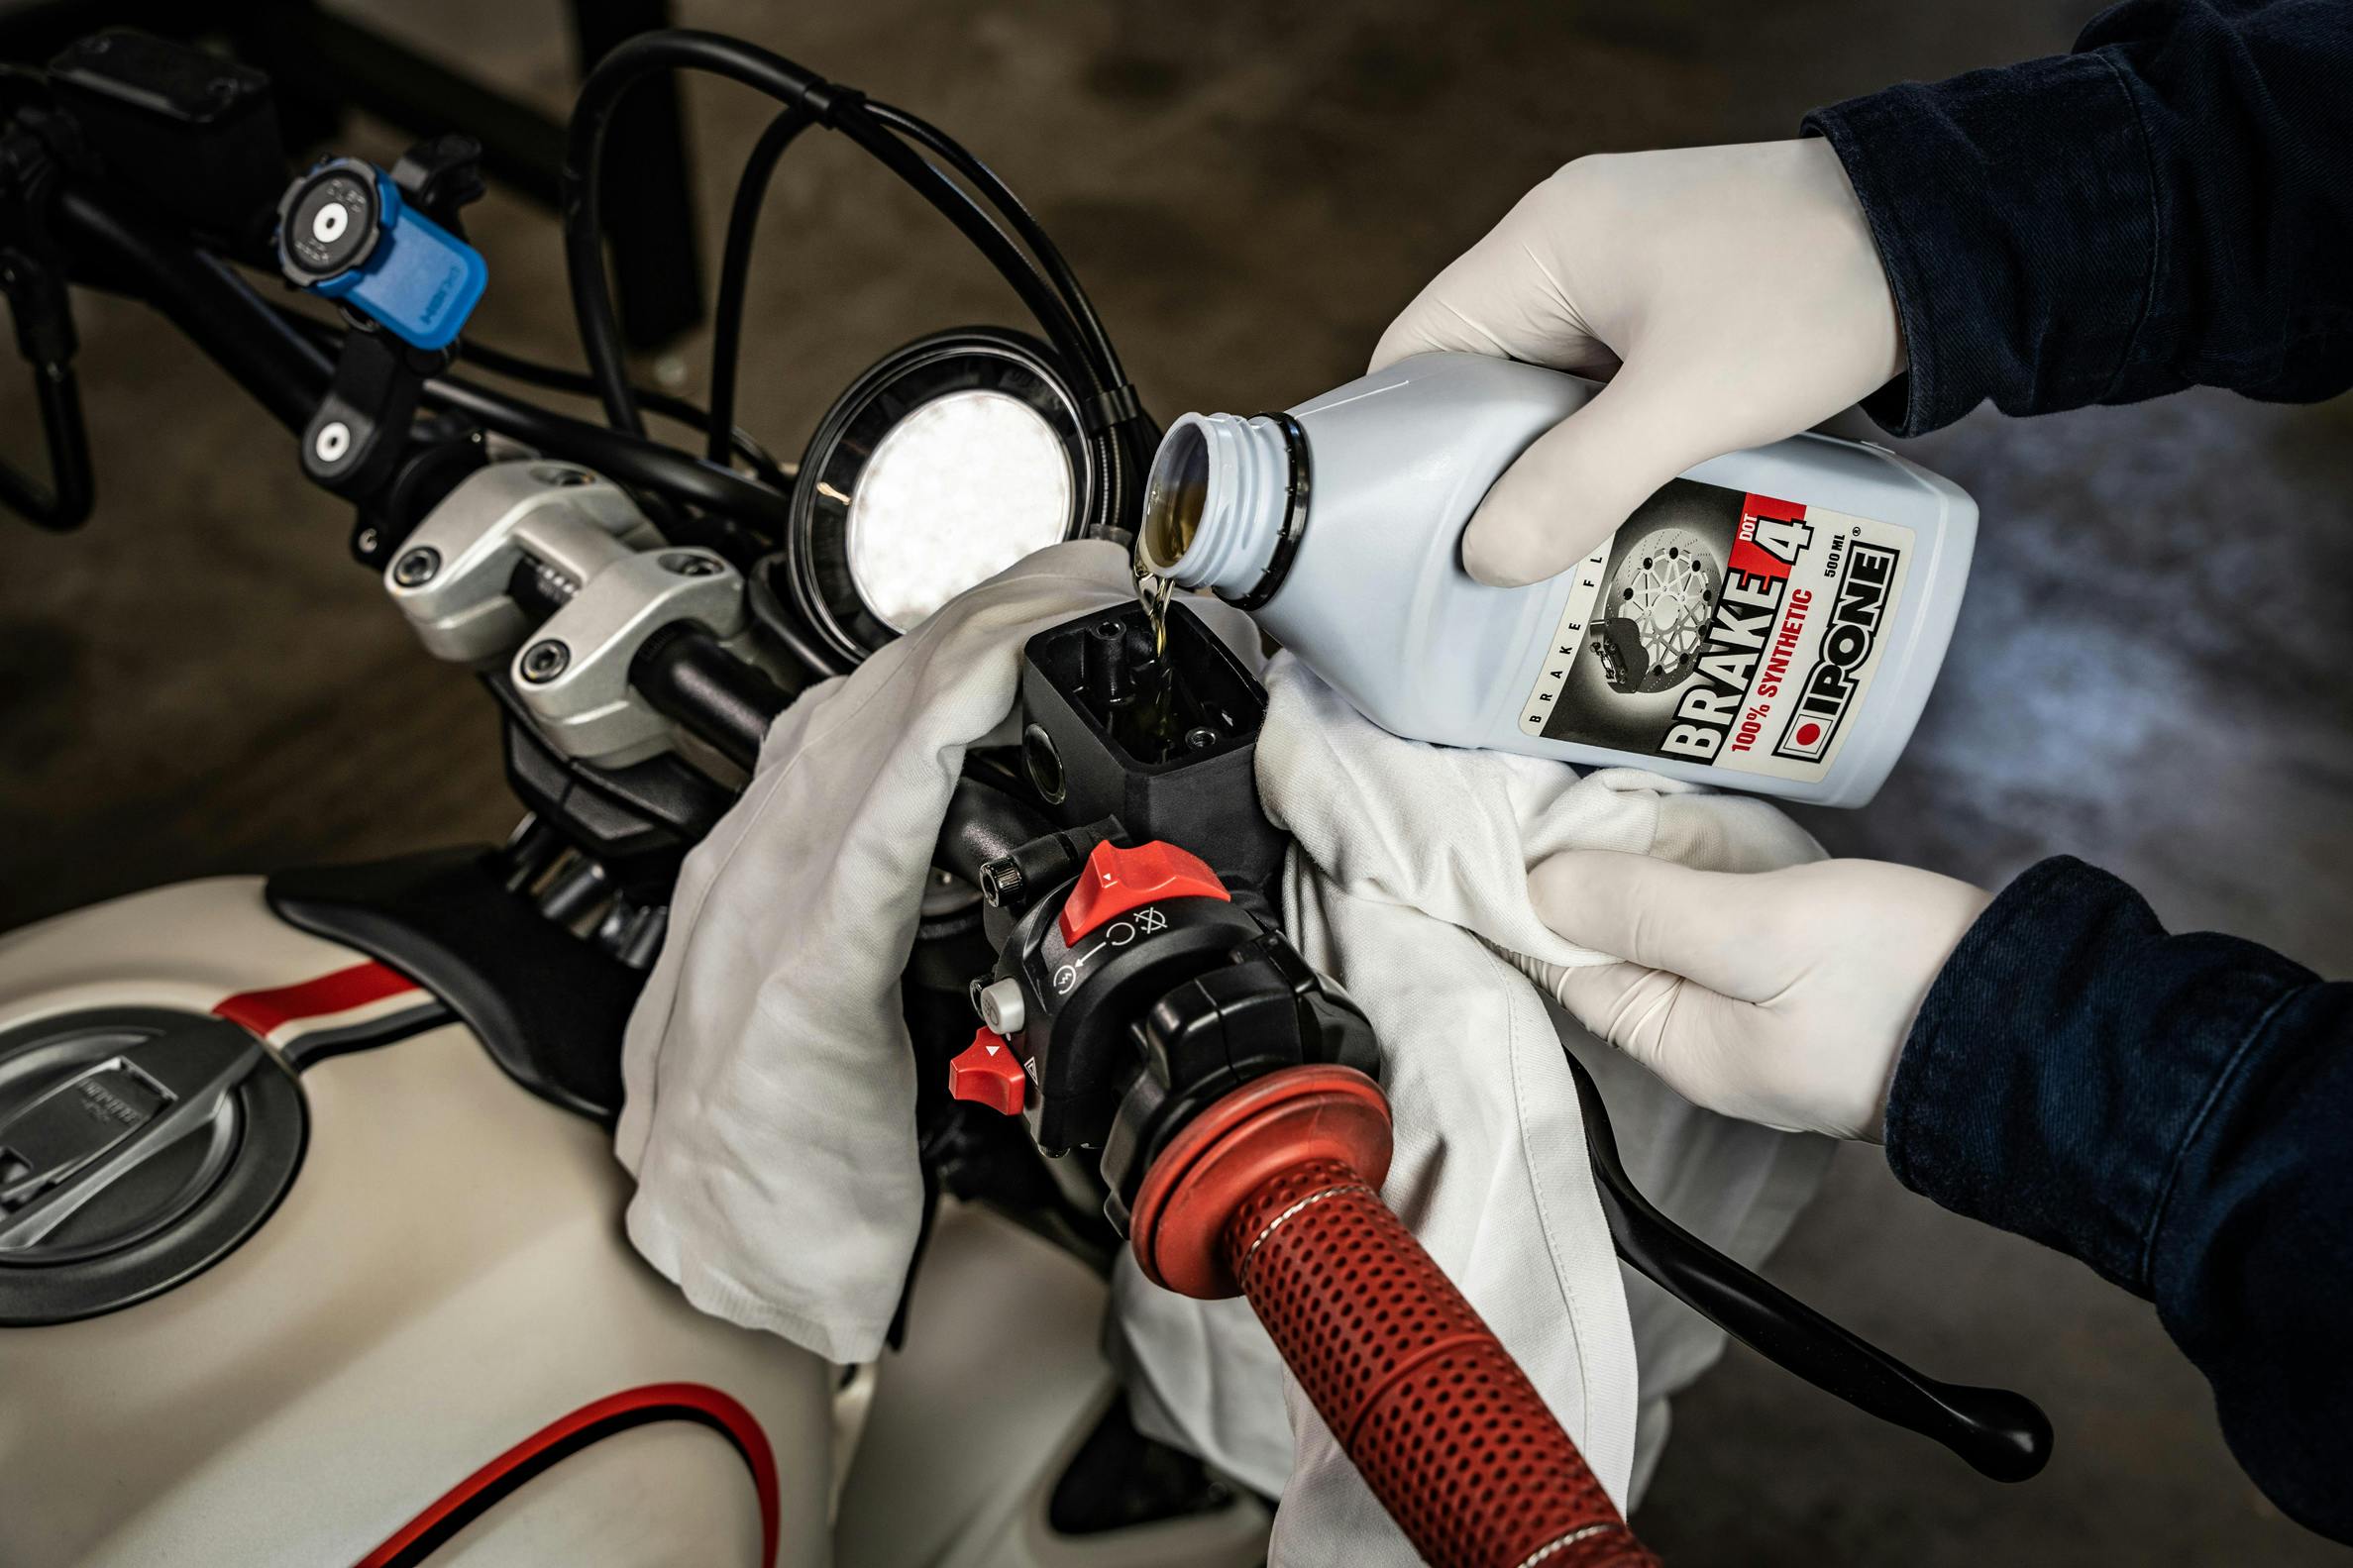
3. Add new brake fluid
Then fill the reservoir with new brake fluid.
Tip
During the bleed the level of liquid in the reservoir lowers, so don’t forget to check the level regularly and top it up from time to time. If the level in the reservoir is too low and the braking system has sucked in air, you must redo the bleed from the beginning.
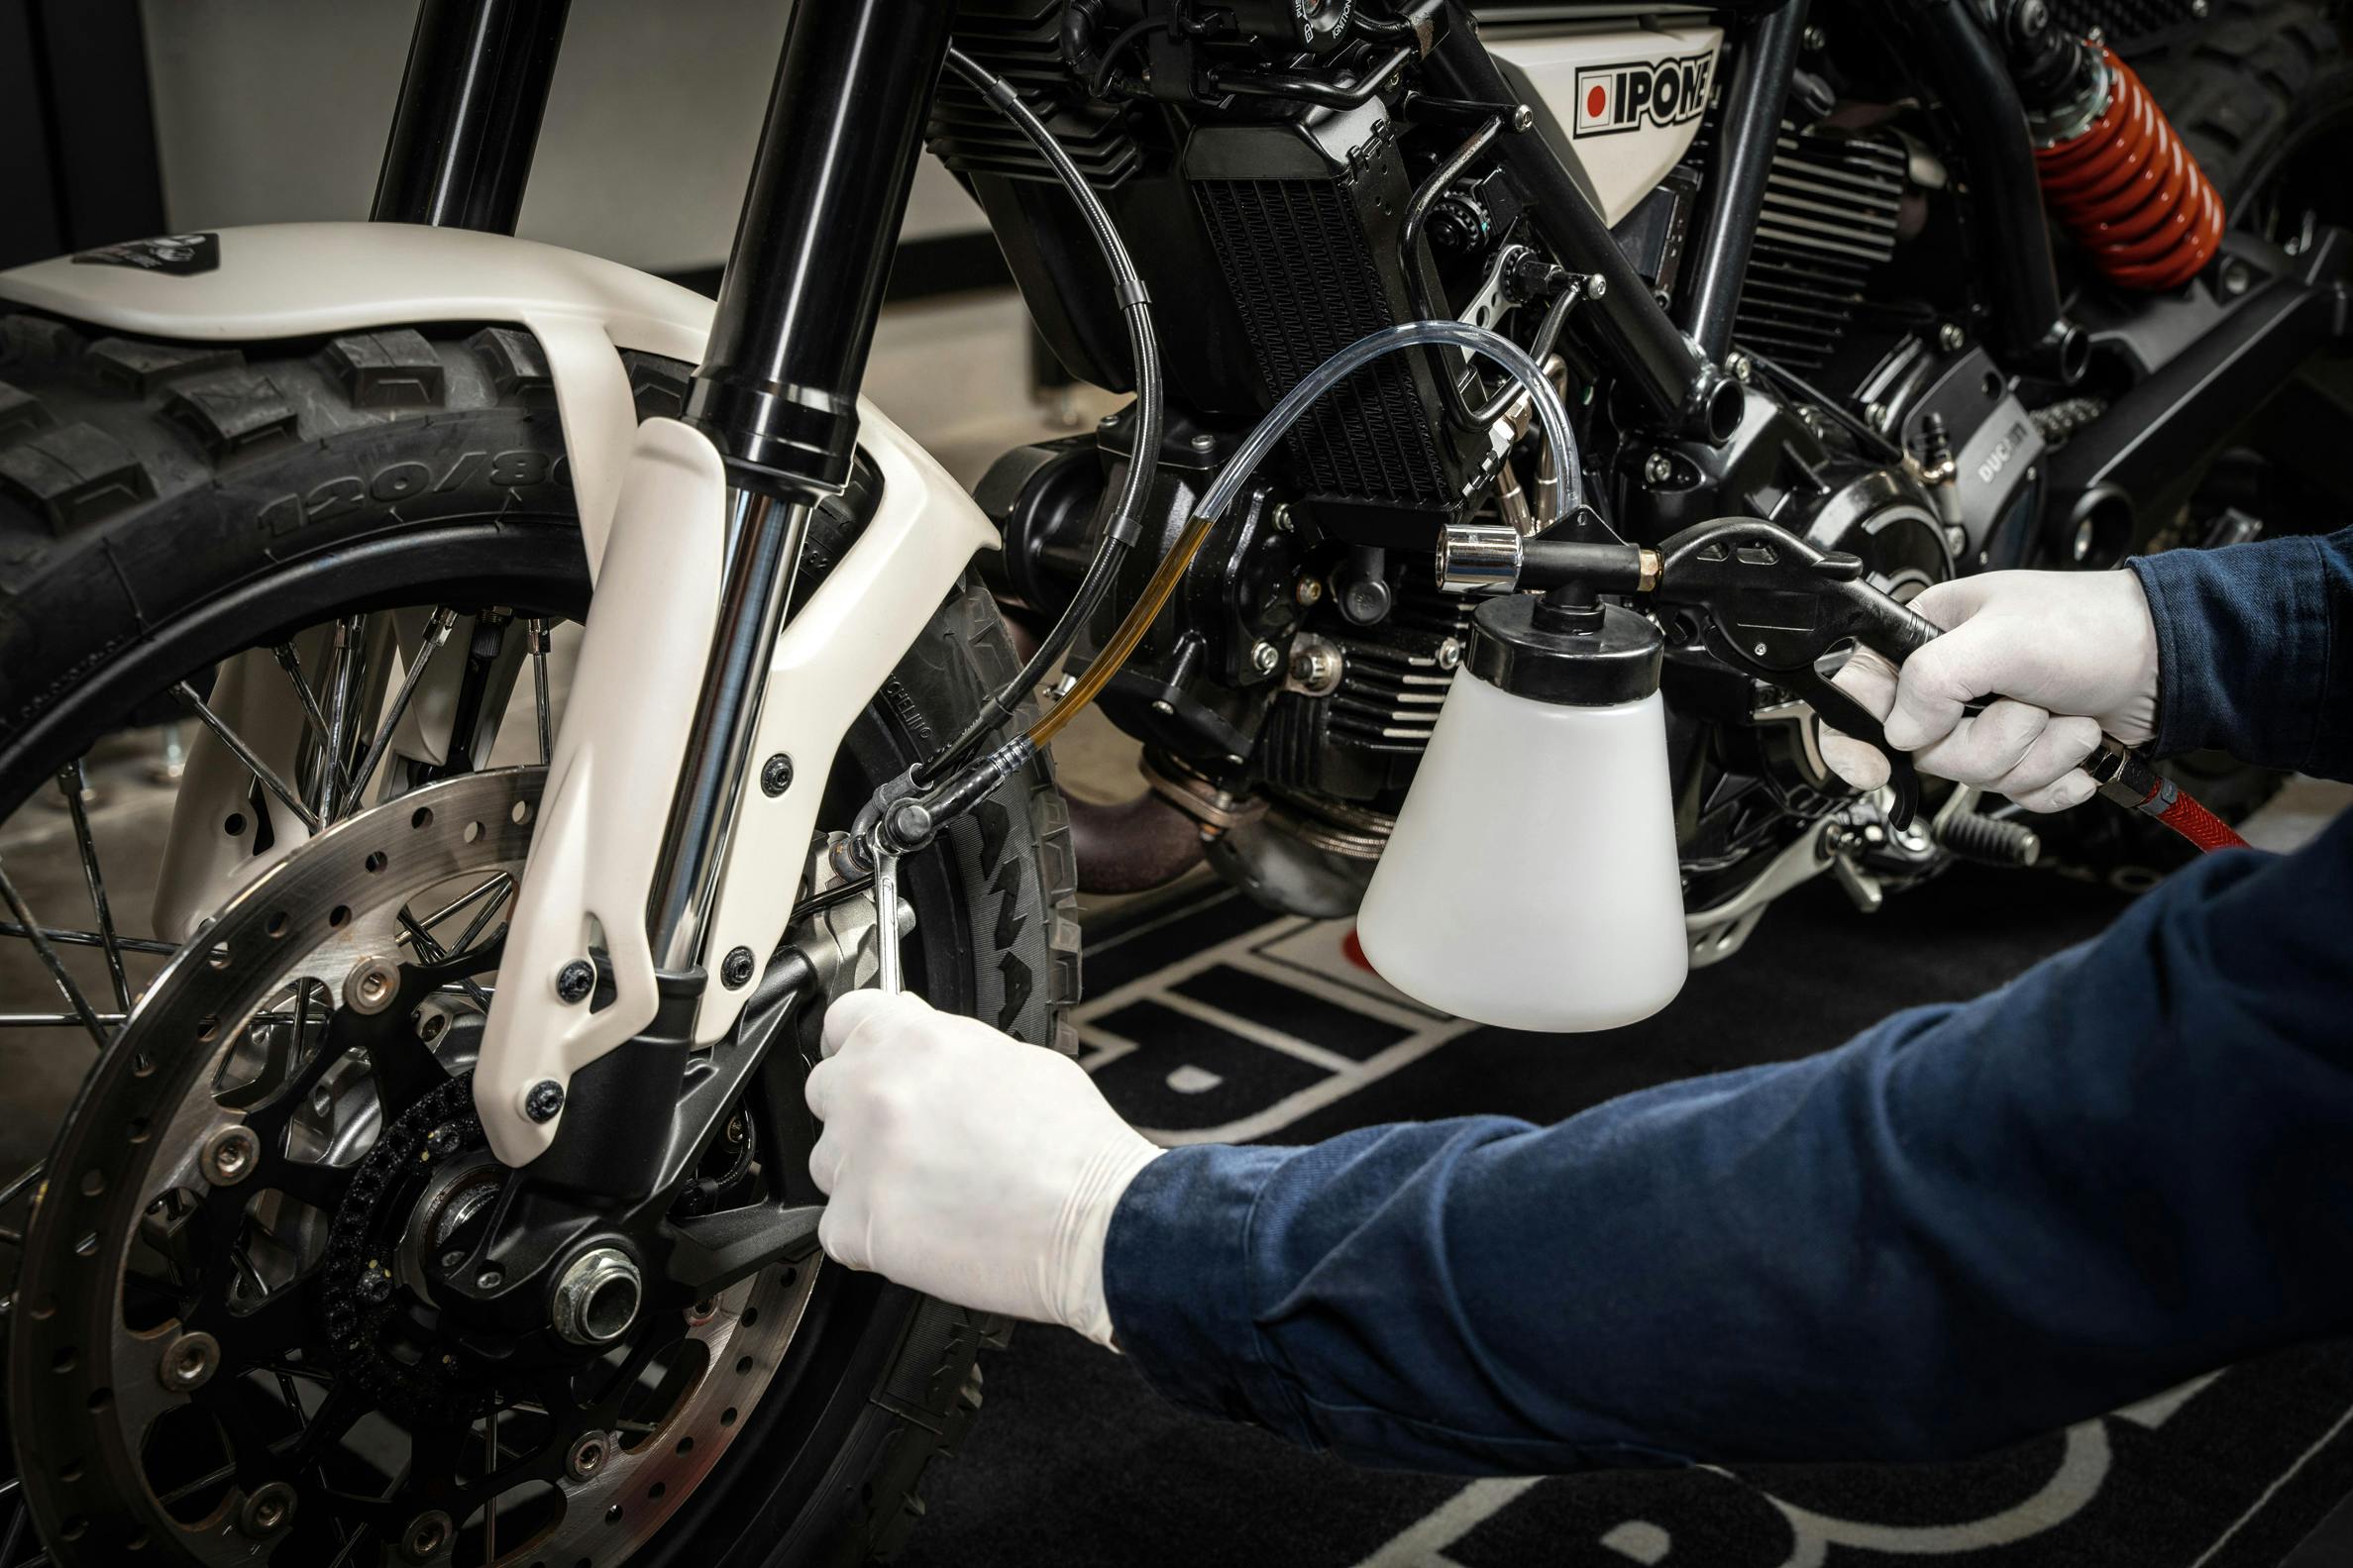
Vacuum once again until seeing clear liquid in the tube near the bleed screw. Suction one last time while tightening the bleed screw.
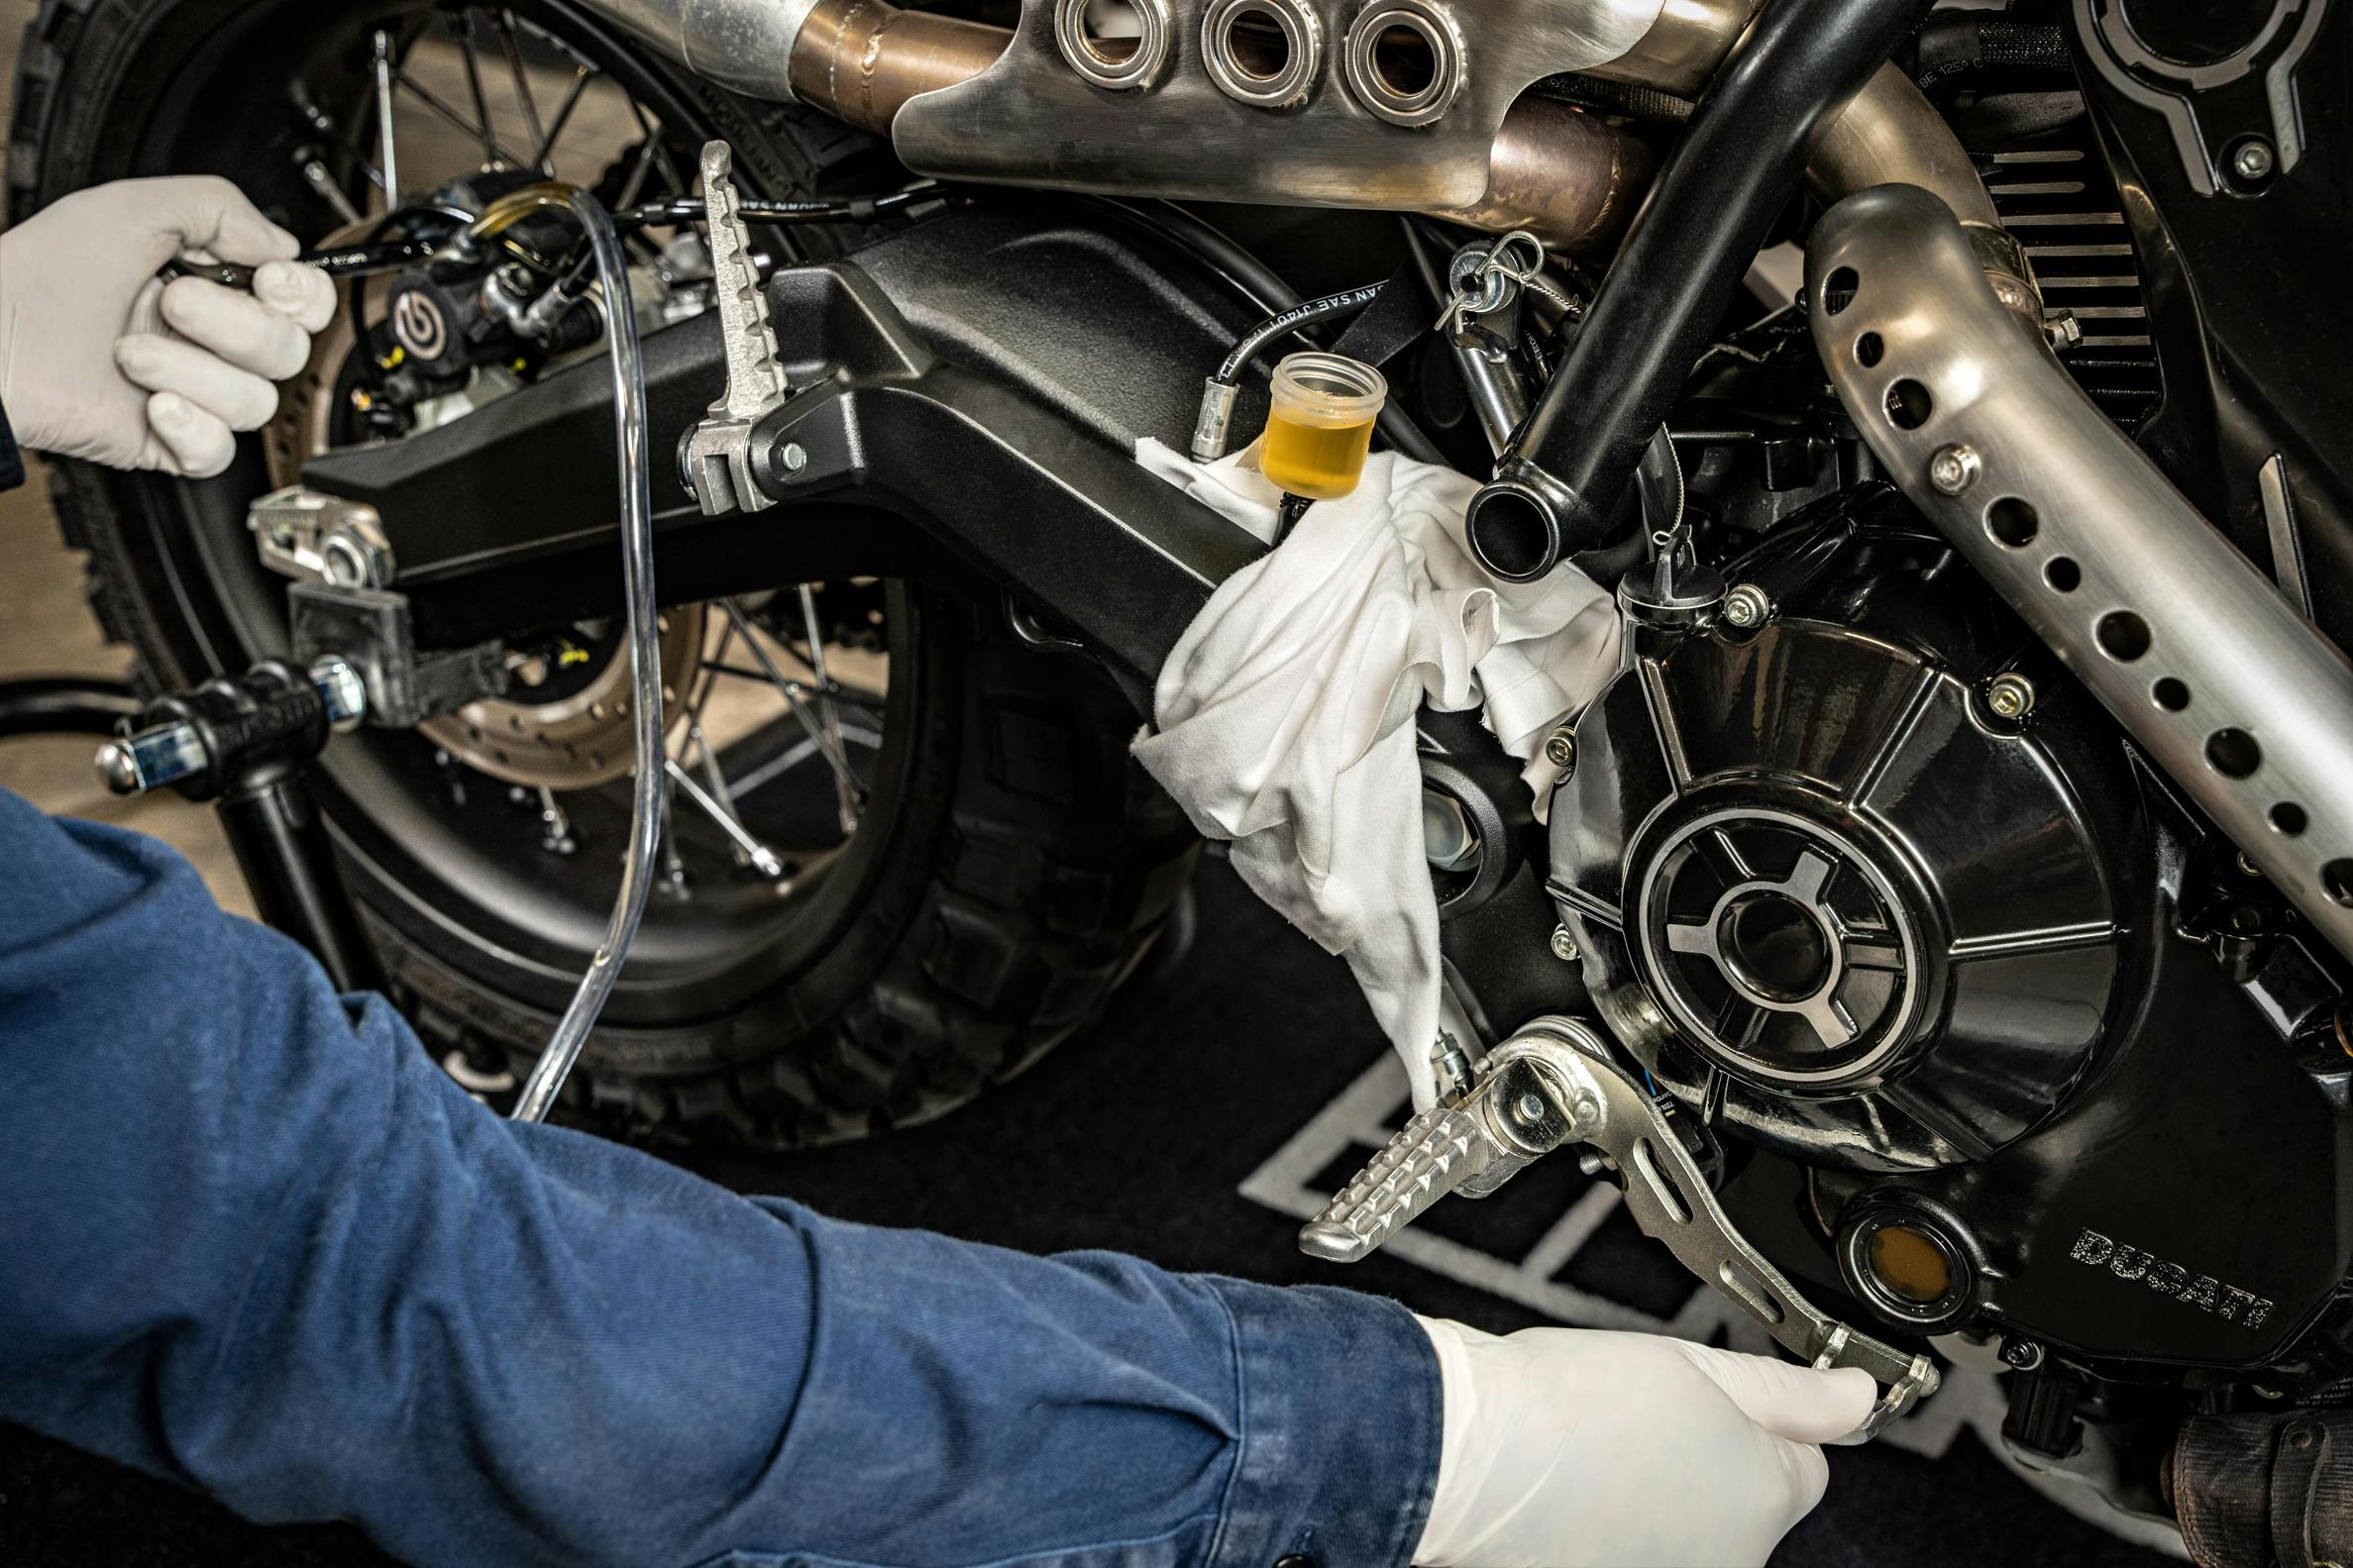
Then do a manual purge. Press the brake pedal (or the brake lever if you're doing the front brake) about ten times. Keep pressure on the brake pedal (or on the lever) while slowly loosening the bleeder screw with the wrench without ever releasing pressure on the pedal or lever.
It is important to tighten the screw before releasing the lever to prevent the system from sucking in air.
Finally, top up the brake fluid level in the reservoir, and close it.
Check the bleed screw tightening, remove the tube and replace the rubber cap.
Then do the front brake (or rear if you started by the front)!
Check the feeling offered by the lever (or brake pedal) on a static bike: it must be firm.
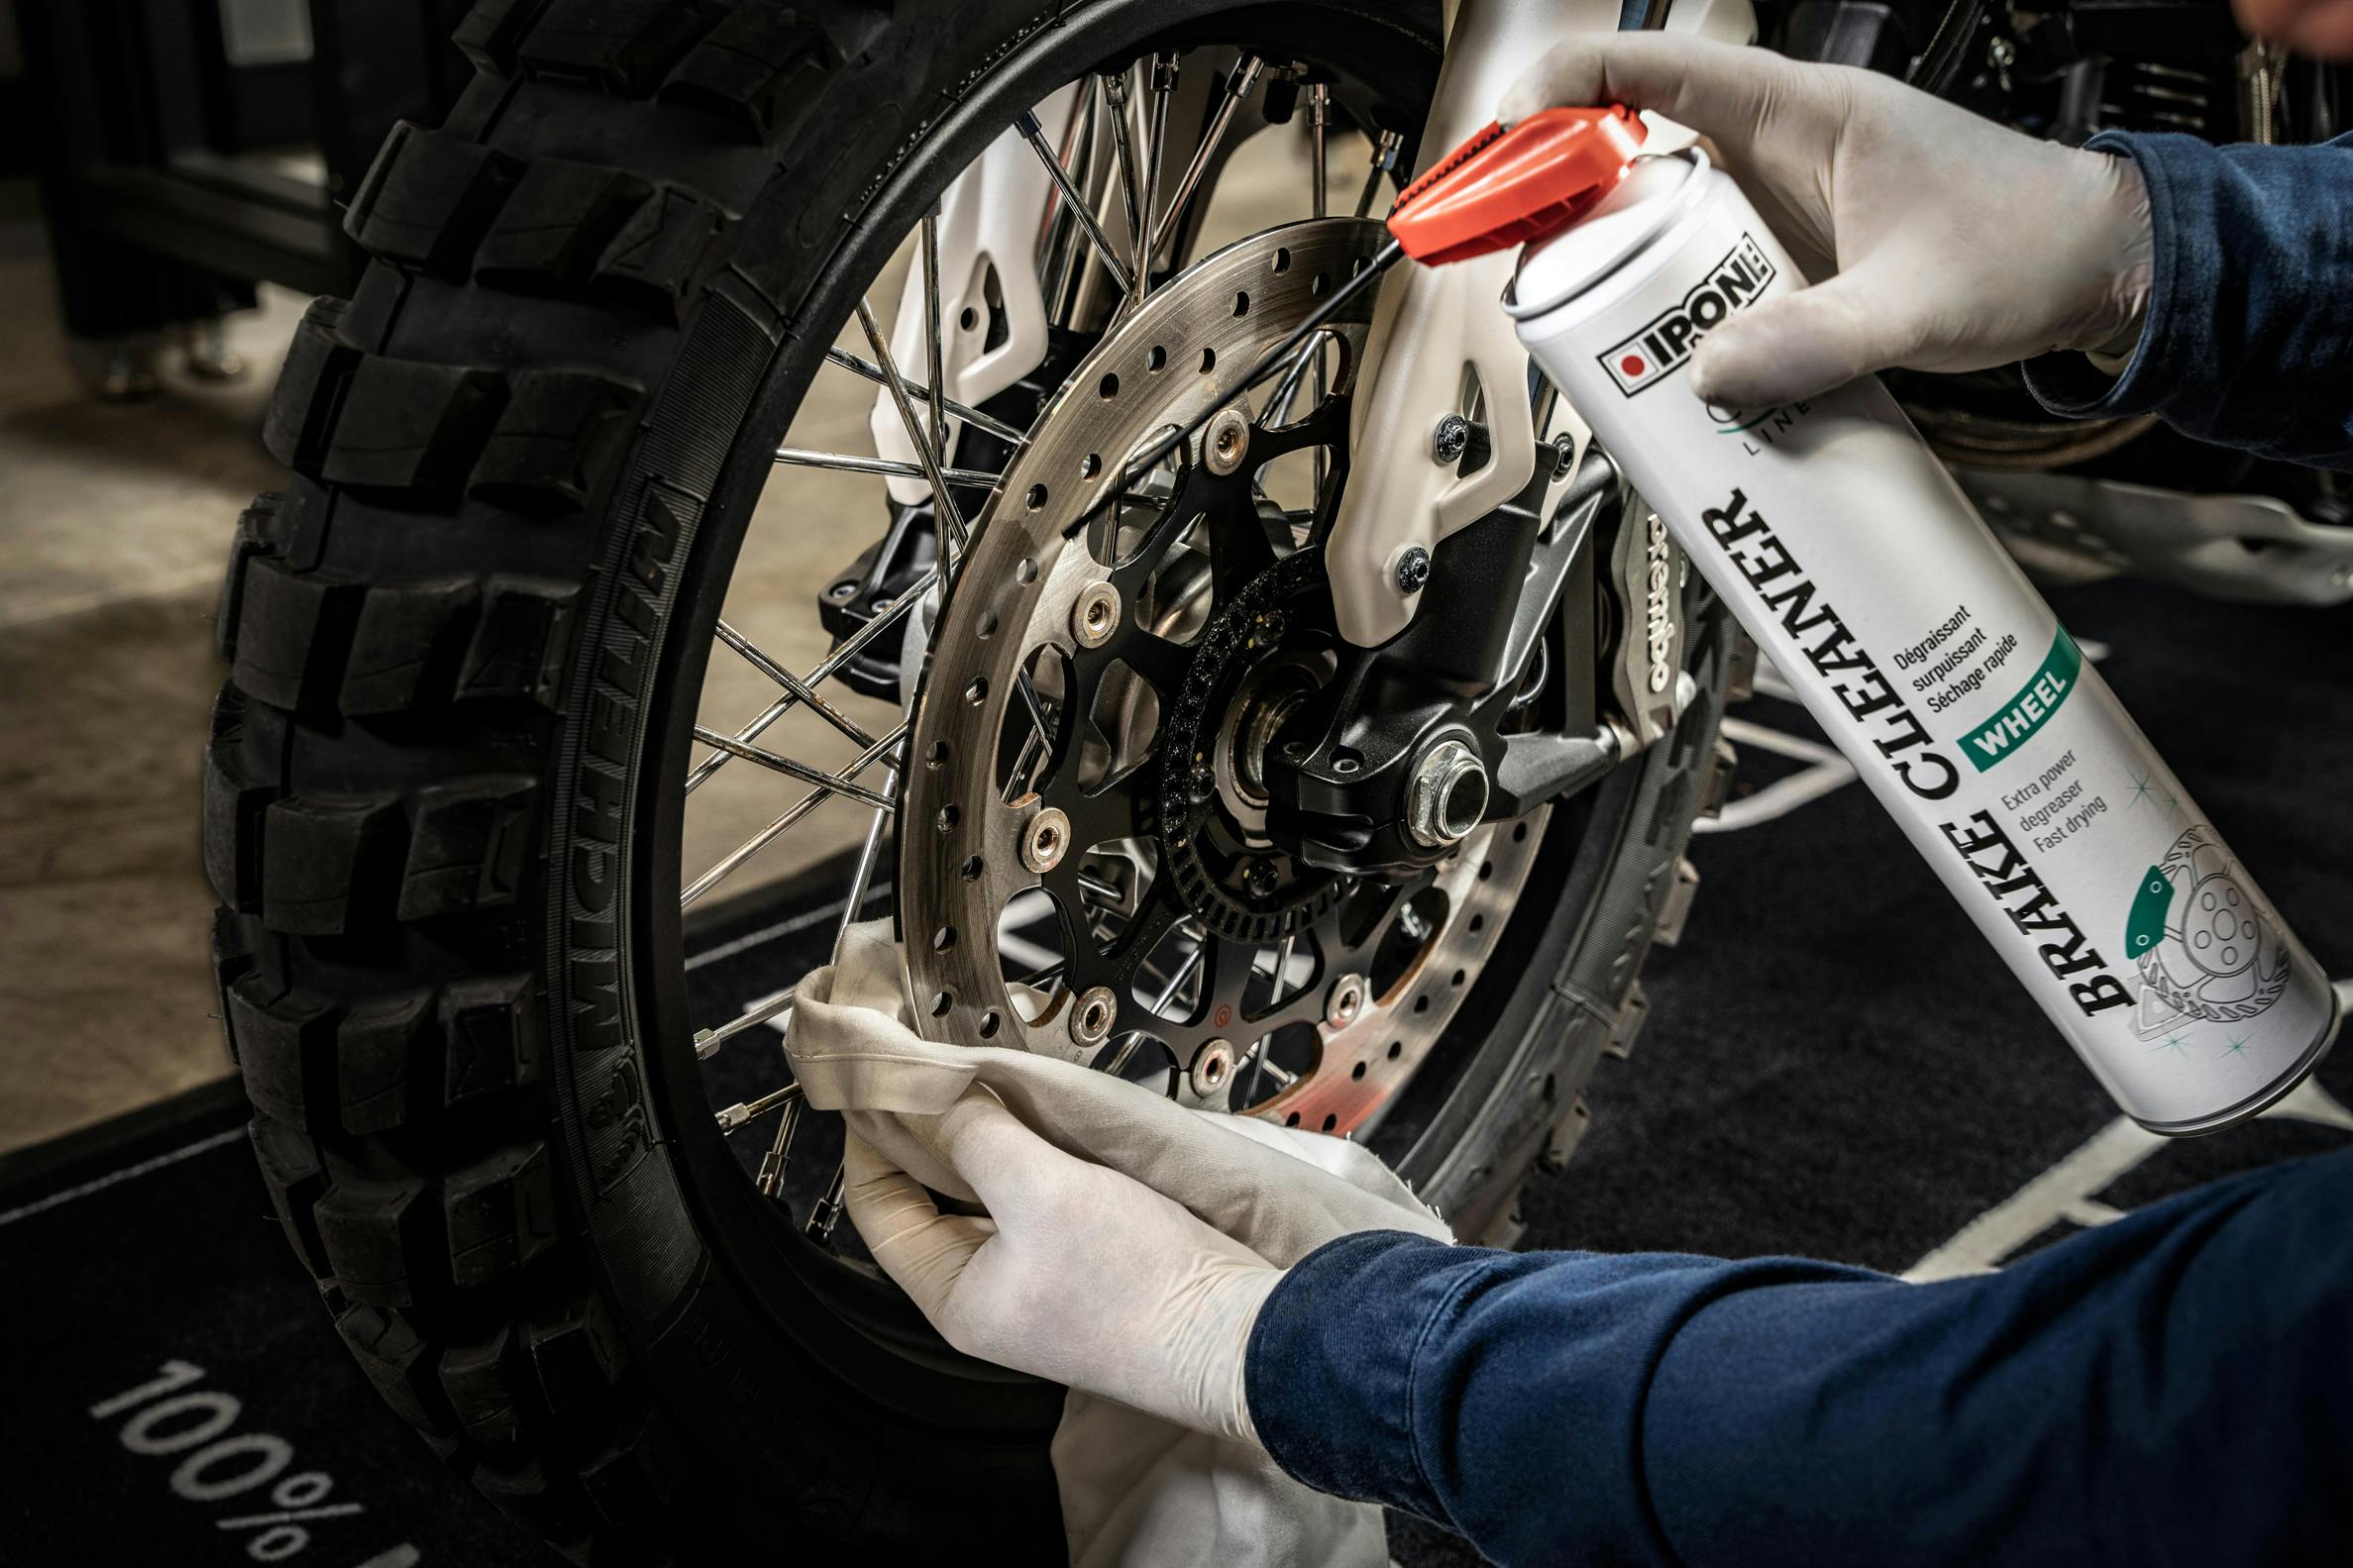
Finally, clean the brakes with brake cleaner.
The essentials in video
To continue, we suggest watching our video tutorial on the same subject.
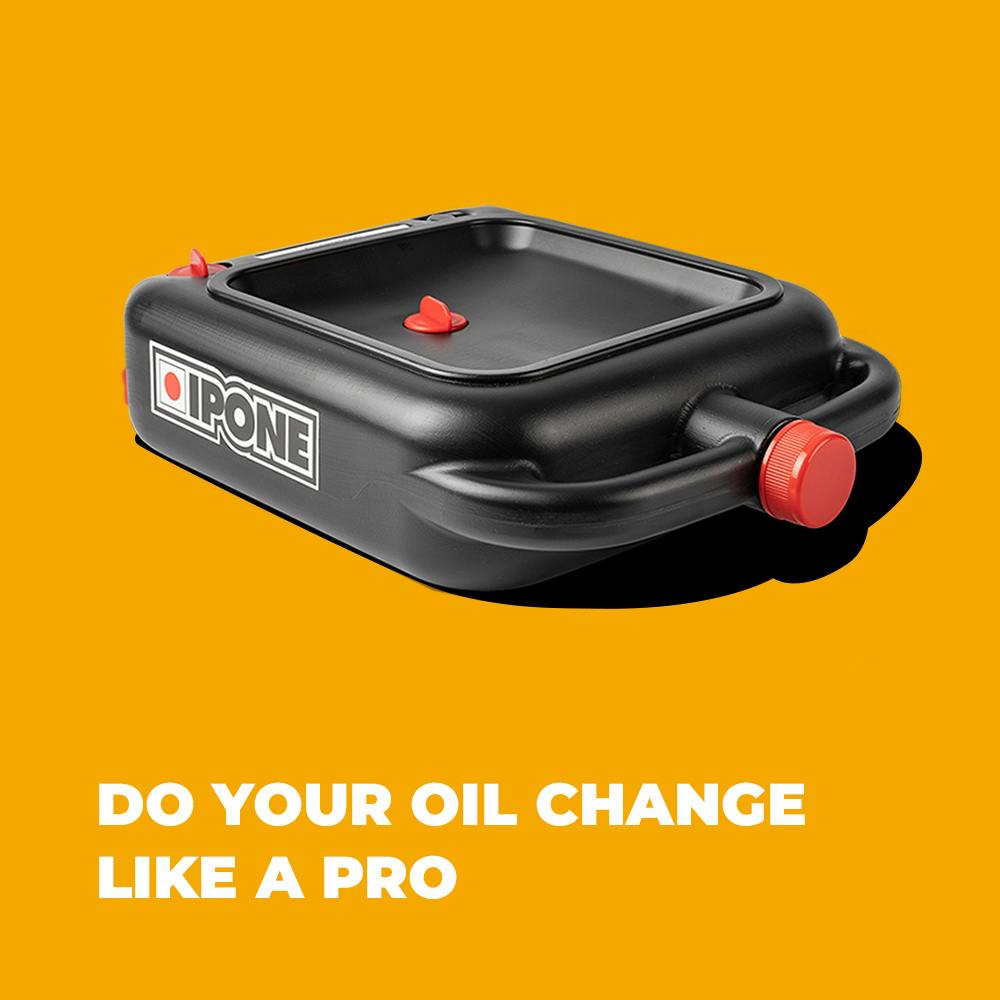
THE PRODUCTS YOU NEED


After any intervention on your bike, we recommend going for a small ride at cruising speed, this will allow you to control that everything is in place and that the operation has been carried out properly.
Enjoy your ride !
#iponefamily
.png?ixlib=gatsbyFP&auto=compress%2Cformat&fit=max&h=&w=3200)
.png?ixlib=gatsbyFP&auto=compress%2Cformat&fit=max&h=&w=3200)
.png?ixlib=gatsbyFP&auto=compress%2Cformat&fit=max&h=&w=3200)